Blender Course I: Rendering a Paper Figure With Blender
There are a lot of great Blender tutorials online (e.g., the classic donut tutorial by Blender Guru), and they are usually aimed at artists or animators who want to generate full scenes from scratch for short films. Therefore they go into depth on how to model a shape, how to pick the best lighting, how to design a material, create textures, etc.
These are really interesting topics, but they can be overwhelming if you are an academic and all you want is to render your object beautifully for a SIGGRAPH paper figure. For this use case, there is way less documentation online (my labmate Derek’s Blender scripting toolbox is a great exception), and in my experience this can lead to a lot of frustration especially when nearing deadlines, when one does not have the time or energy to learn a whole new aspect of the software just for a minor change in a paper figure. Mitigating that frustration is the goal of this guide.
Also, one only needs to look through SIGGRAPH publications to see that all labs seem to have their own really polished “paper-quality rendering” pipeline, but unfortunately in my experience these mostly stay at the “tricks of the trade” level and aren’t shared very widely (not out of malice, there just aren’t many incentives for it). Another goal of this guide is to share my pipeline with people from other labs so that they (you) can hopefully learn something but also teach me something I am currently doing wrong or less efficiently (please email me!).
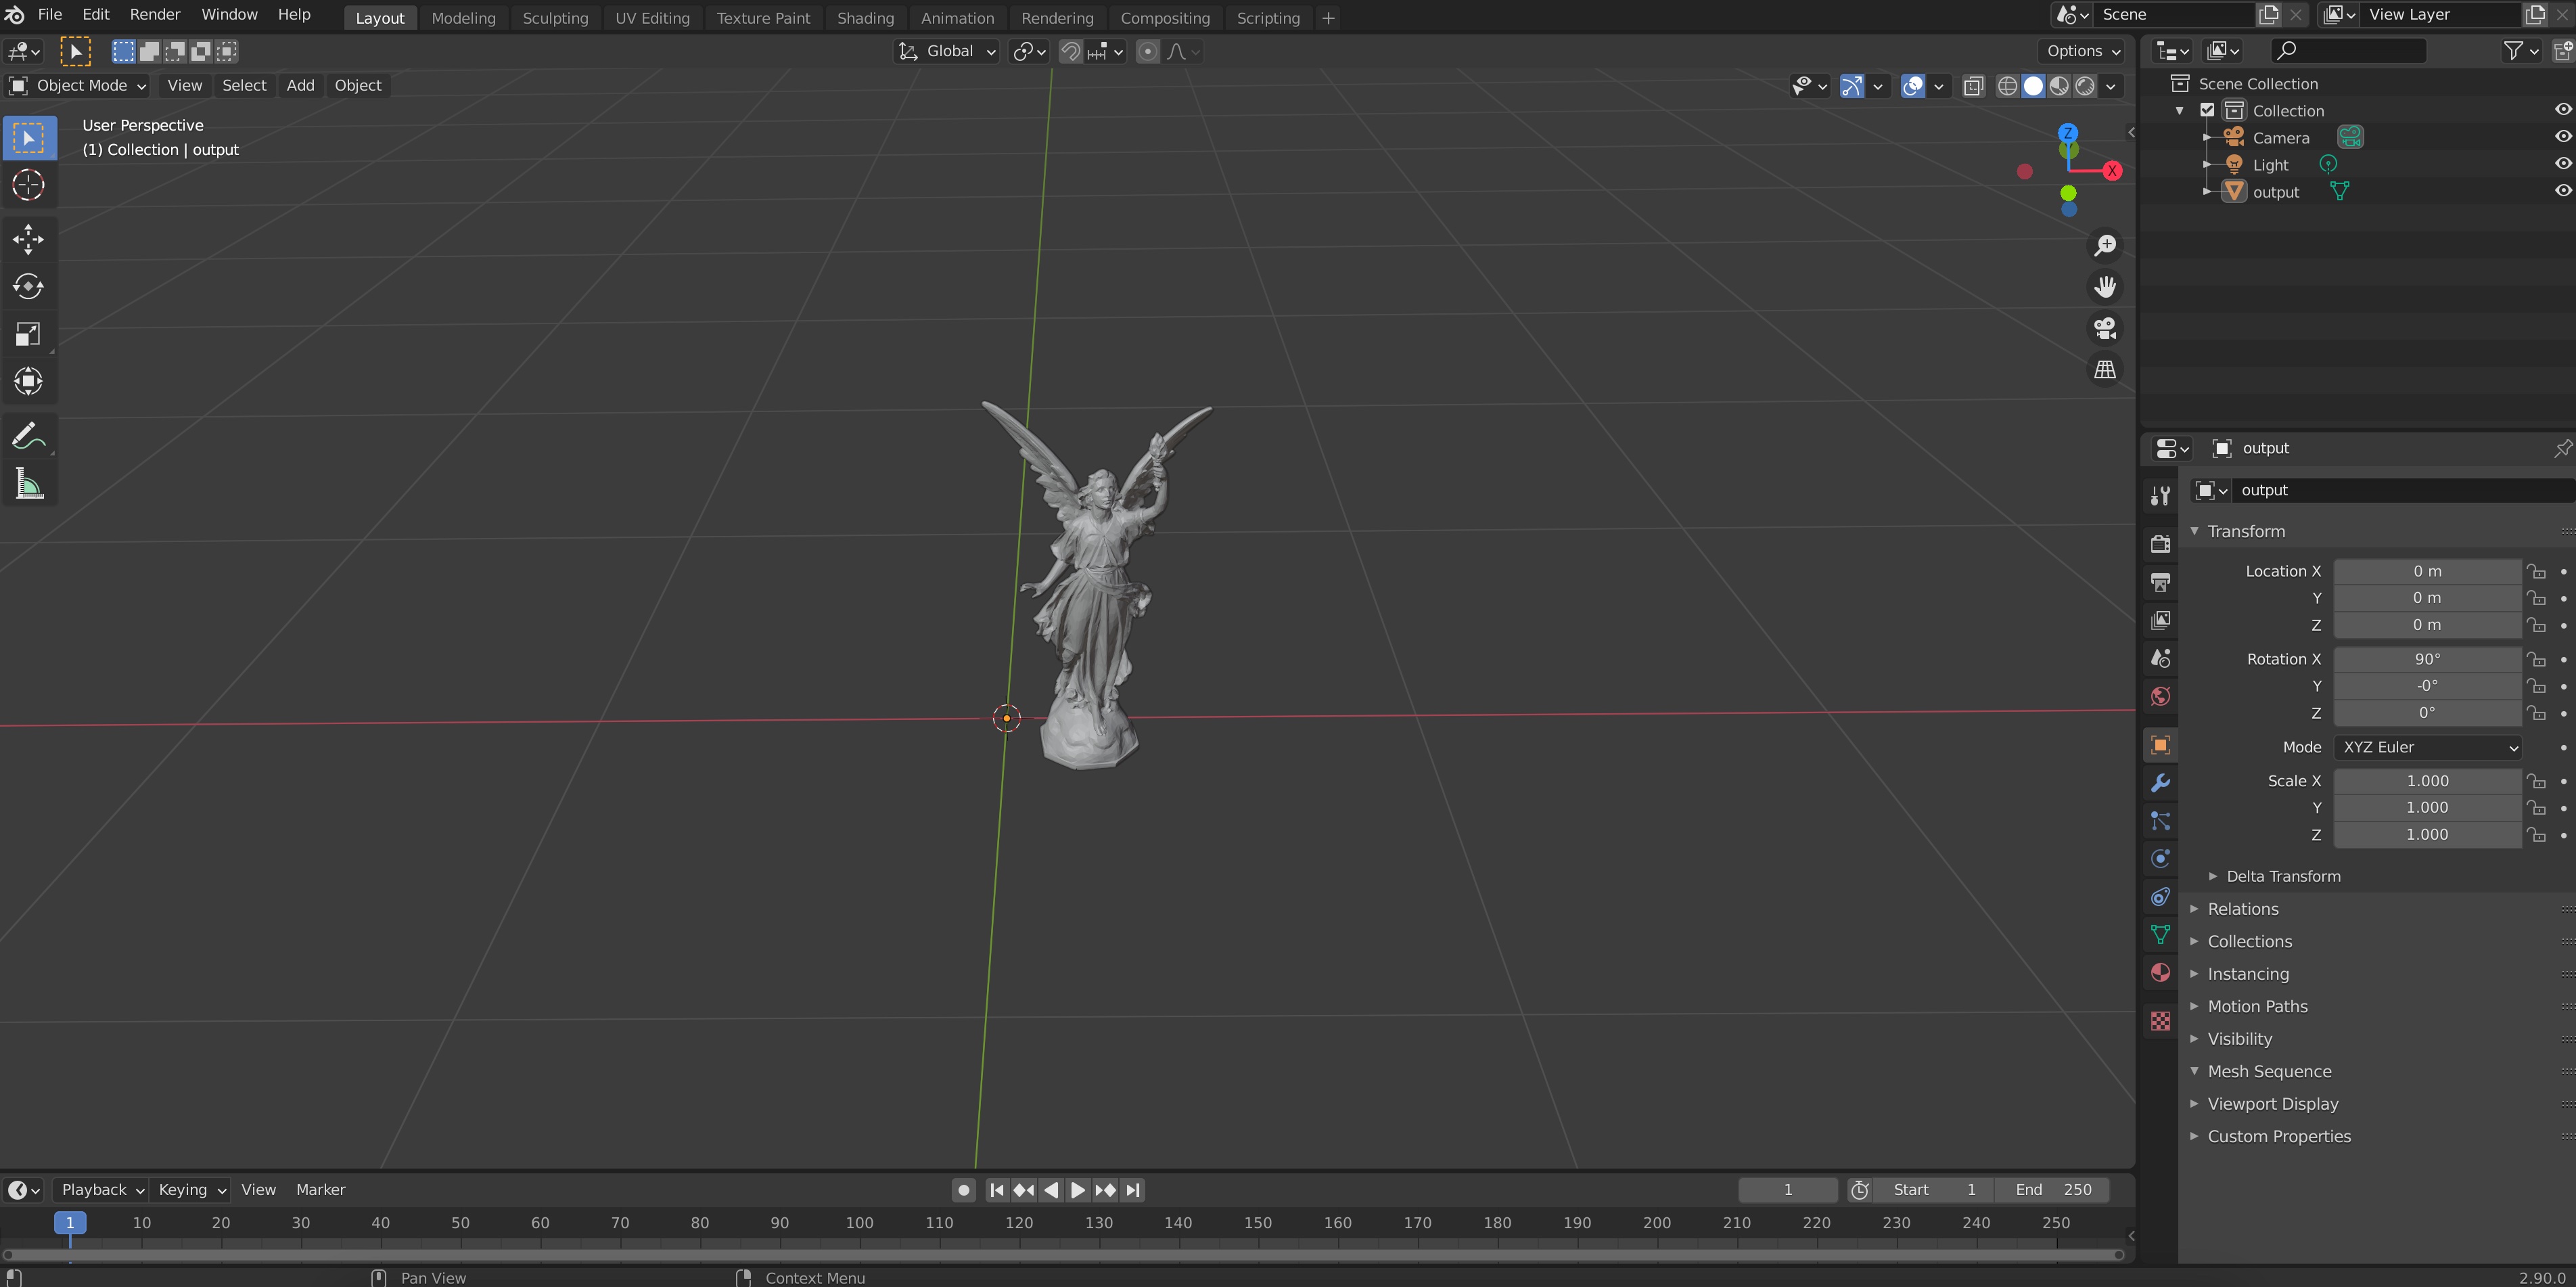
Anyway, here we go. Let’s pretend you wrote a fancy new method in C++ or Matlab or Python that outputs a mesh called output.obj, and you want to render it to put it in a paper figure (if you want to make an animation for your paper video, please see my other guide).
-
Download my Blender template file.
-
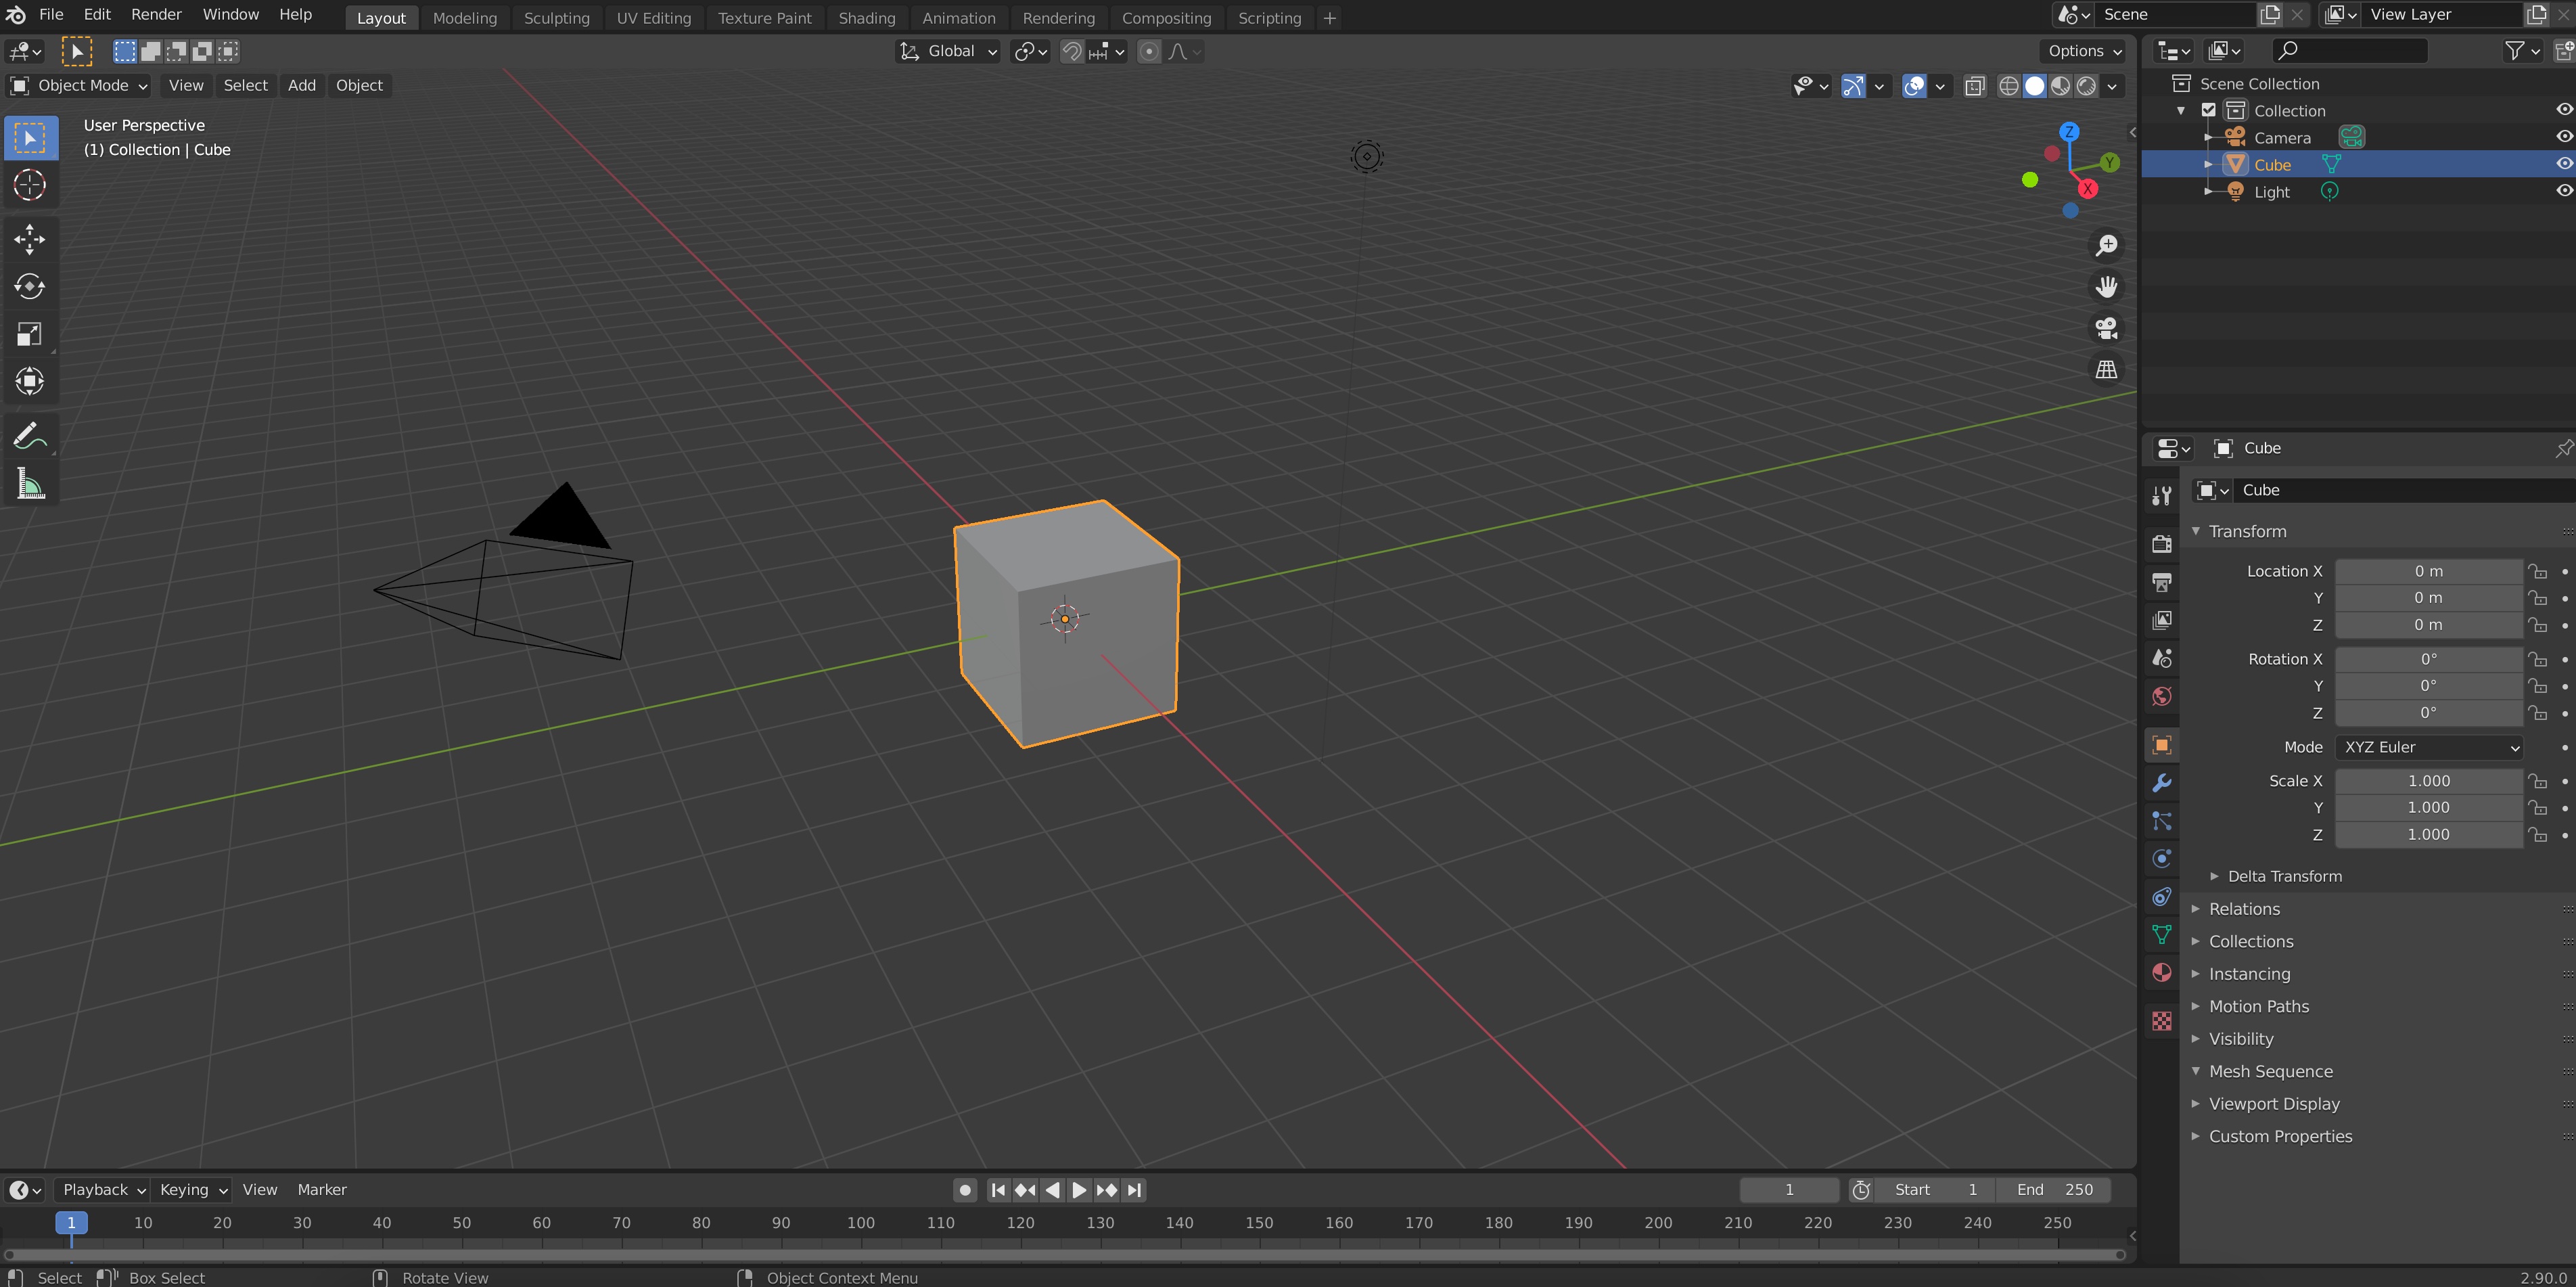
Open Blender (you can download it from here). You’ll see something like this
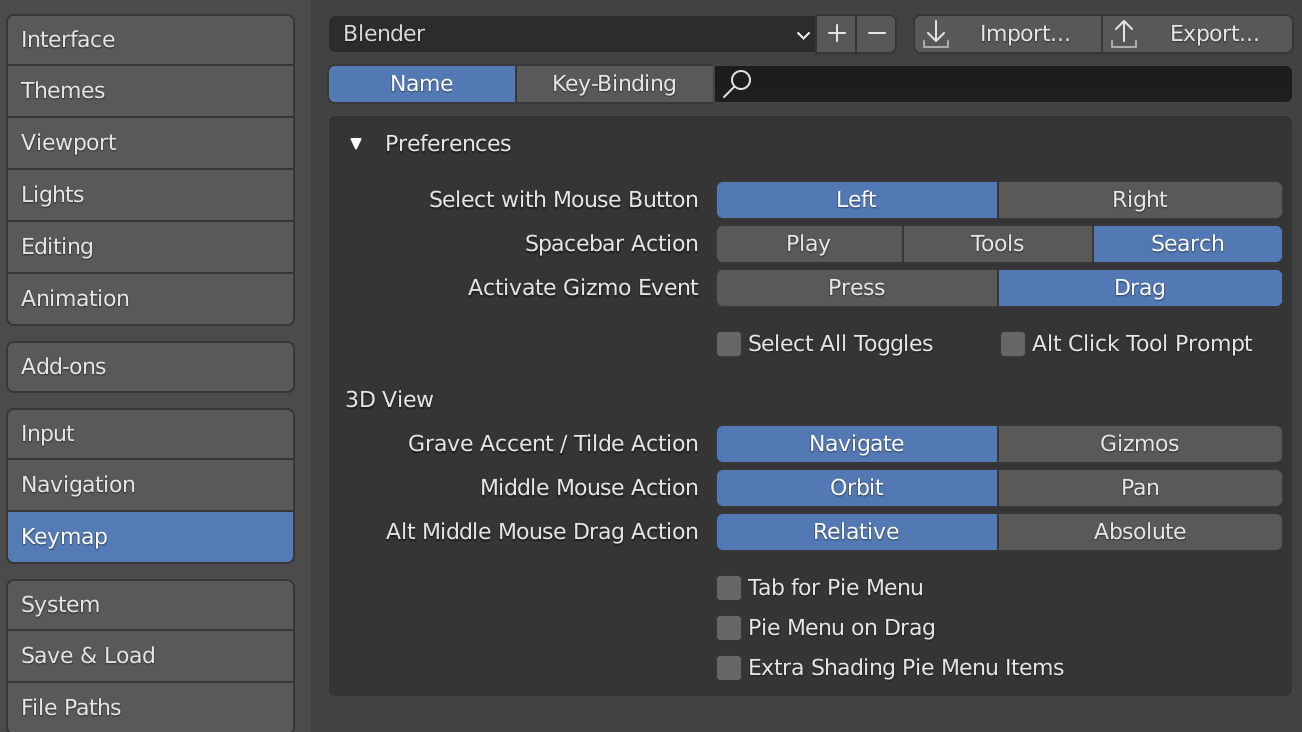
Before you do anything, go to Edit->Preferences, and on the Keymap section, pick Spacebar Action: Search. This will give you a very useful way of navigating the UI, instead of looking for each button you can just press spacebar and search for whatever is you’re looking for. This is something Oded Stein taught me when I started using Blender and it will completely change how you use the software for the better.
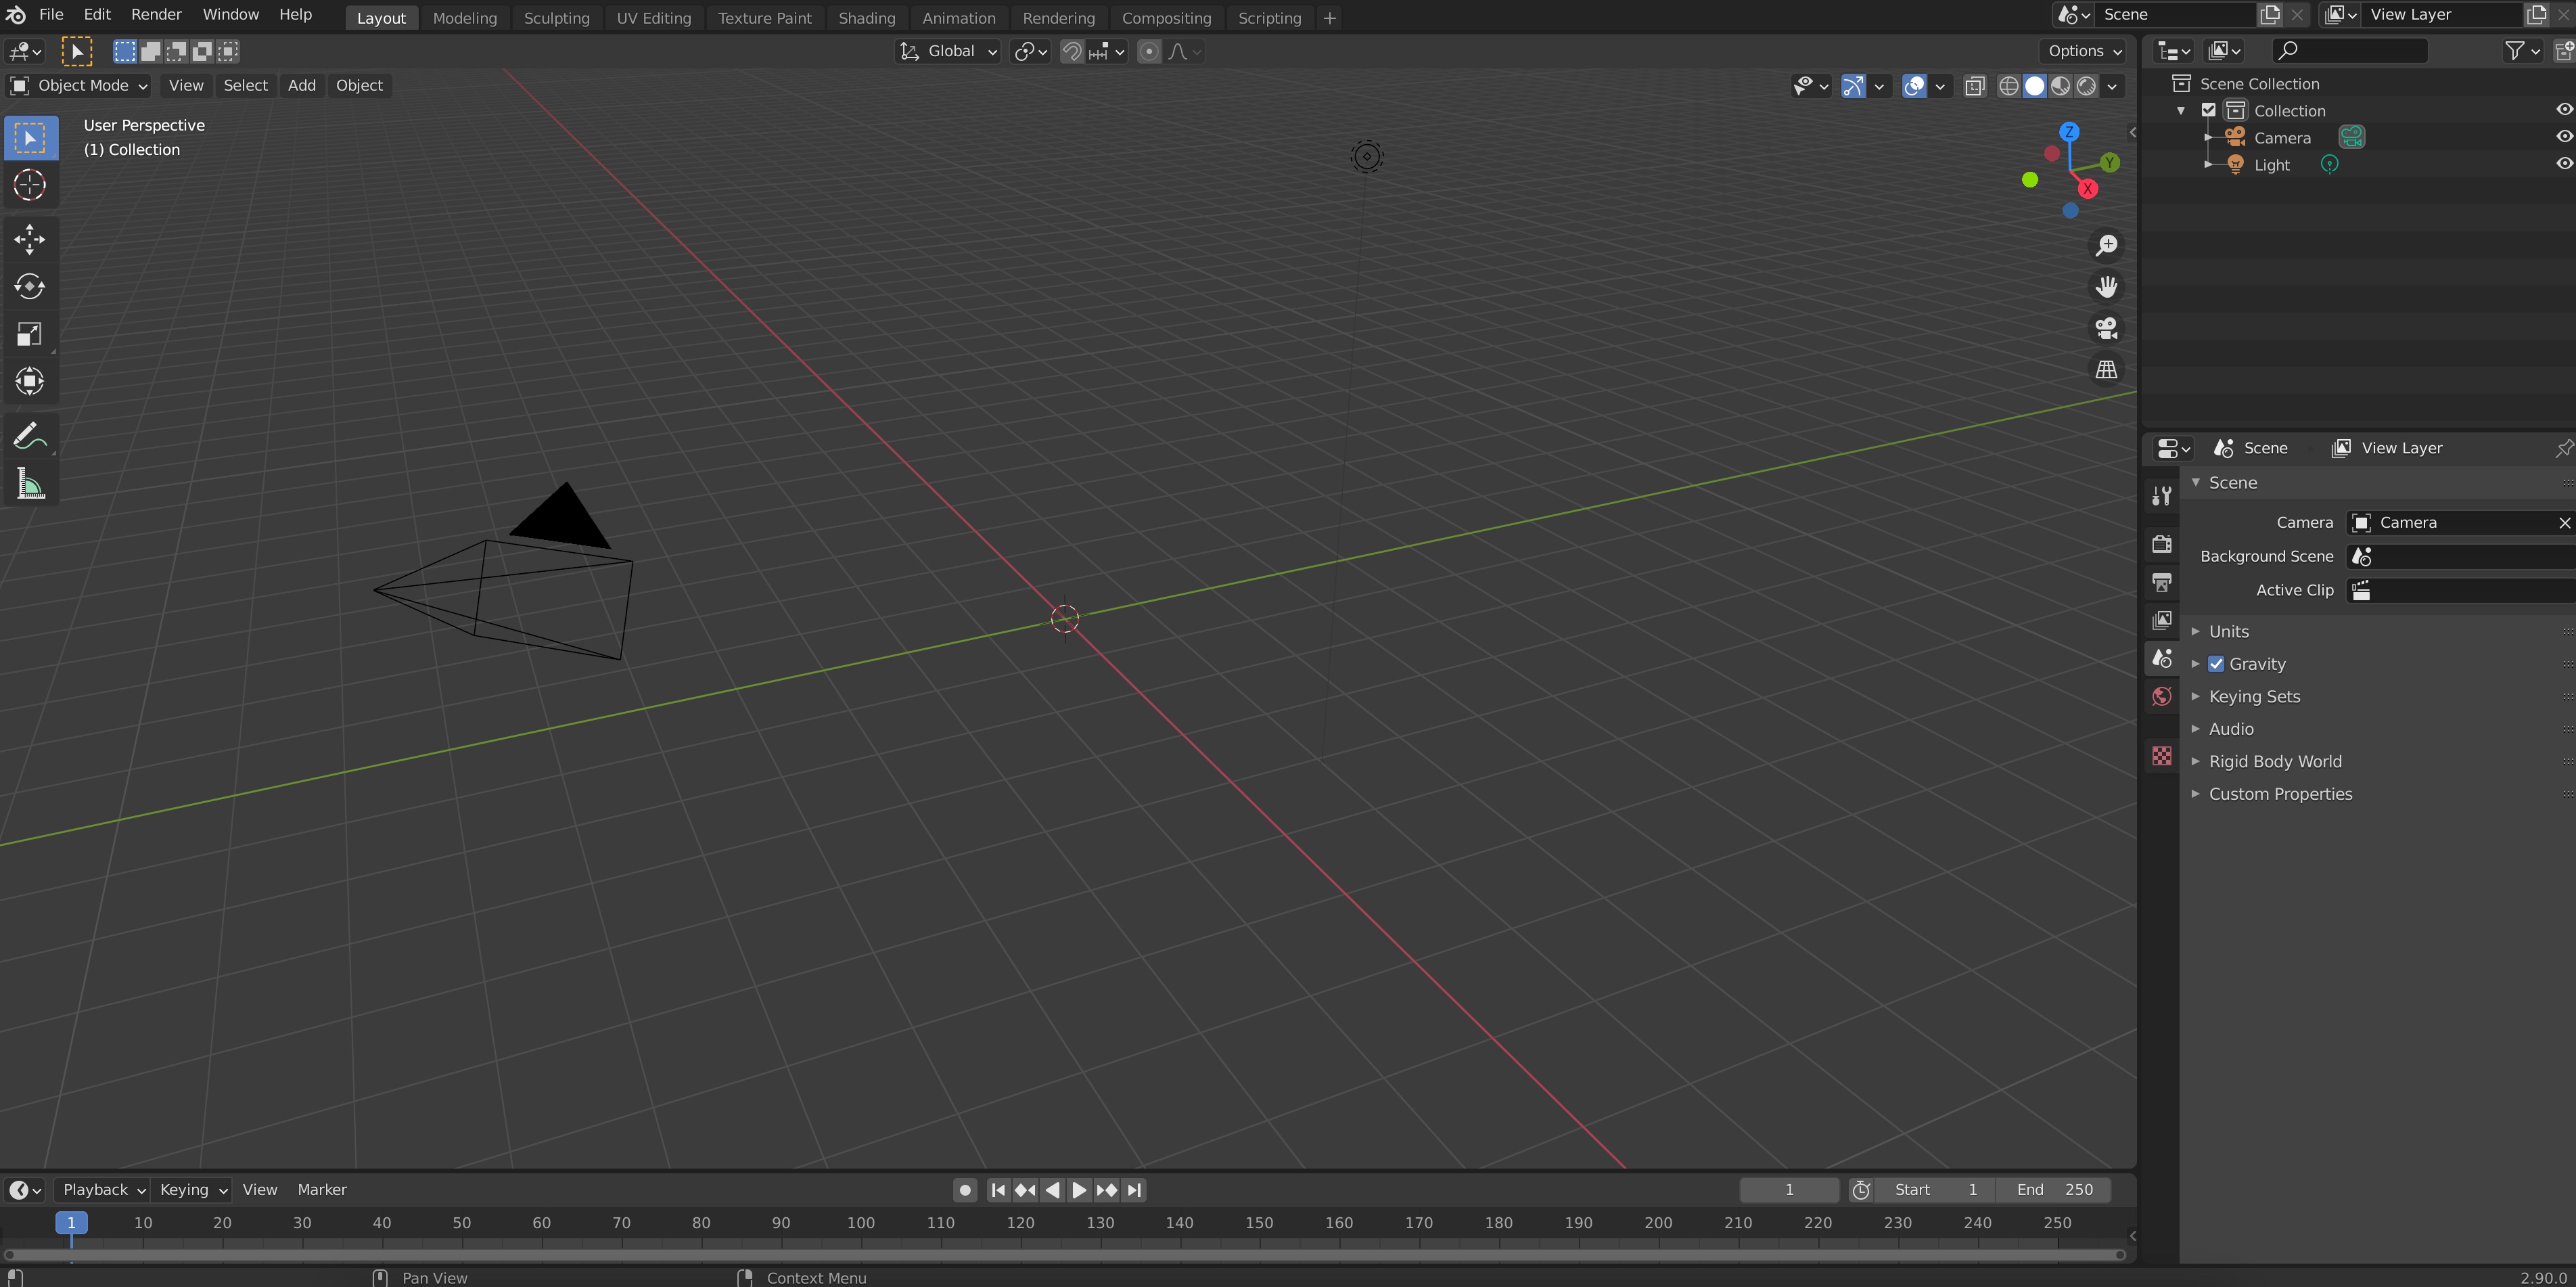
- Click on the cube on the middle of scene and then on the letter
Xto delete it, we won’t be using it.
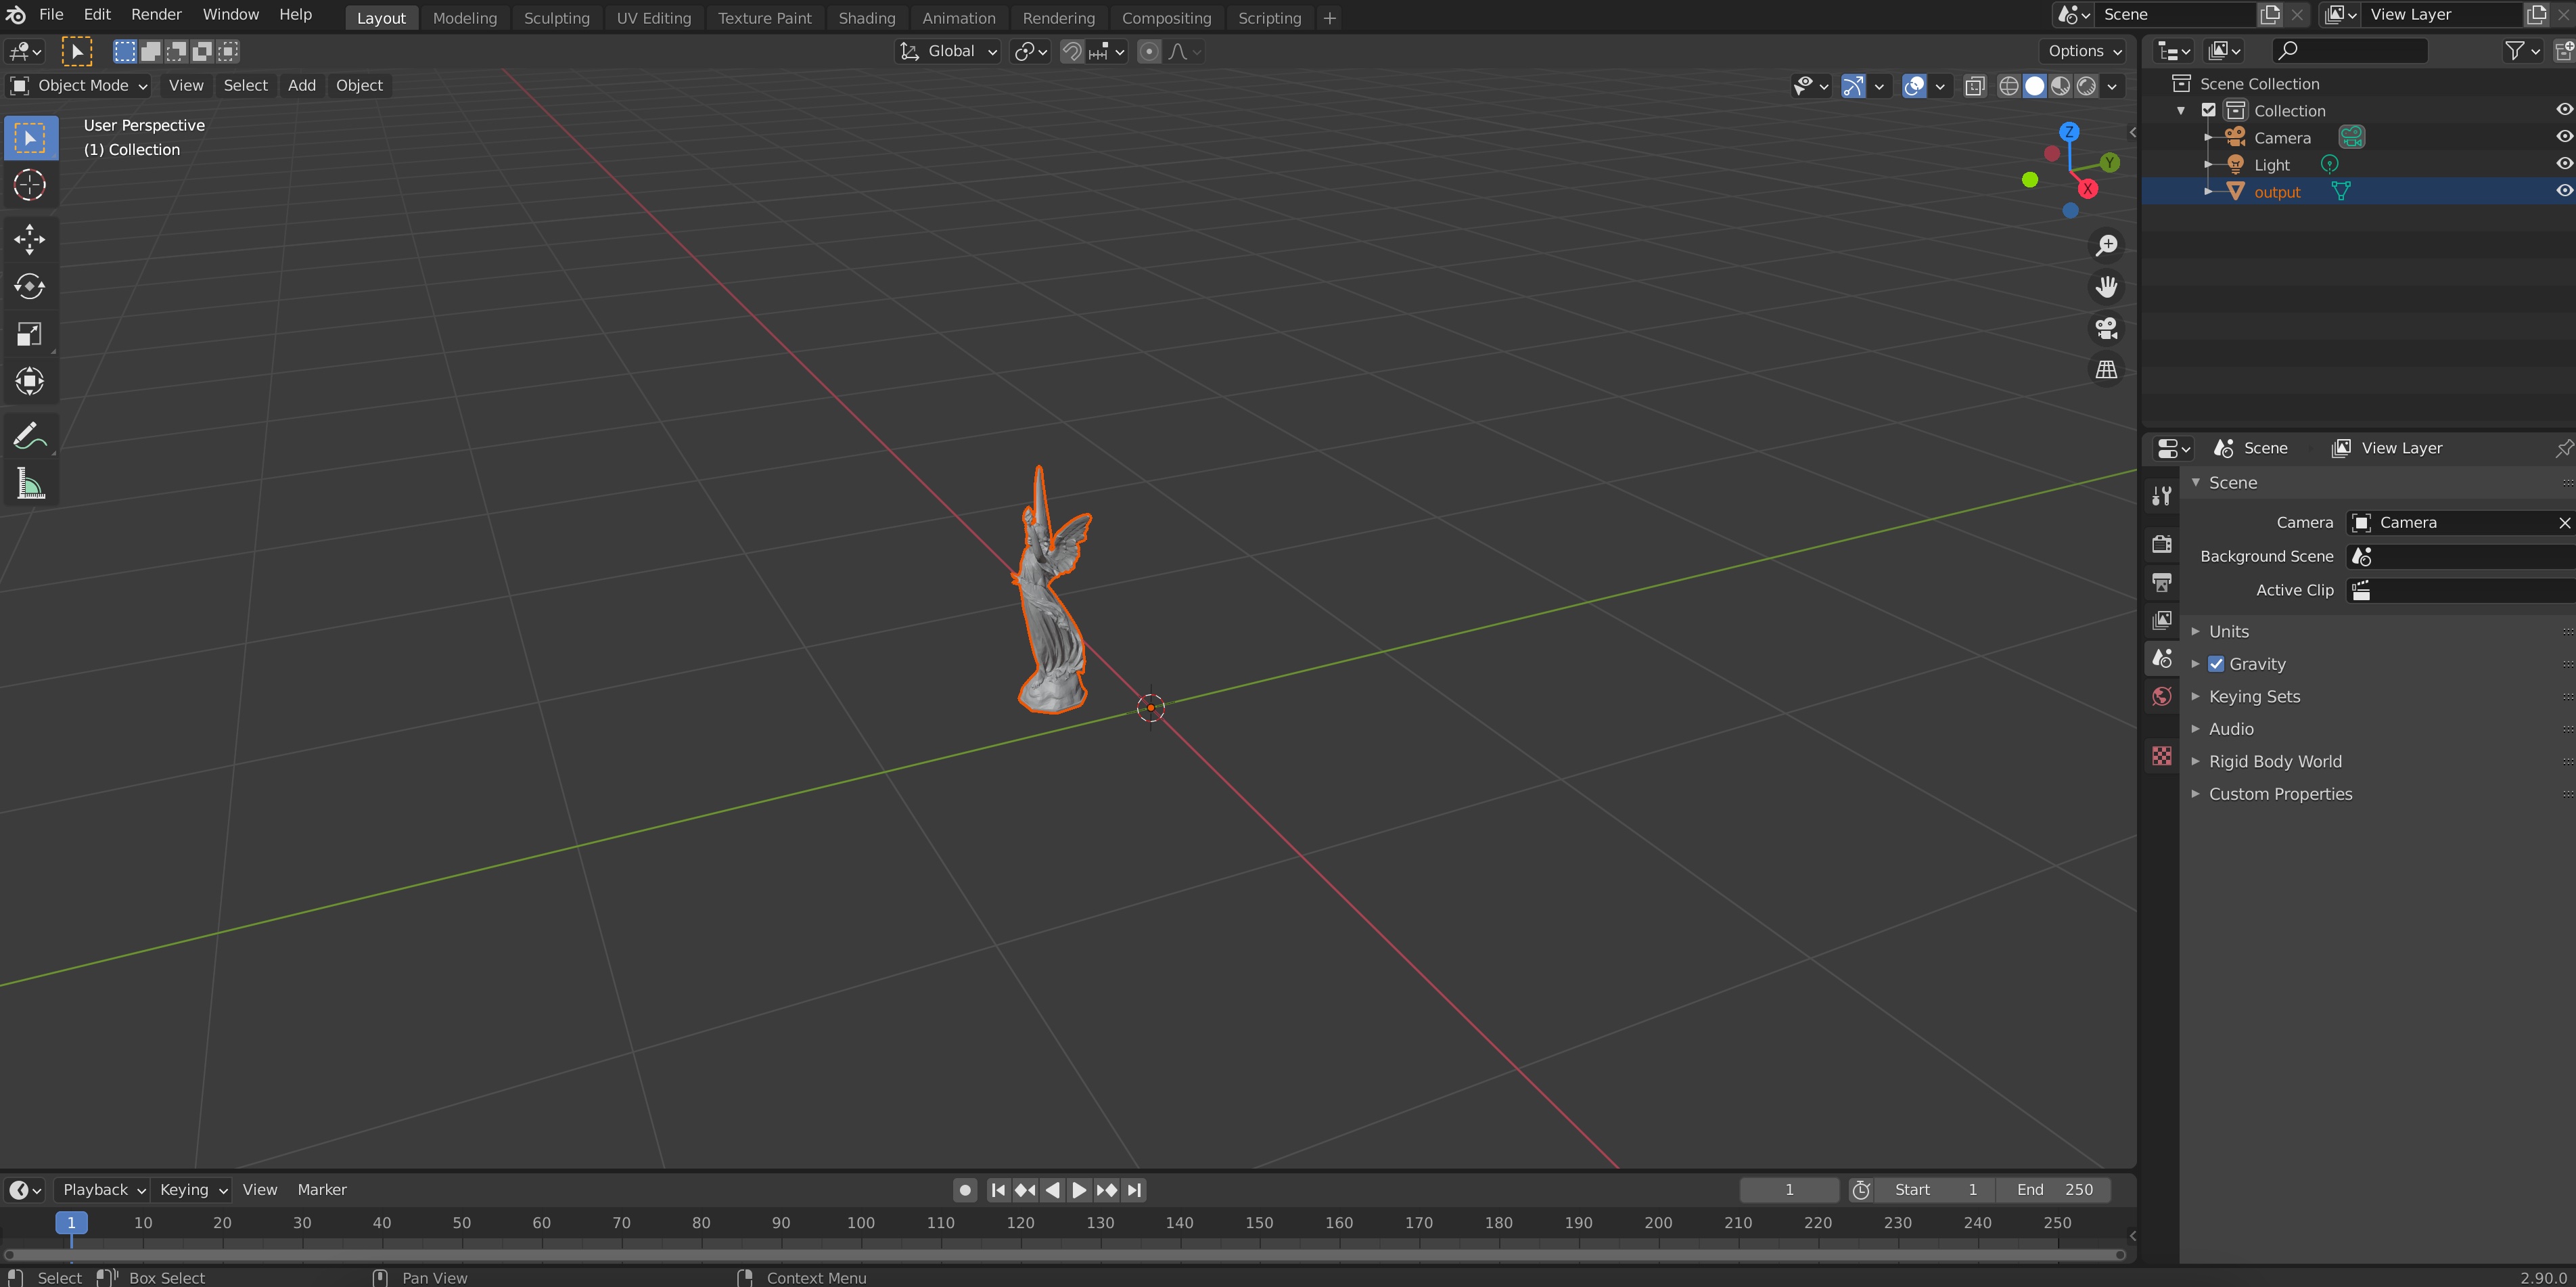
- Go to File->Import->.obj and select your
output.obj. It should appear in the screen:
- Pan and move your view in the viewport until you have a good view of the object (the controls for this differ, but on my MacBook I use the trackpad with two fingers to pan, CMD + two fingers to zoom and SHIFT + two fingers to move the viewpoint).
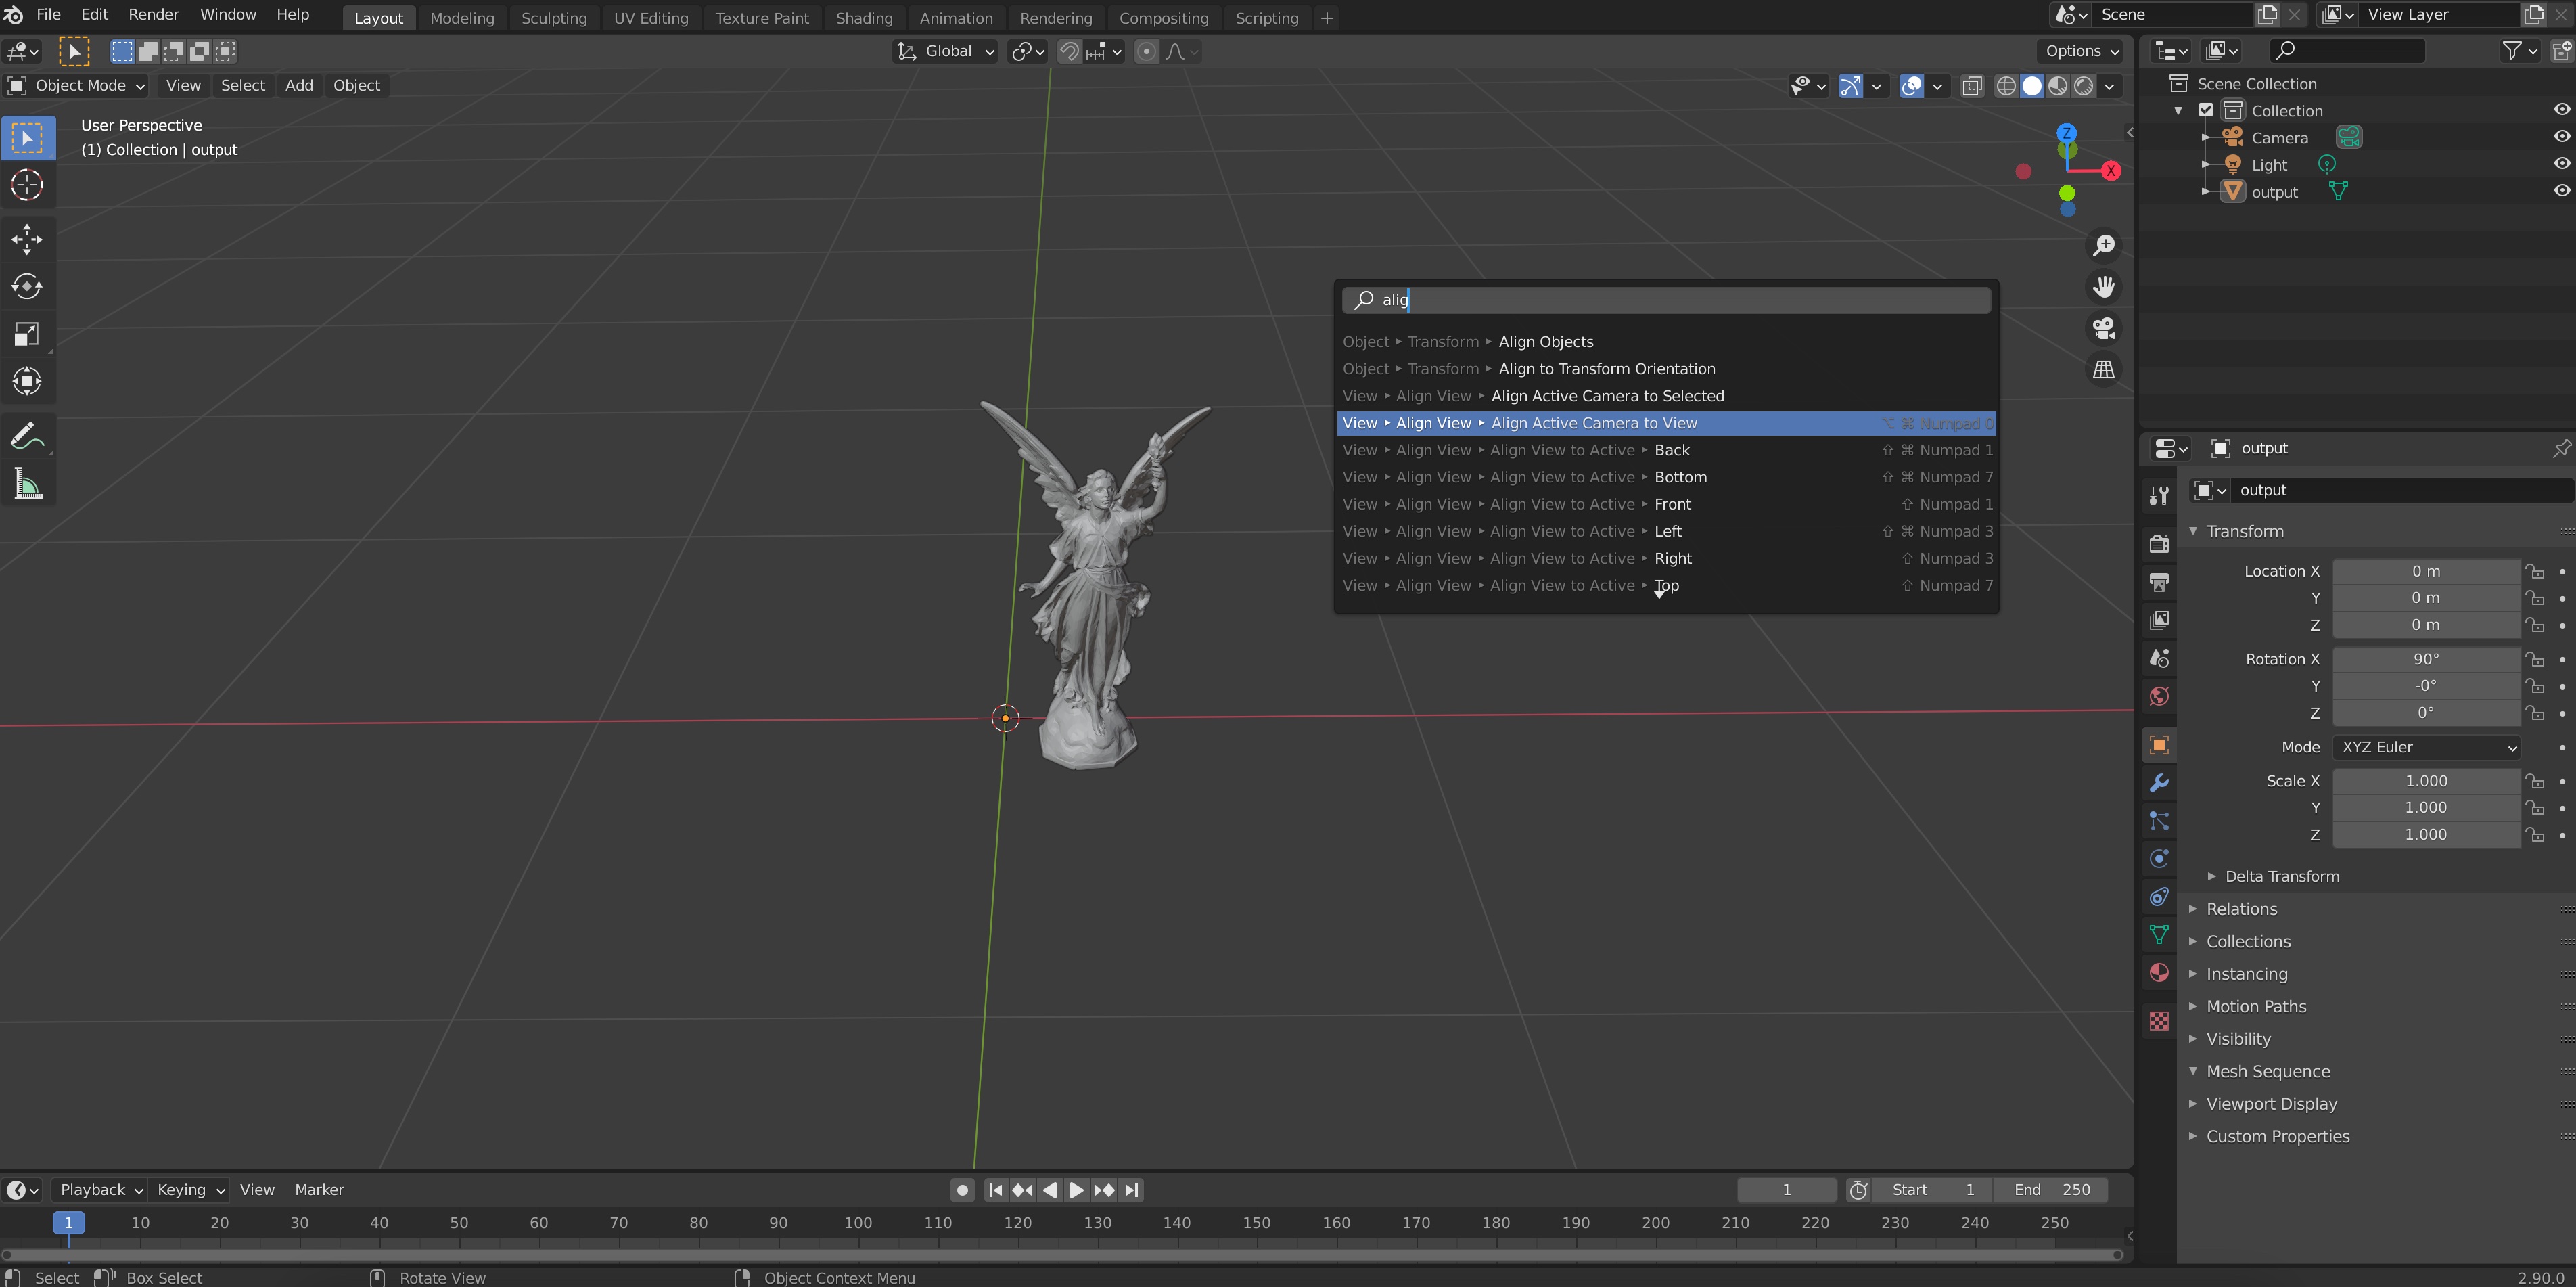
- Then, use the spacebar and type “Align Camera to view”. Press ENTER and you should see the frame of a camera appear.
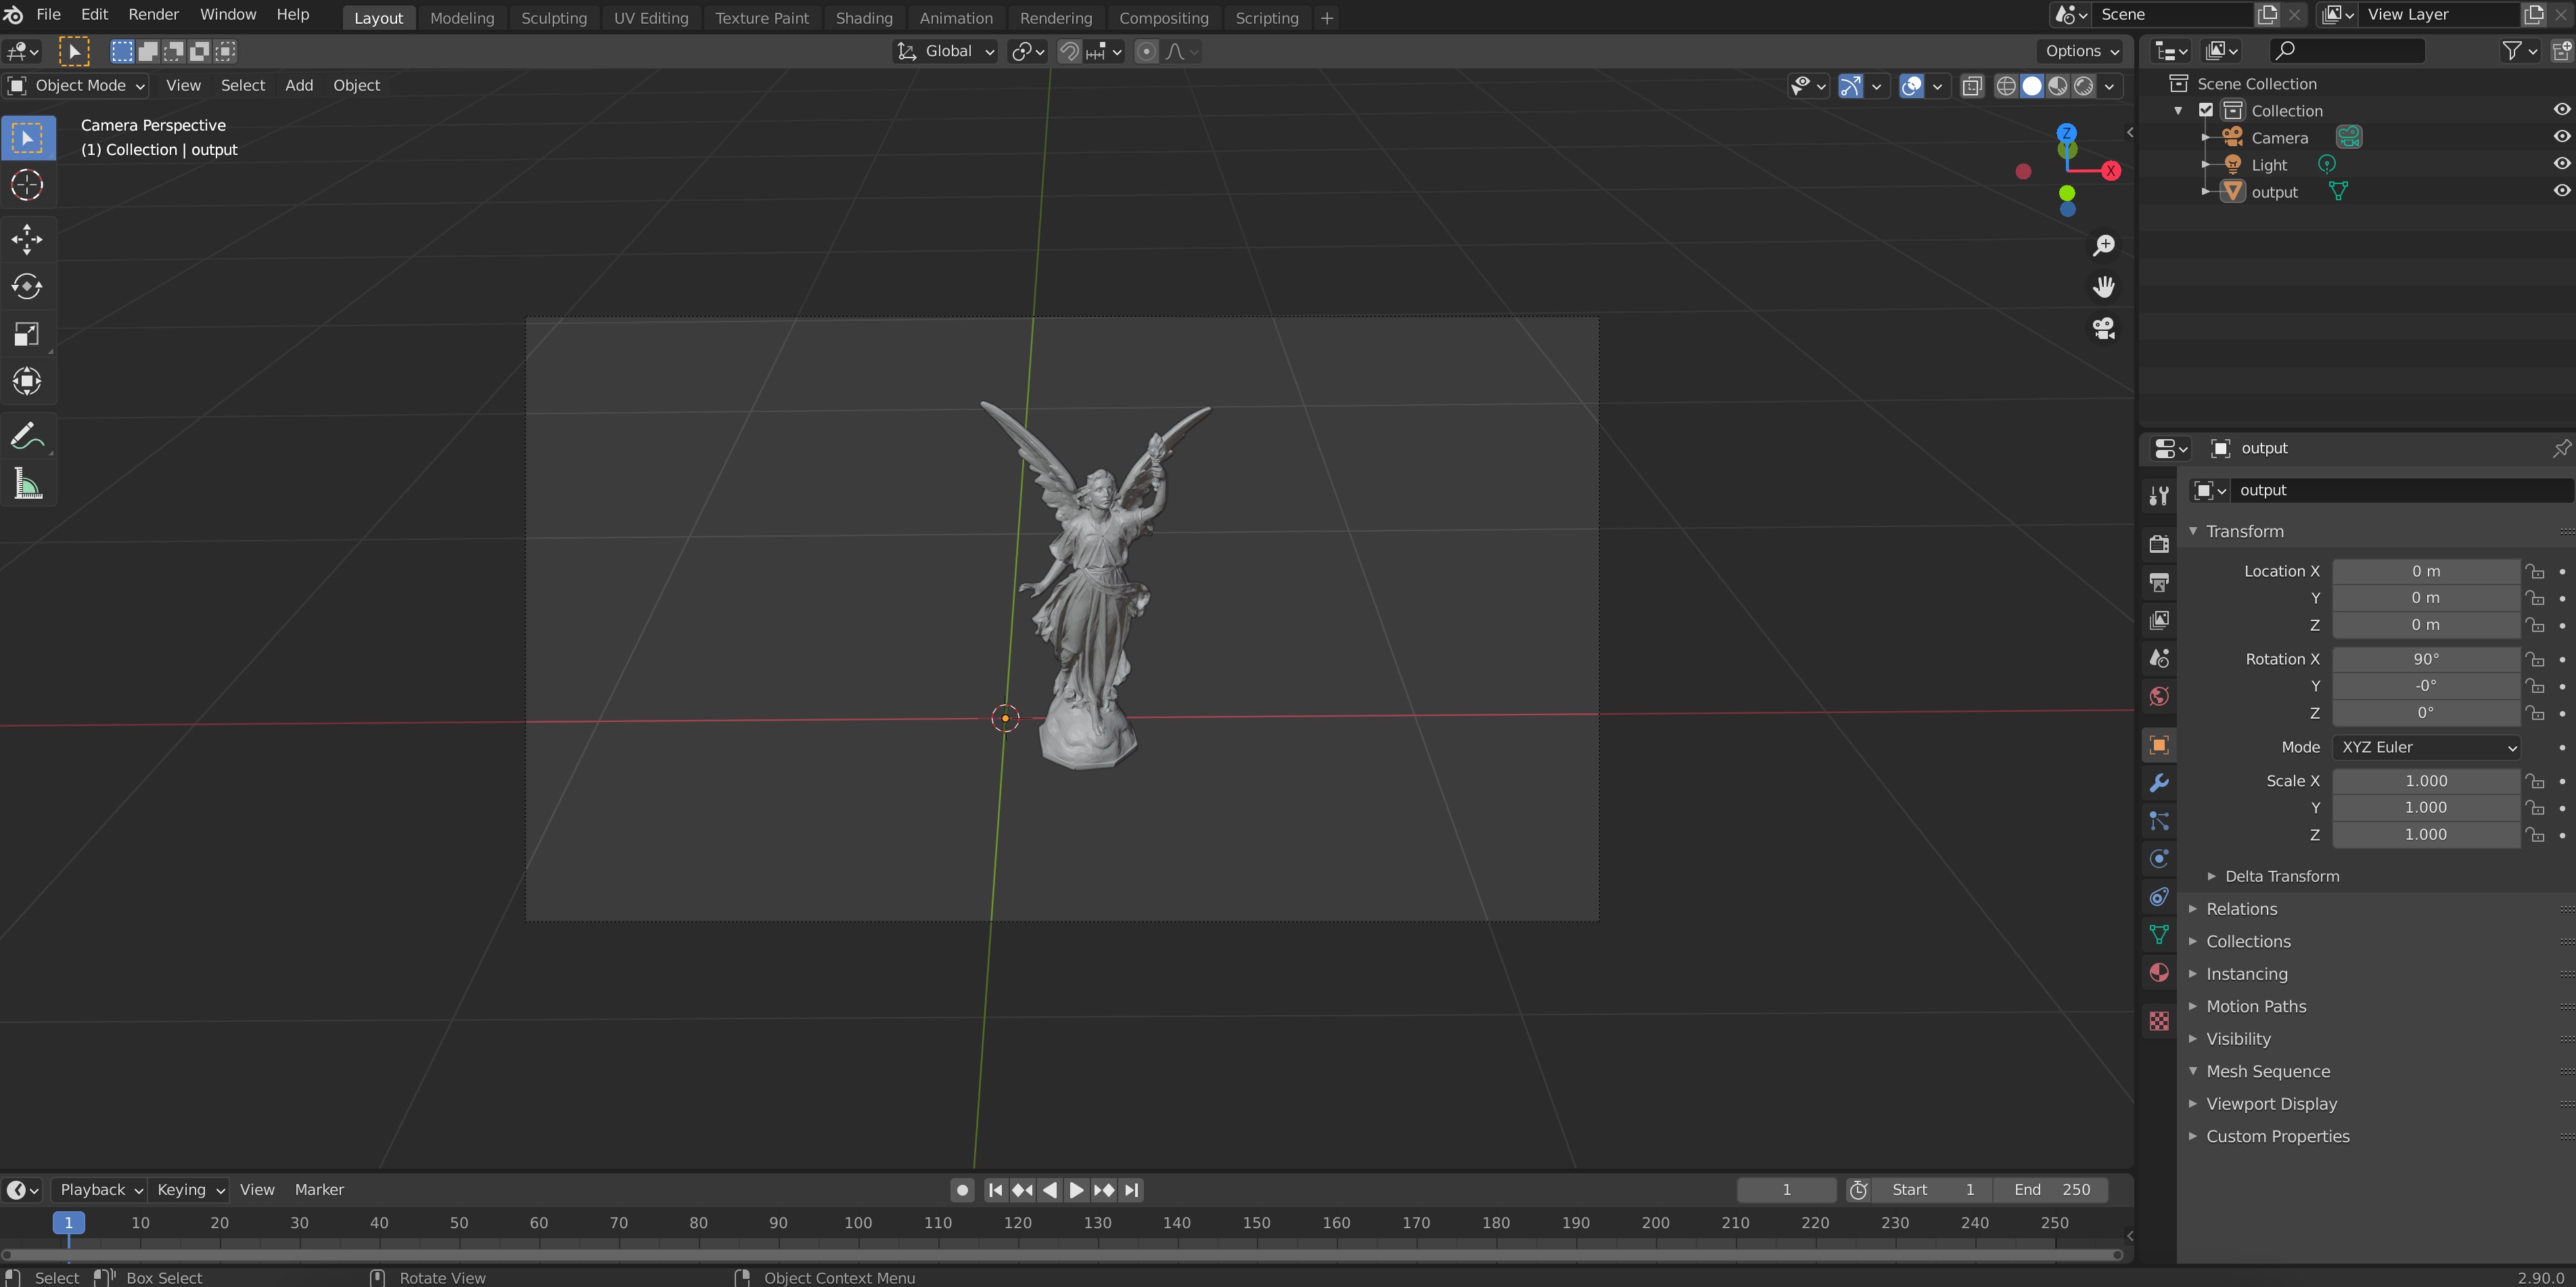
At this point, we can still move our view around and all we need to do is click on the camera icon on the top right of our scene to go back to this camera view:
![]()
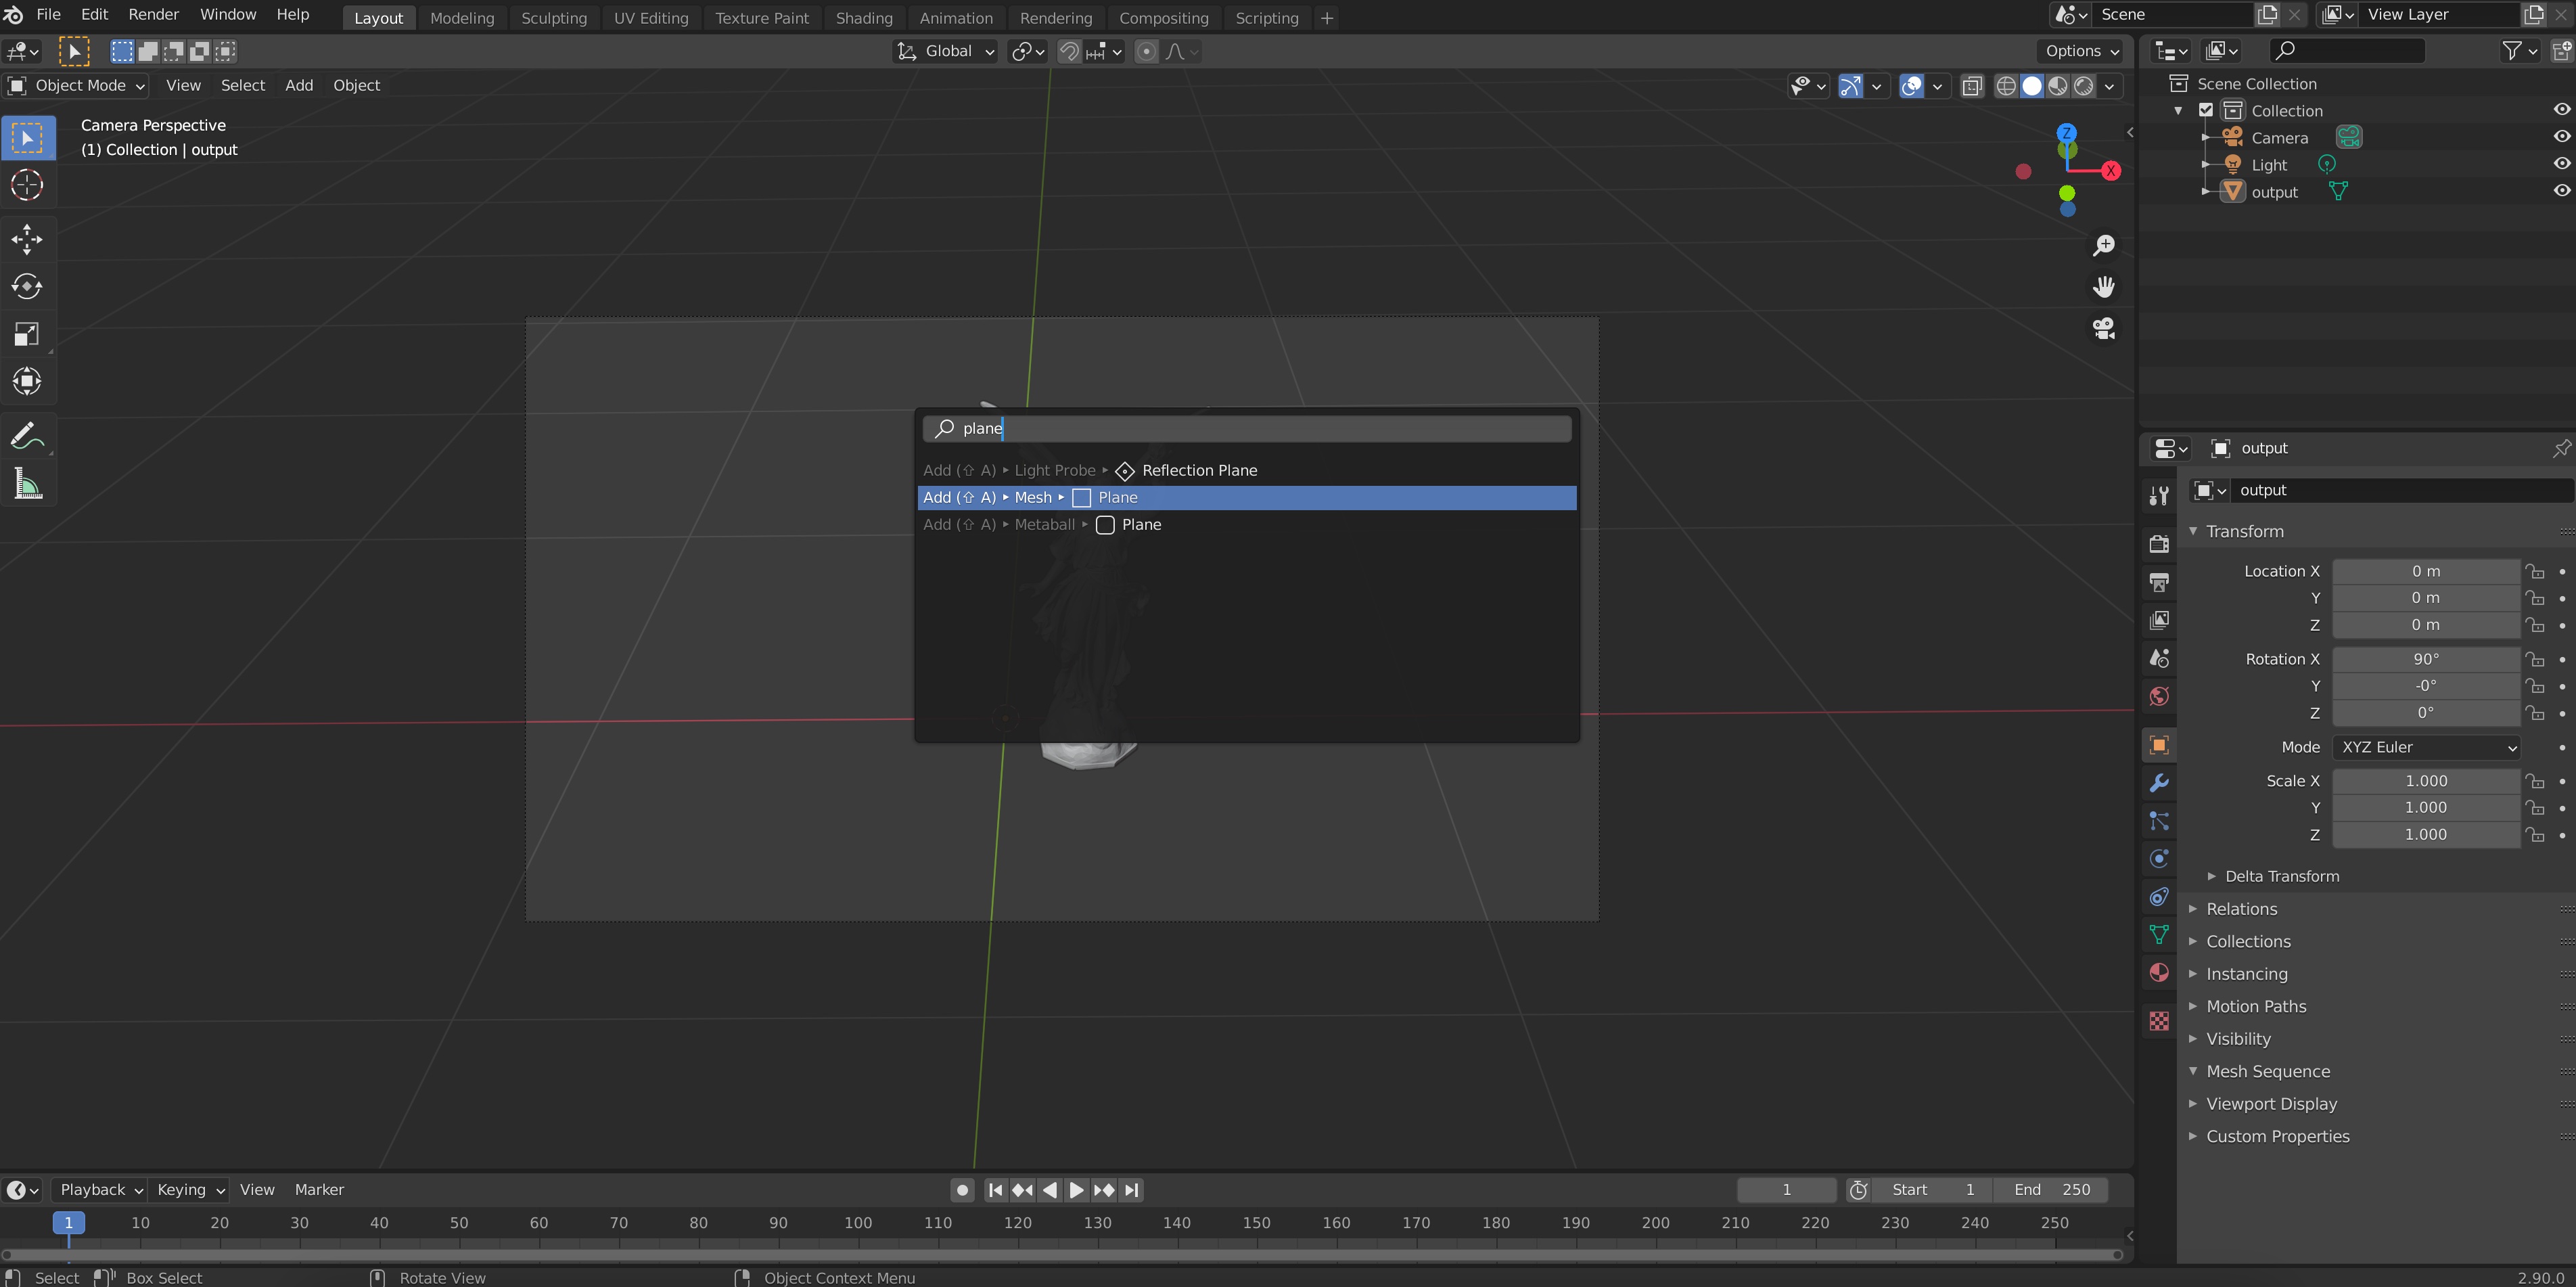
- Let’s add a ground plane. To do this, we press Spacebar again and type “Plane”, choosing the mesh plane option.
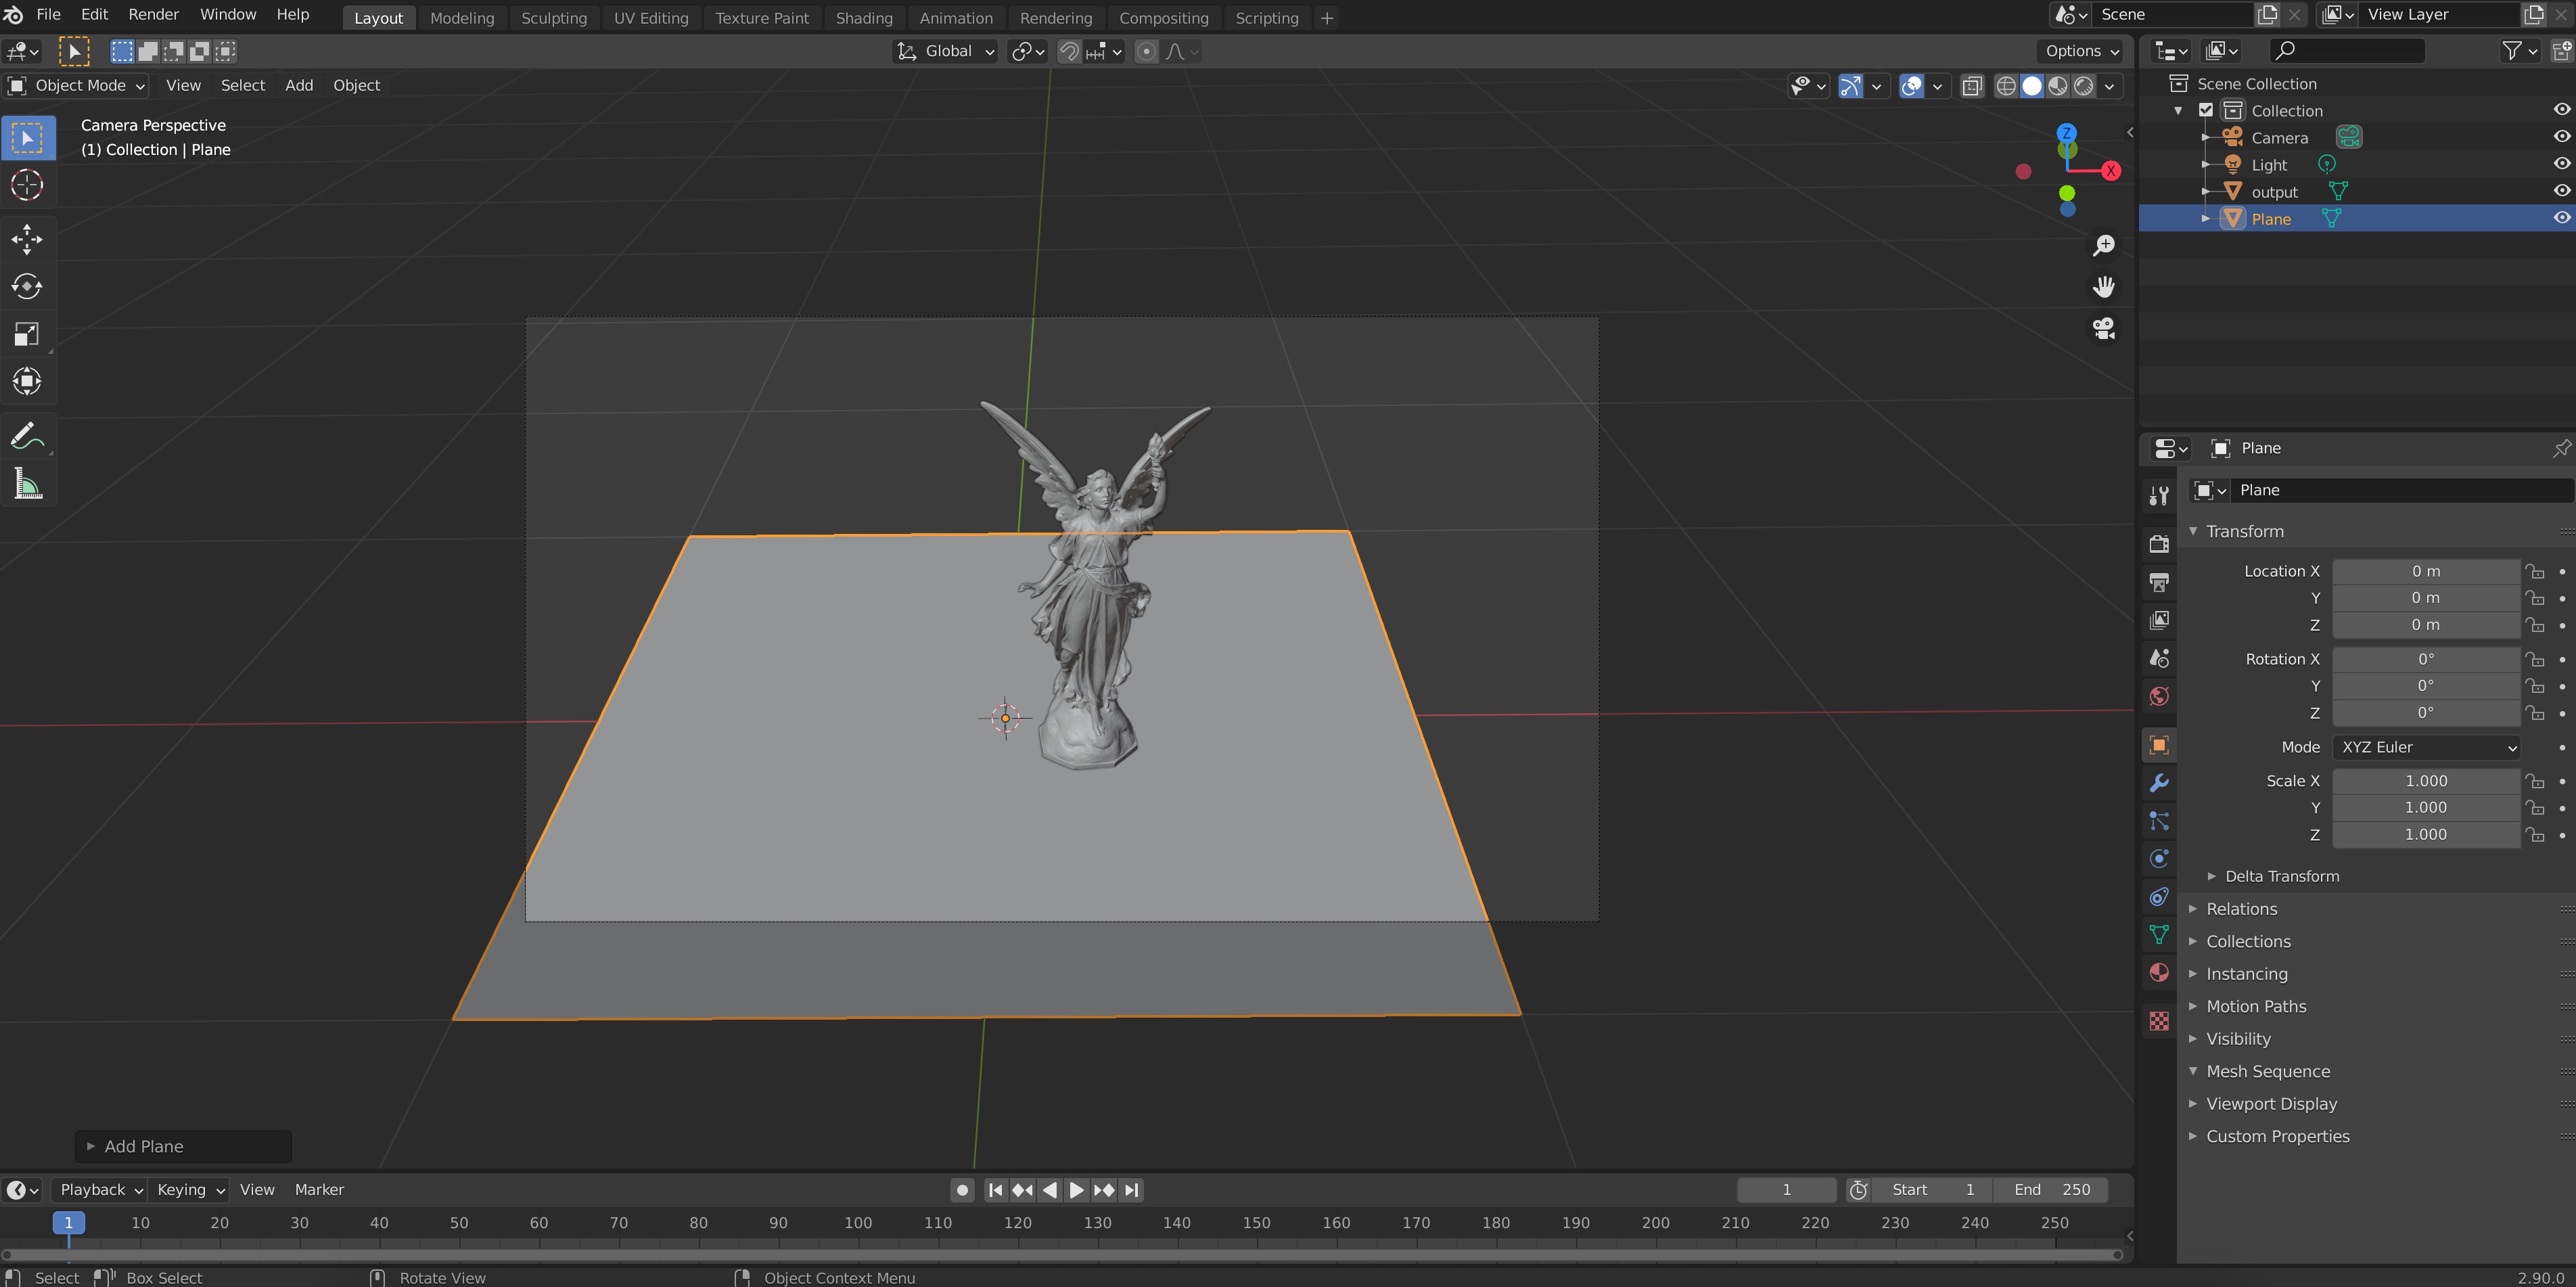
Let’s scale the plane so that it covers all the ground seen in the image. To do this we go to the object properties (clicking on the orange/yellow square icon on the bottom-right toolbar), and input values for the X and Y scale; for example, 20 for each
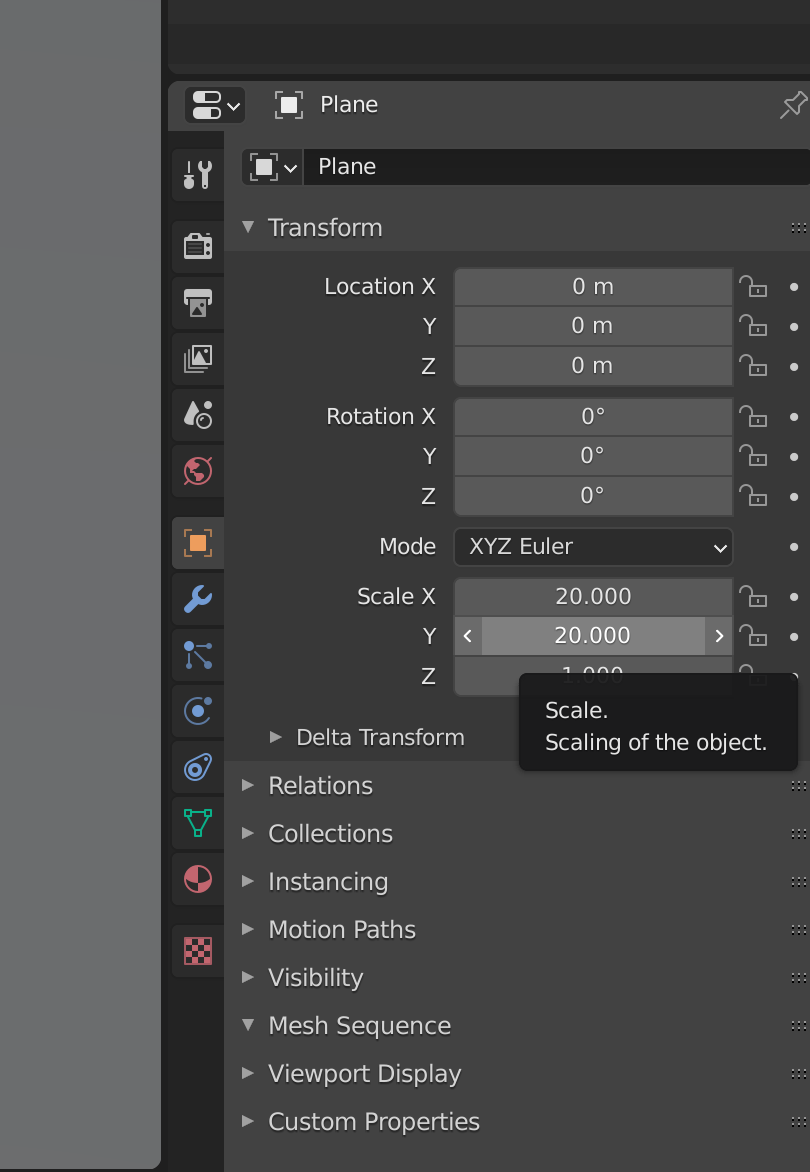
A good practice to have after we’ve done a transformation like a translation, rotation and scaling and we are happy with it, is to “apply it”, i.e., lock it and make it permanent, turning a 1-by-1 scaled up plane into a 20-by-20 unscaled one. The difference is nuanced but it will be noticeable if you later use textures or physics. To do this we just use the spacebar and type “Apply all transformations”
![]()
A note: Blender loves crashing on you and deleting your progress. Save your .blend file and do it often.
- Let’s see how our figure is looking. Right now we are looking at our shape in the default viewmode, in which we can see the geometries of the objects on the scene but not their materials or lights. To see what our figure would look like rendered, on the top right of our viewport we can choose the “Render preview”, the right-most of the sphere-looking icons.
By default, you’ll see something like this
This is using Blender’s internal non-raytracing engine Eeve, which is really fast but can fail unexpectedly. Since we won’t mind waiting a few minutes for our final render, we will switch to Blender’s raytracing engine Cycles. To do this we go to “Render properties” on the menu on the right and under “Render Engine”, we choose Cycles.

You’ll notice the render takes much longer to complete and you can see it progress from really noisy to less noisy since it is using a real raytracer. Soon you’ll get an image like this:
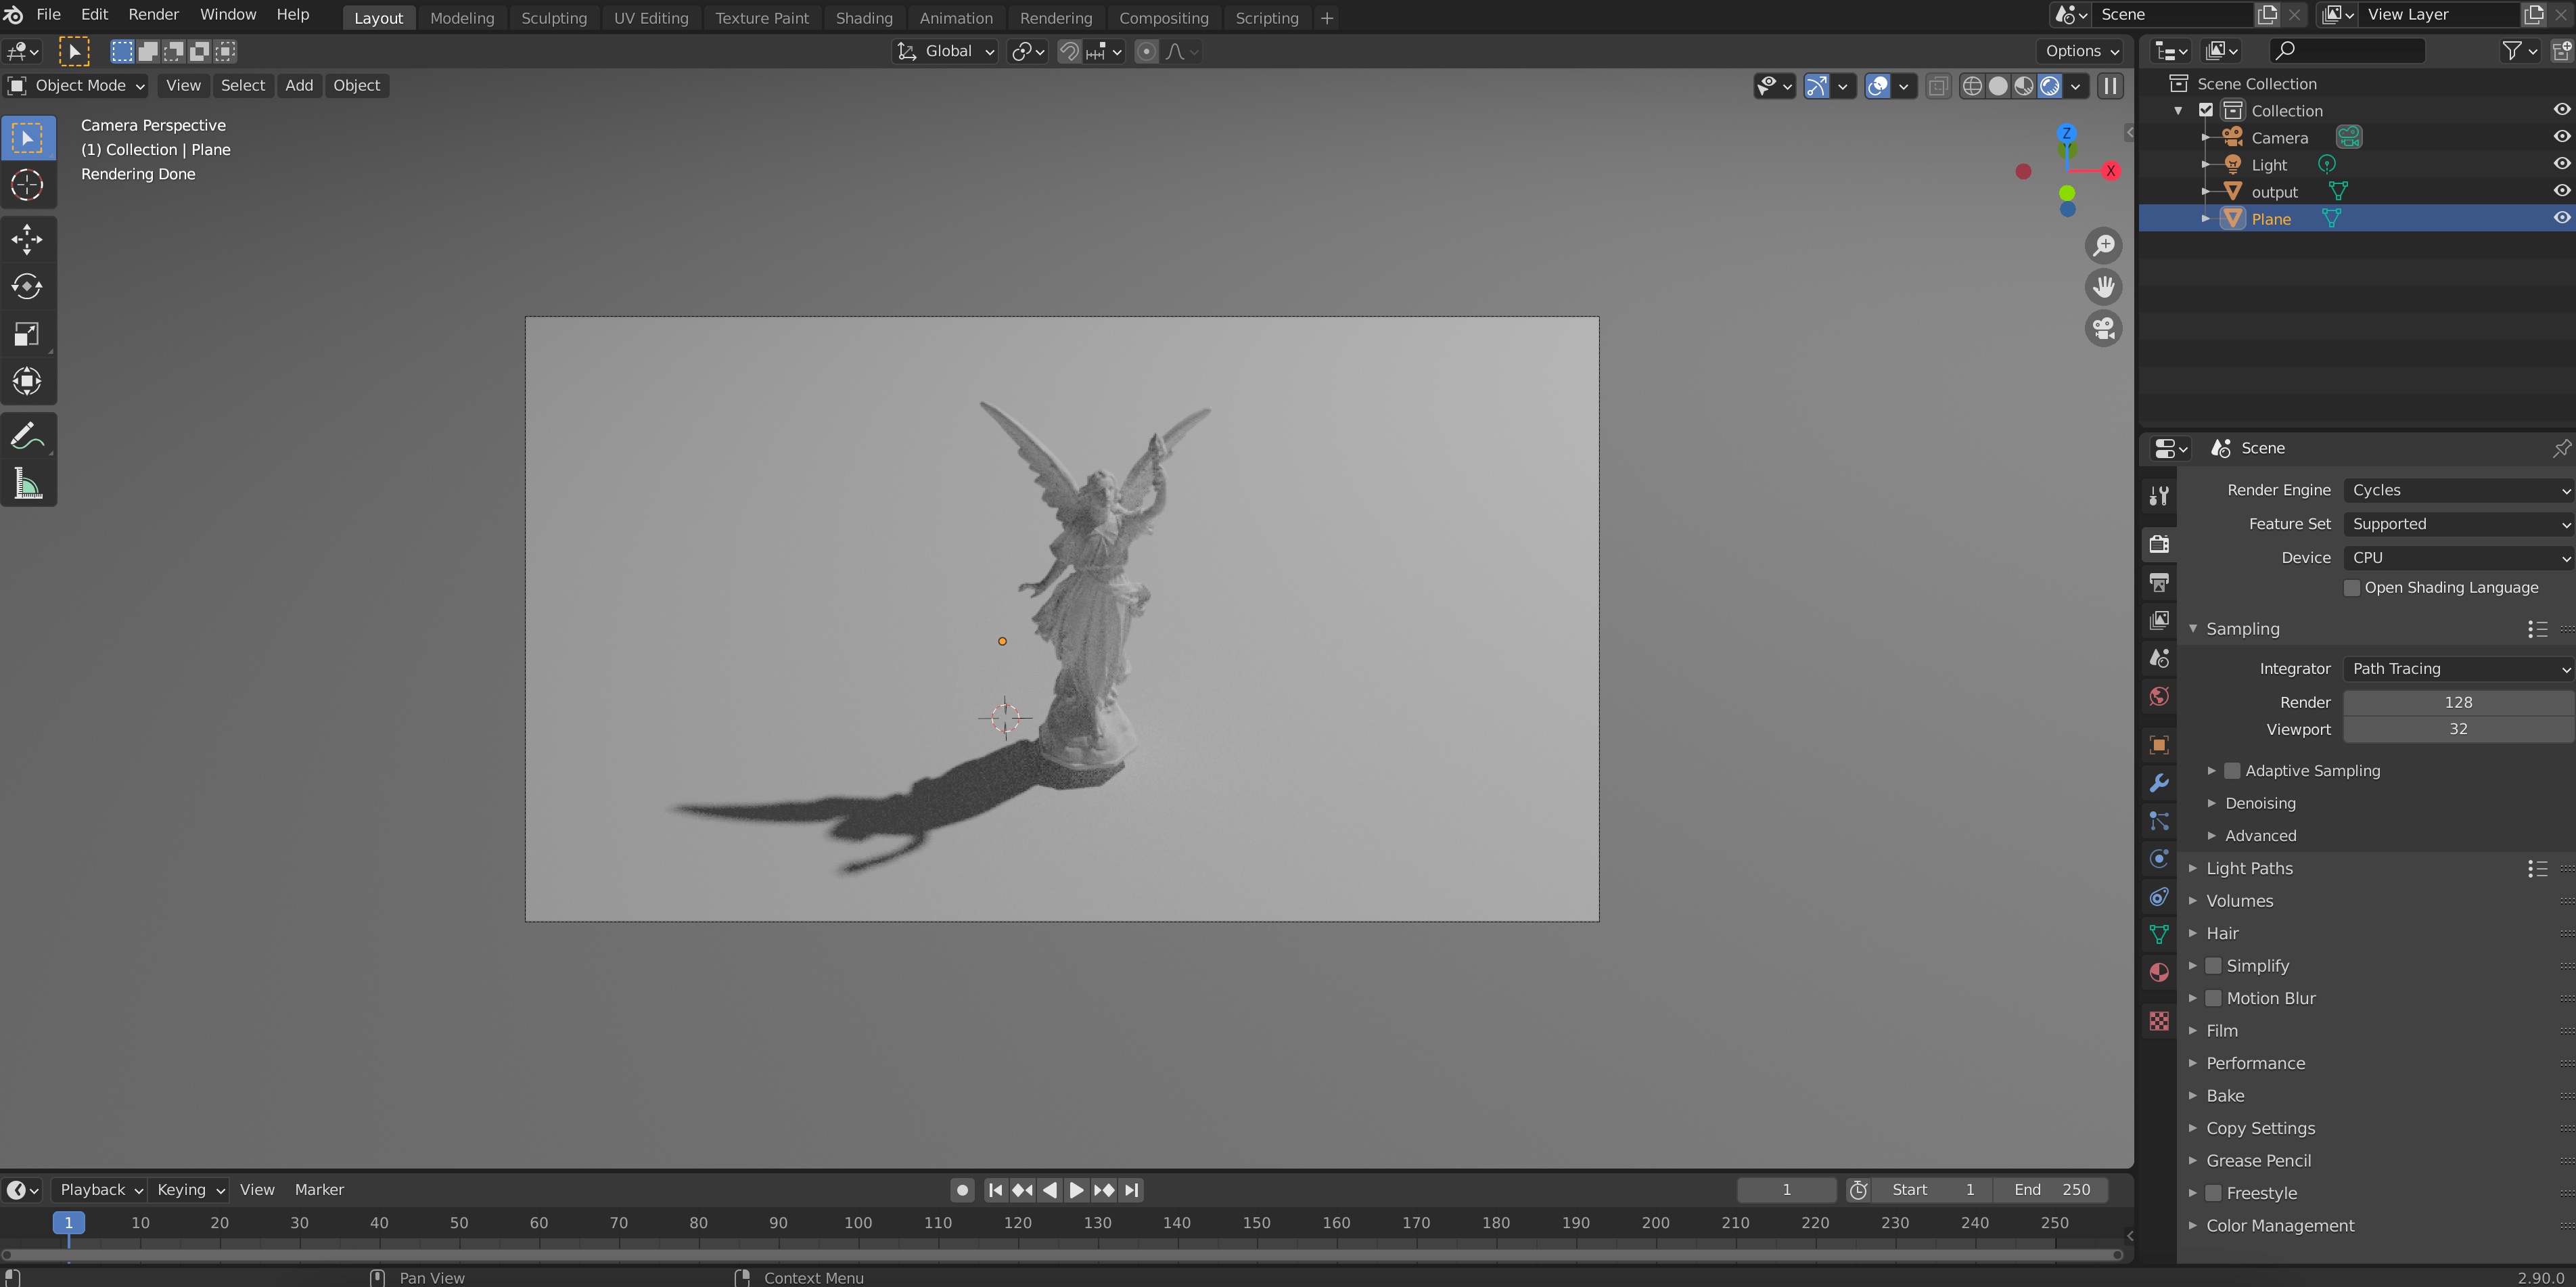
Don’t worry if it still looks quite a little grainy and noise, that’s because we’re looking at a preview. Blender will do many more samples when we ask it to render the image for real. But even from our preview, something is pretty obvious: both our shape and the ground have this chalk-like look, which is nothing but Blender’s default material. We need to give our objects a material before we render them.
- To choose a material for your object, you have three options: One, you can watch and listen through the many tutorials there are on Blender material shaders (e.g., this); second, you can download the magnificent physically-realistic PBR Materials Add-on (follow its guide to learn how to use it, it’s actually very simple); third, you can use one of the geometry-paper-friendly non-physically realistic materials I have already designed for this purpose (using guidance and advice from Hsueh-Ti Derek Liu, Oded Stein and the colormaps from Cynthia Brewer). We will follow this last option, which begins by downloading my Blender template file. Once you’ve downloaded it, you don’t even need to open the file. Instead, from your own file, go to File->Append.
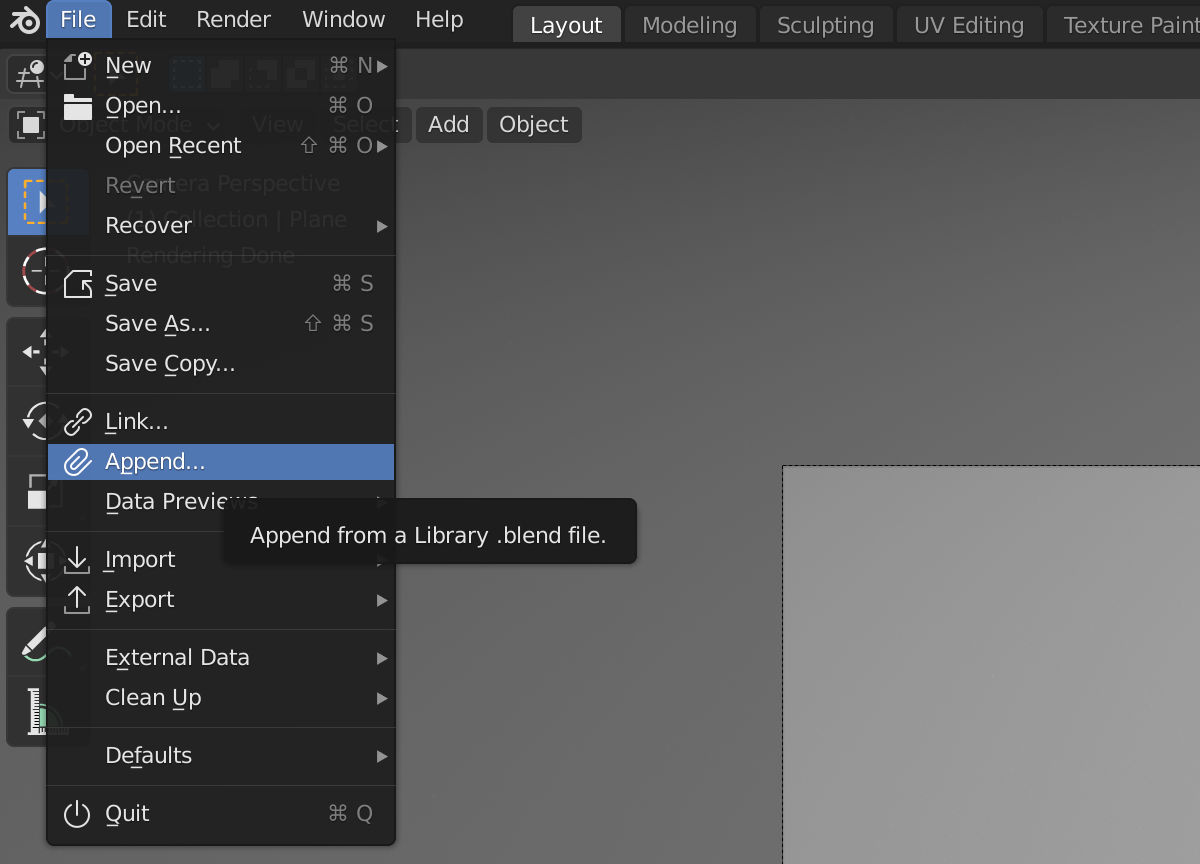
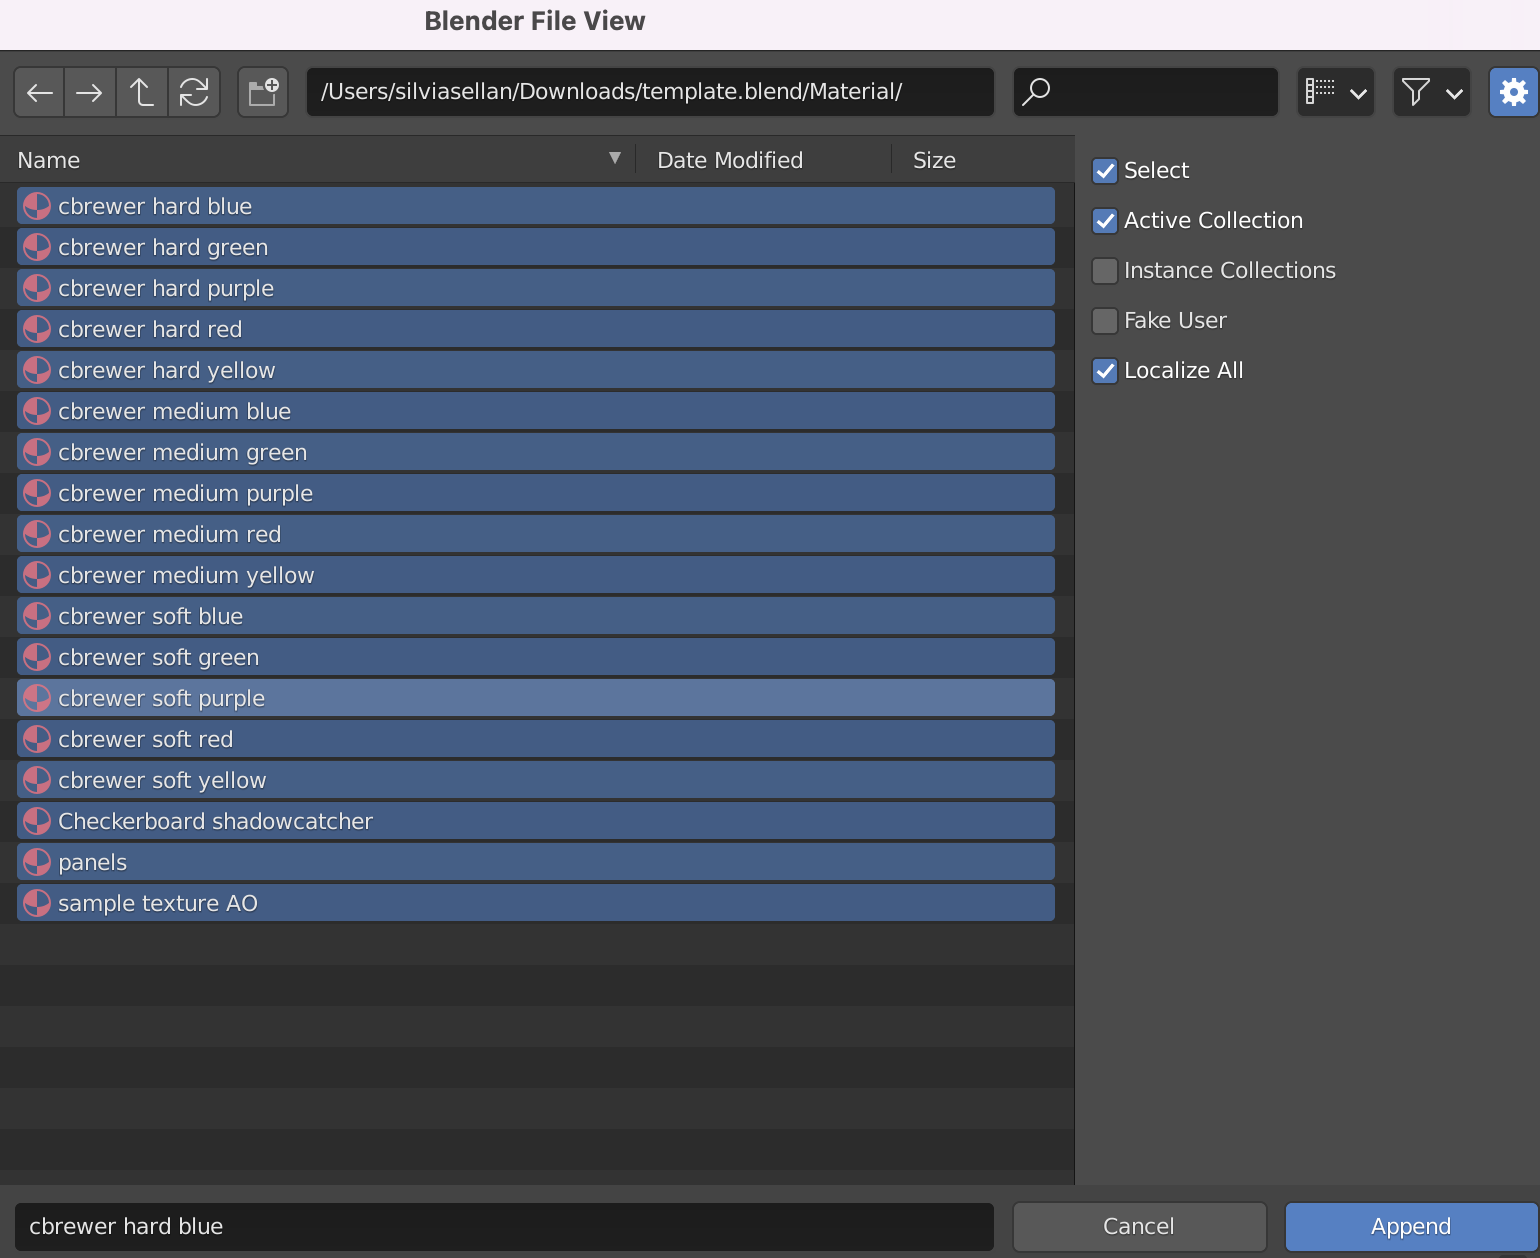
Then, navigate to template.blend. Click on it and then navigate to Material. Select all the materials and click on Append. Then, all the materials from the template will be loaded into your own .blend file.
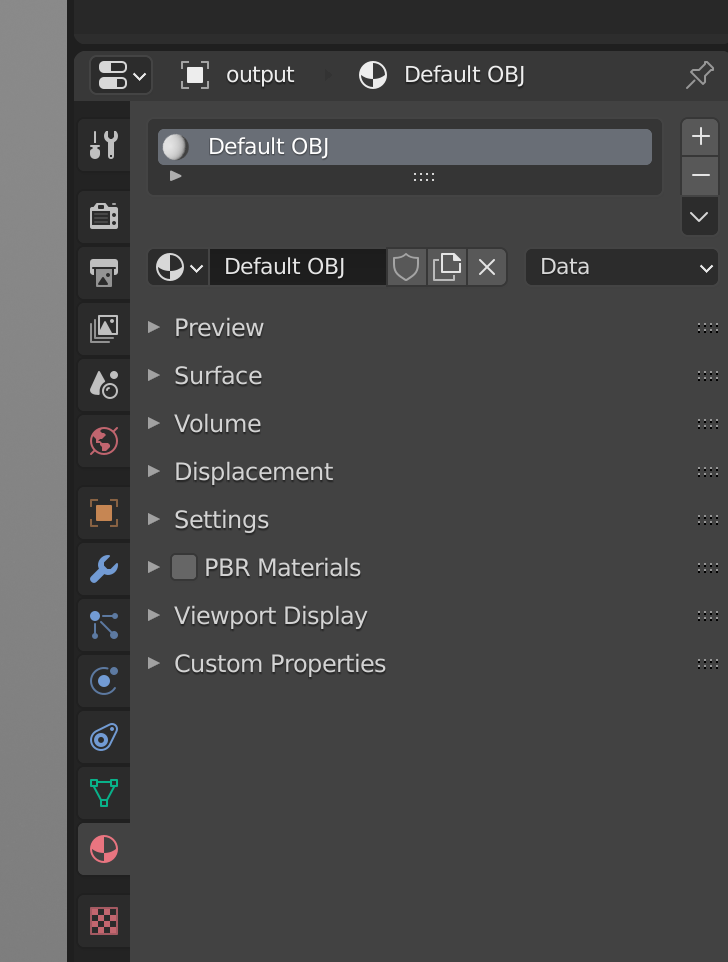
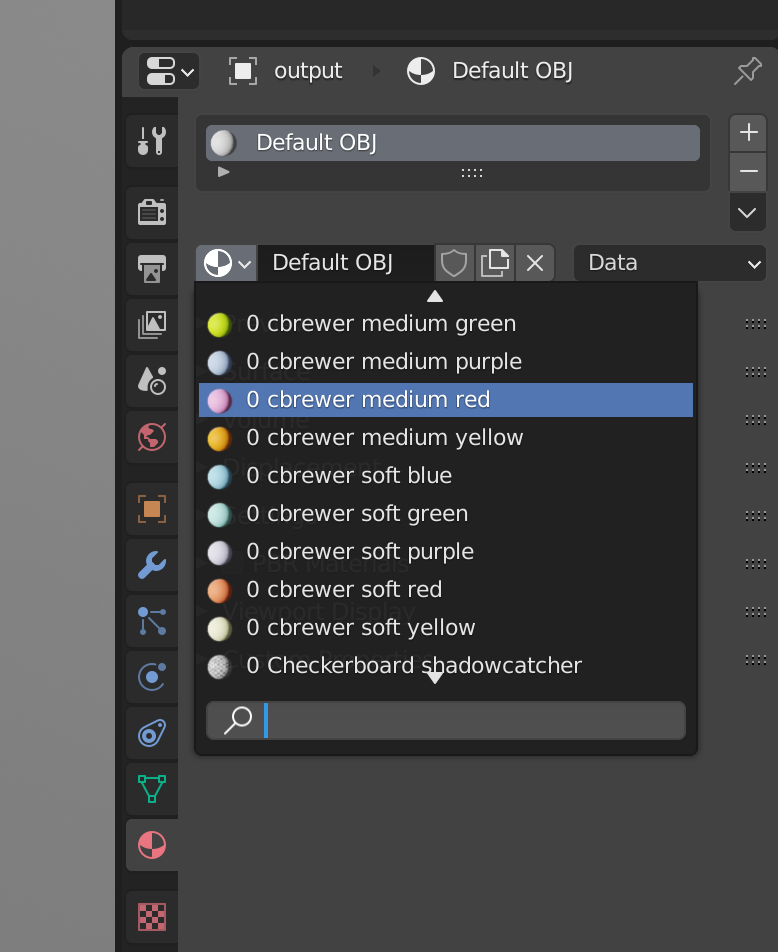
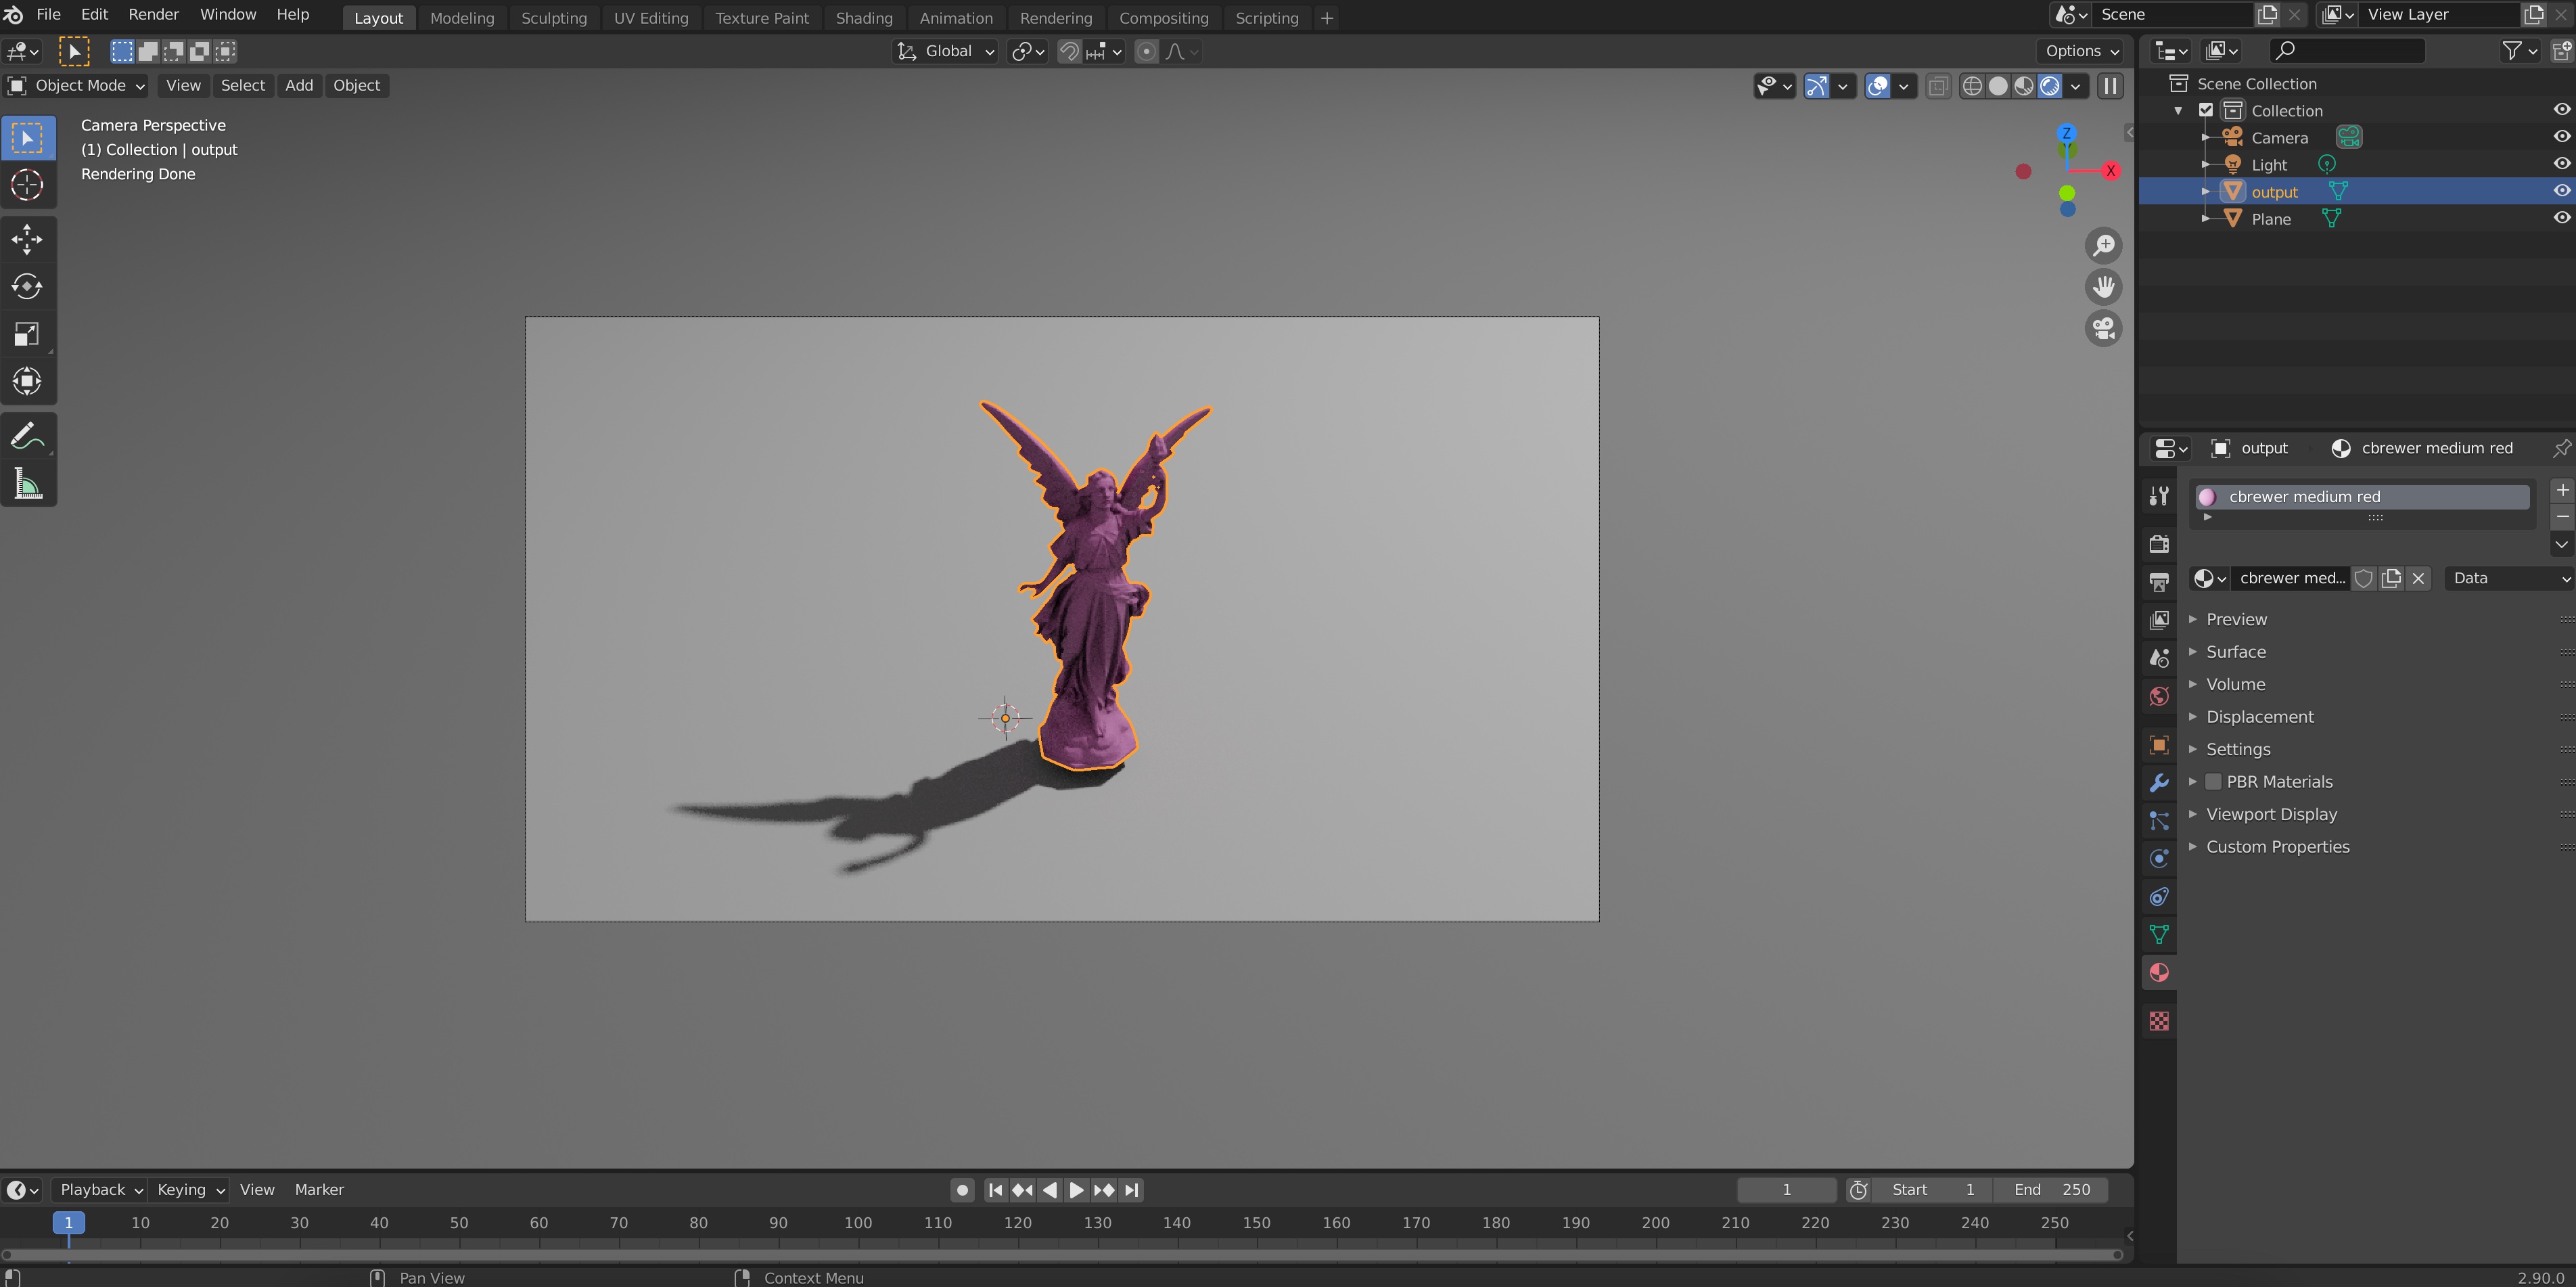
Now, select your output object by clicking on it and go to Material Properties on the menu on the right of your viewport (the one with the red spherical symbol), where you’ll see something like this:
Click on the black-and-white spherical icon and select one of the new materials you’ve appended:
You’ll see the render update with the new material:
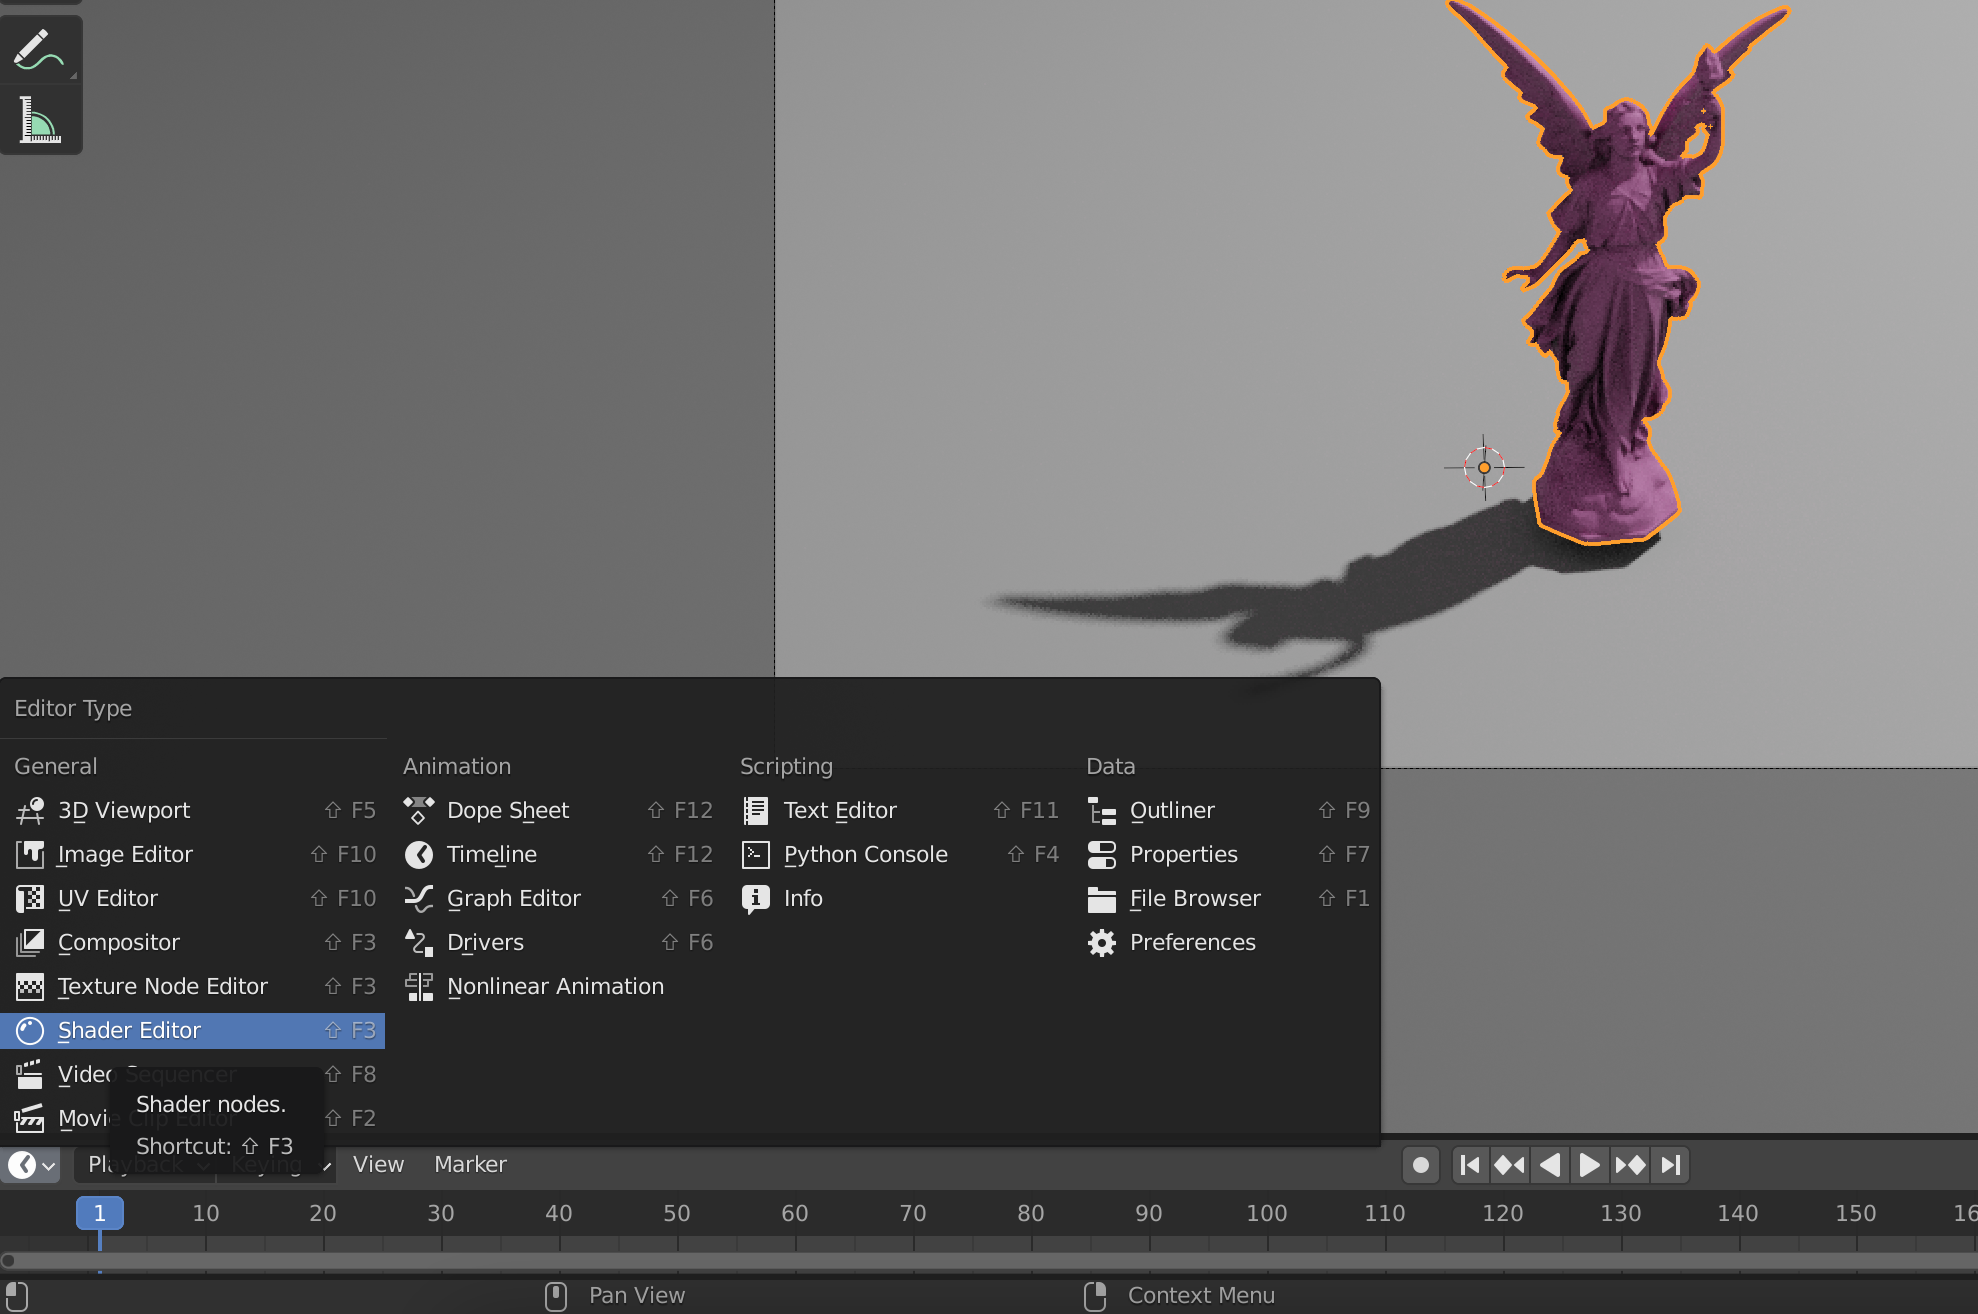
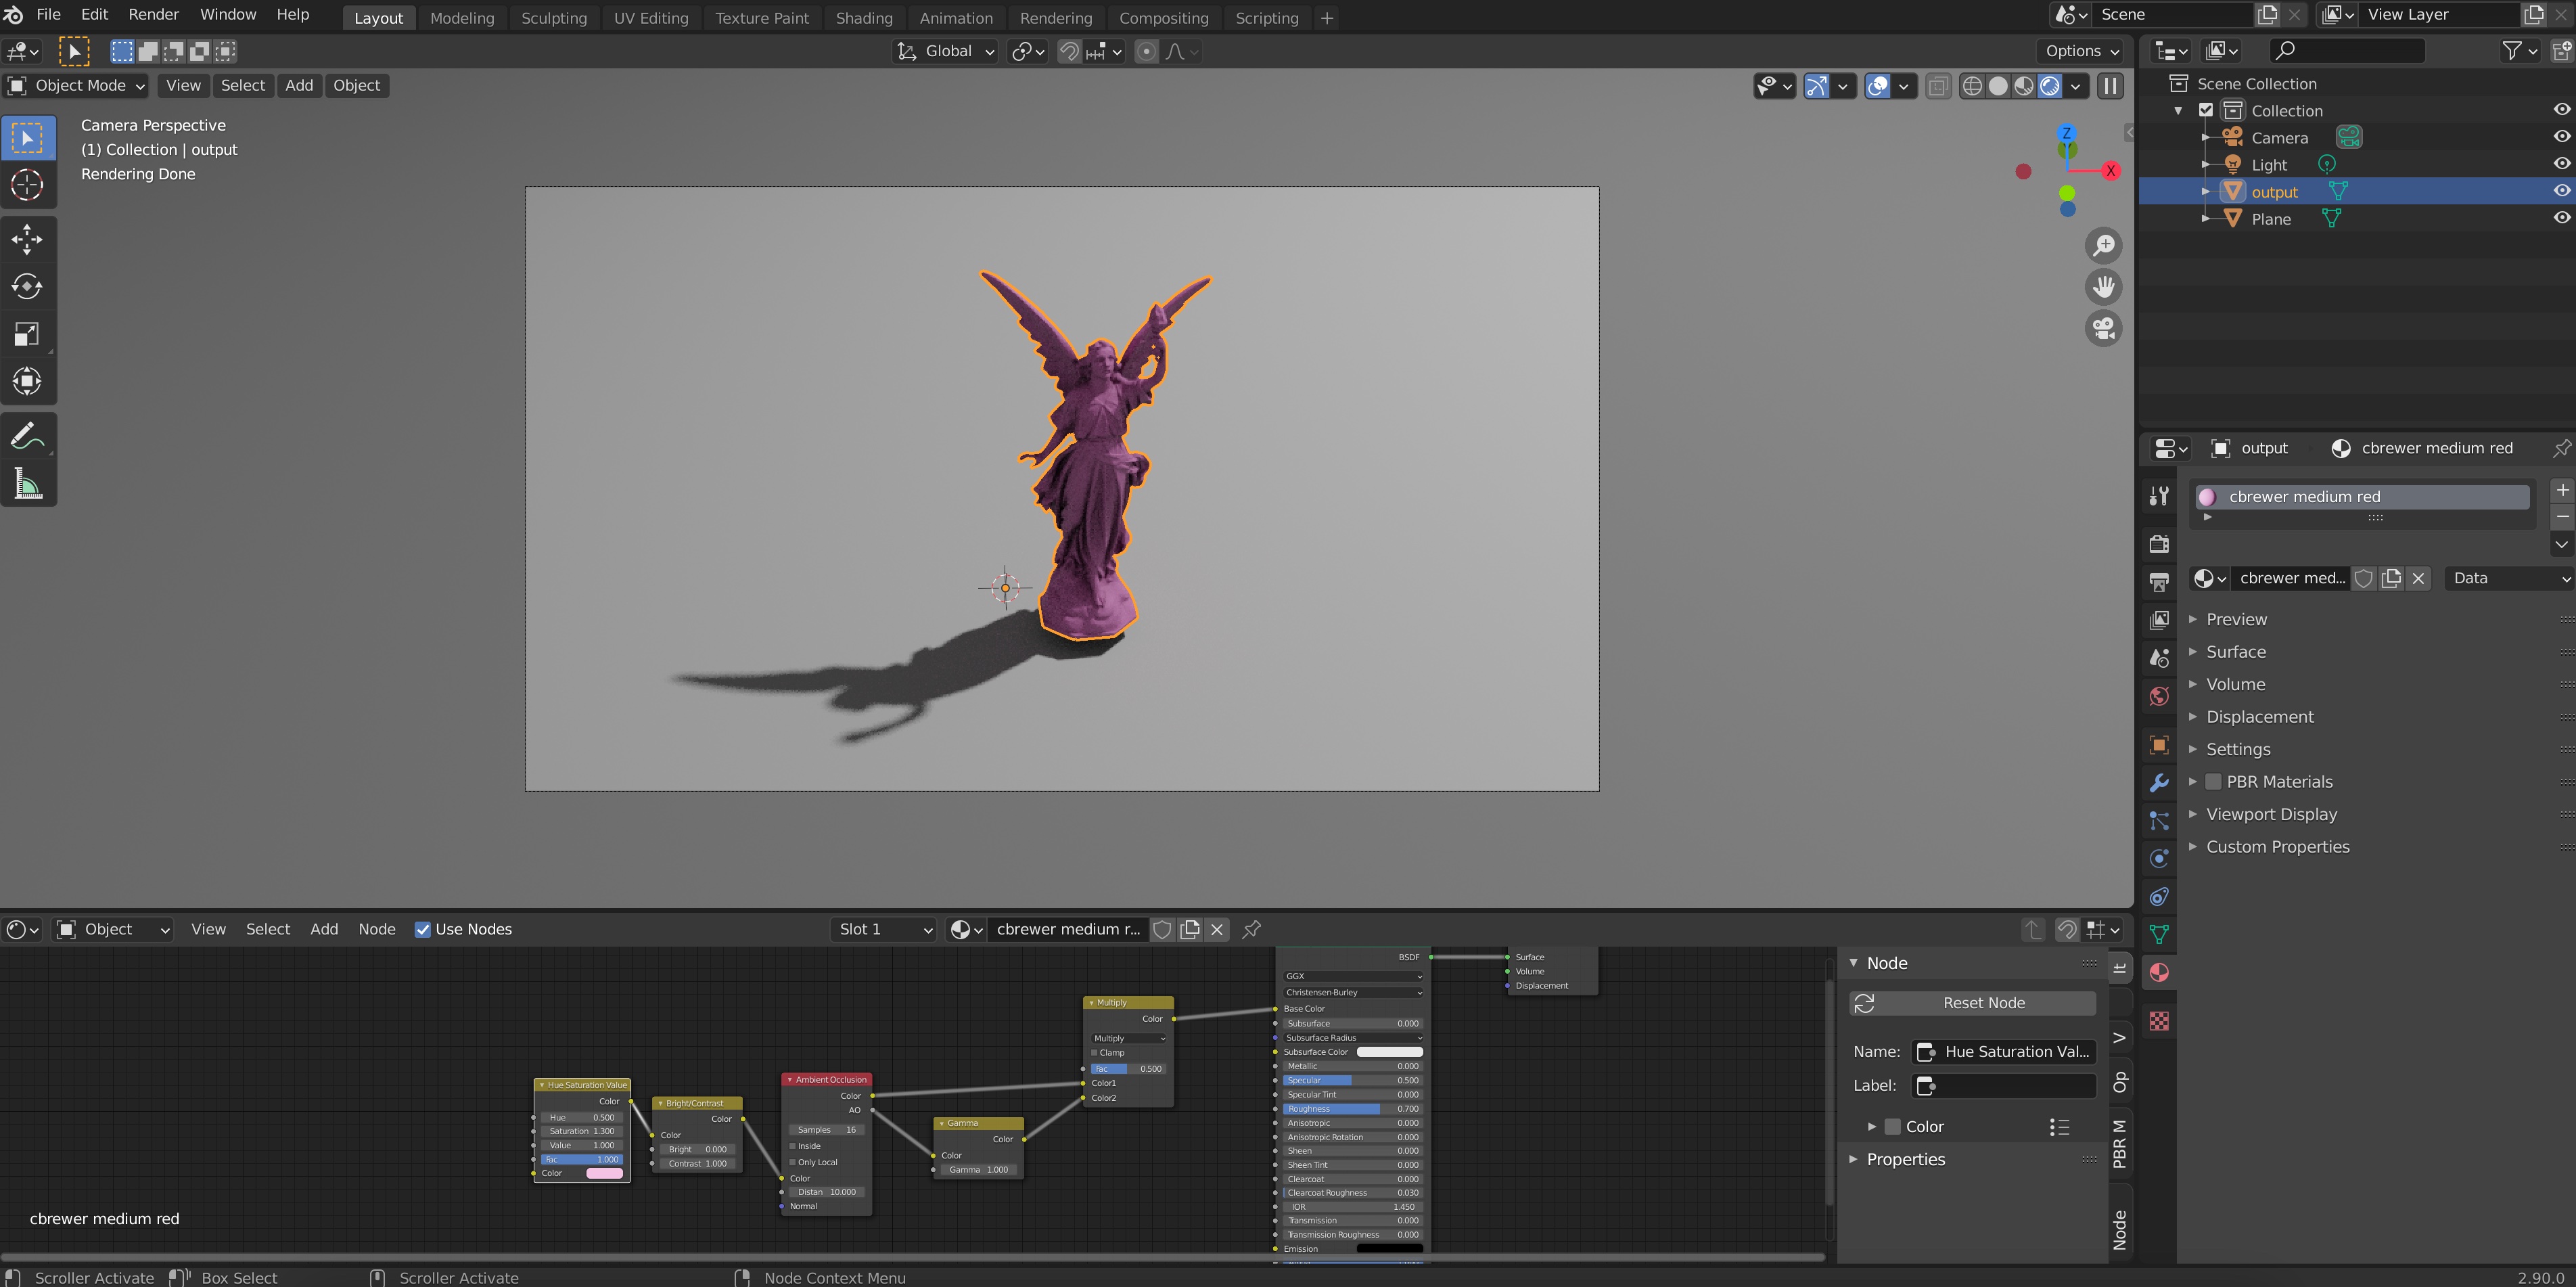
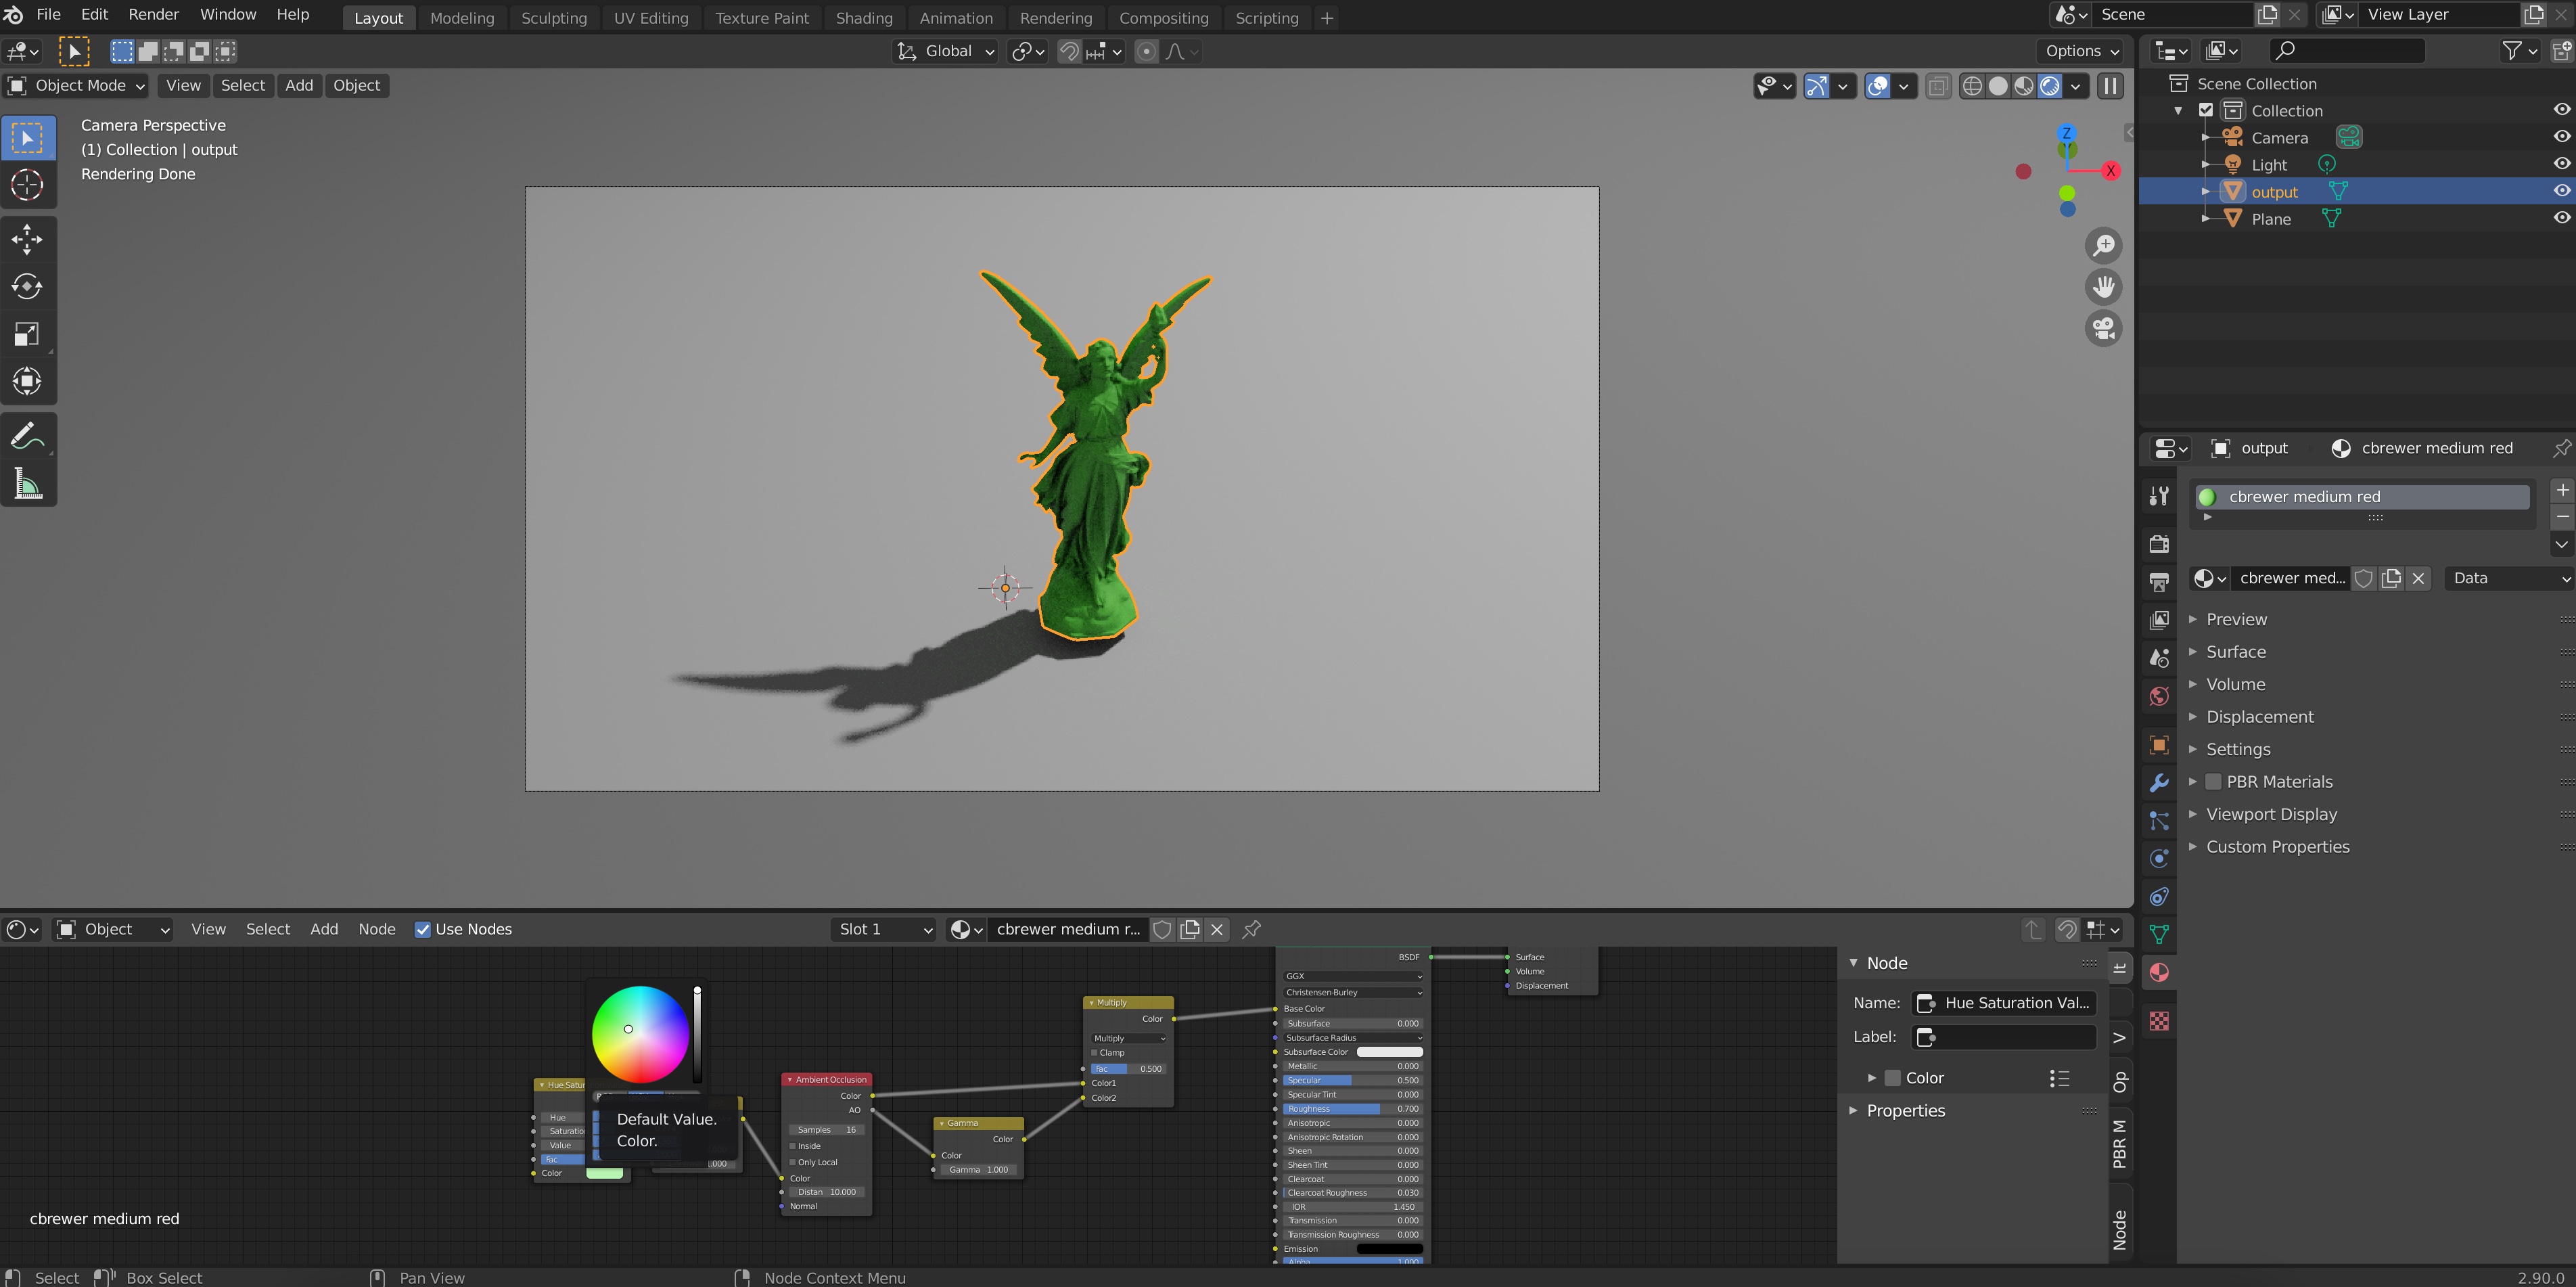
If you want, you can change the color by selecting “Shader Editor in the bottom left”
If you expand the bottom-most toolbar, you can see a node on the far left with a “Color” field from the color of the material. Just click on it to edit the base color used in the material (you don’t need to understand what any of the other nodes are doing at this stage).
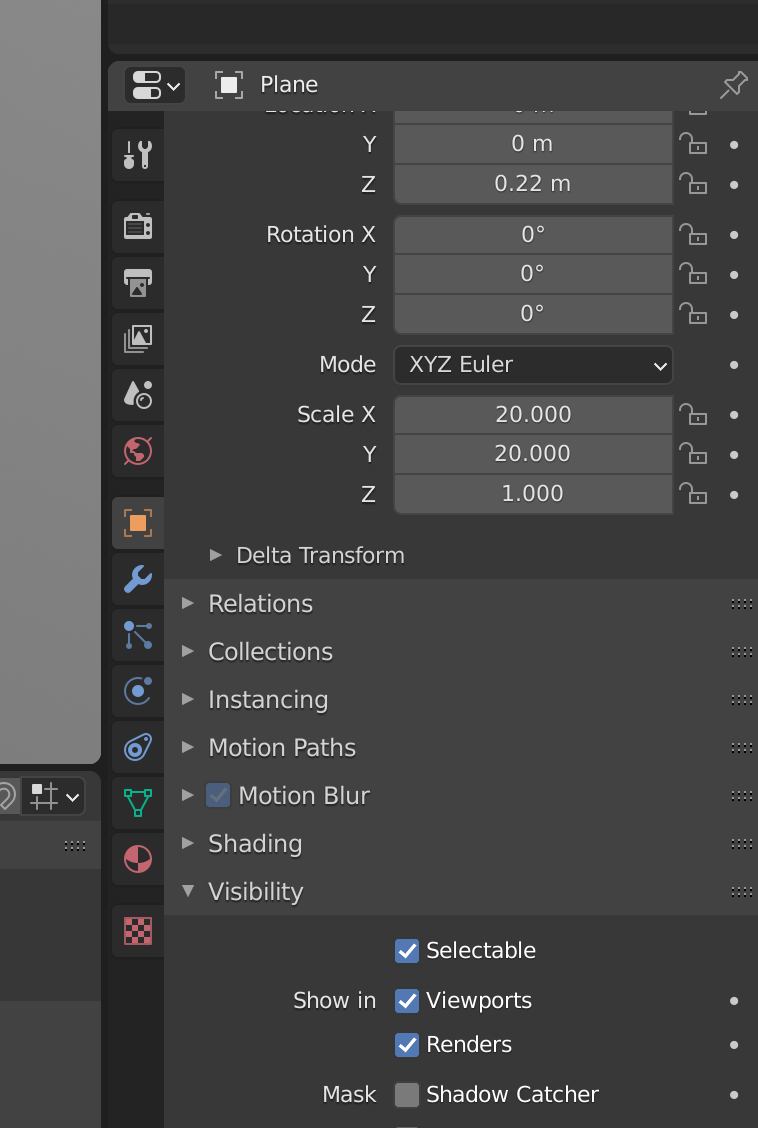
Let’s minimize this node window again and go back to our render. The obvious thing that’s wrong still is the ground. It doesn’t have any material. In fact, most SIGGRAPH paper figures are transparent; they include shadows but the shadow is seen directly on the white paper background, instead of including a realistic ground texture or image. To obtain this effect we can click on the ground, go to Object Properties->Visibility and activate the “Shadowcatcher” option.
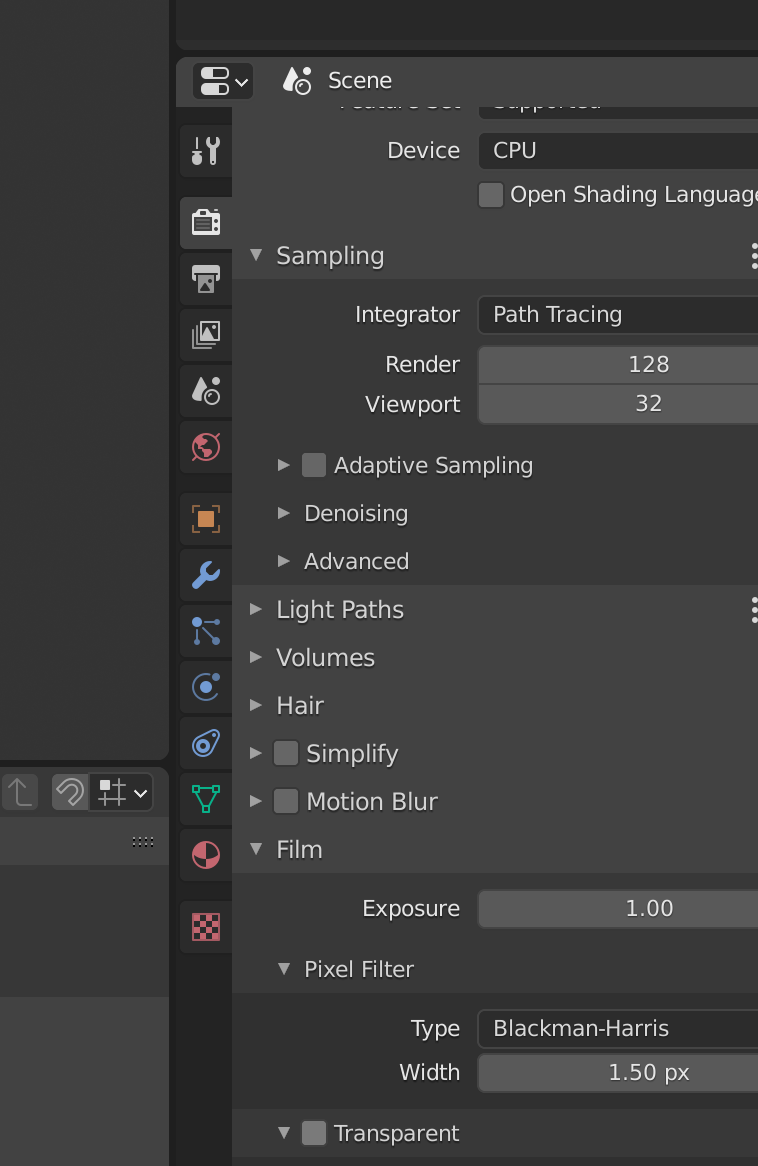
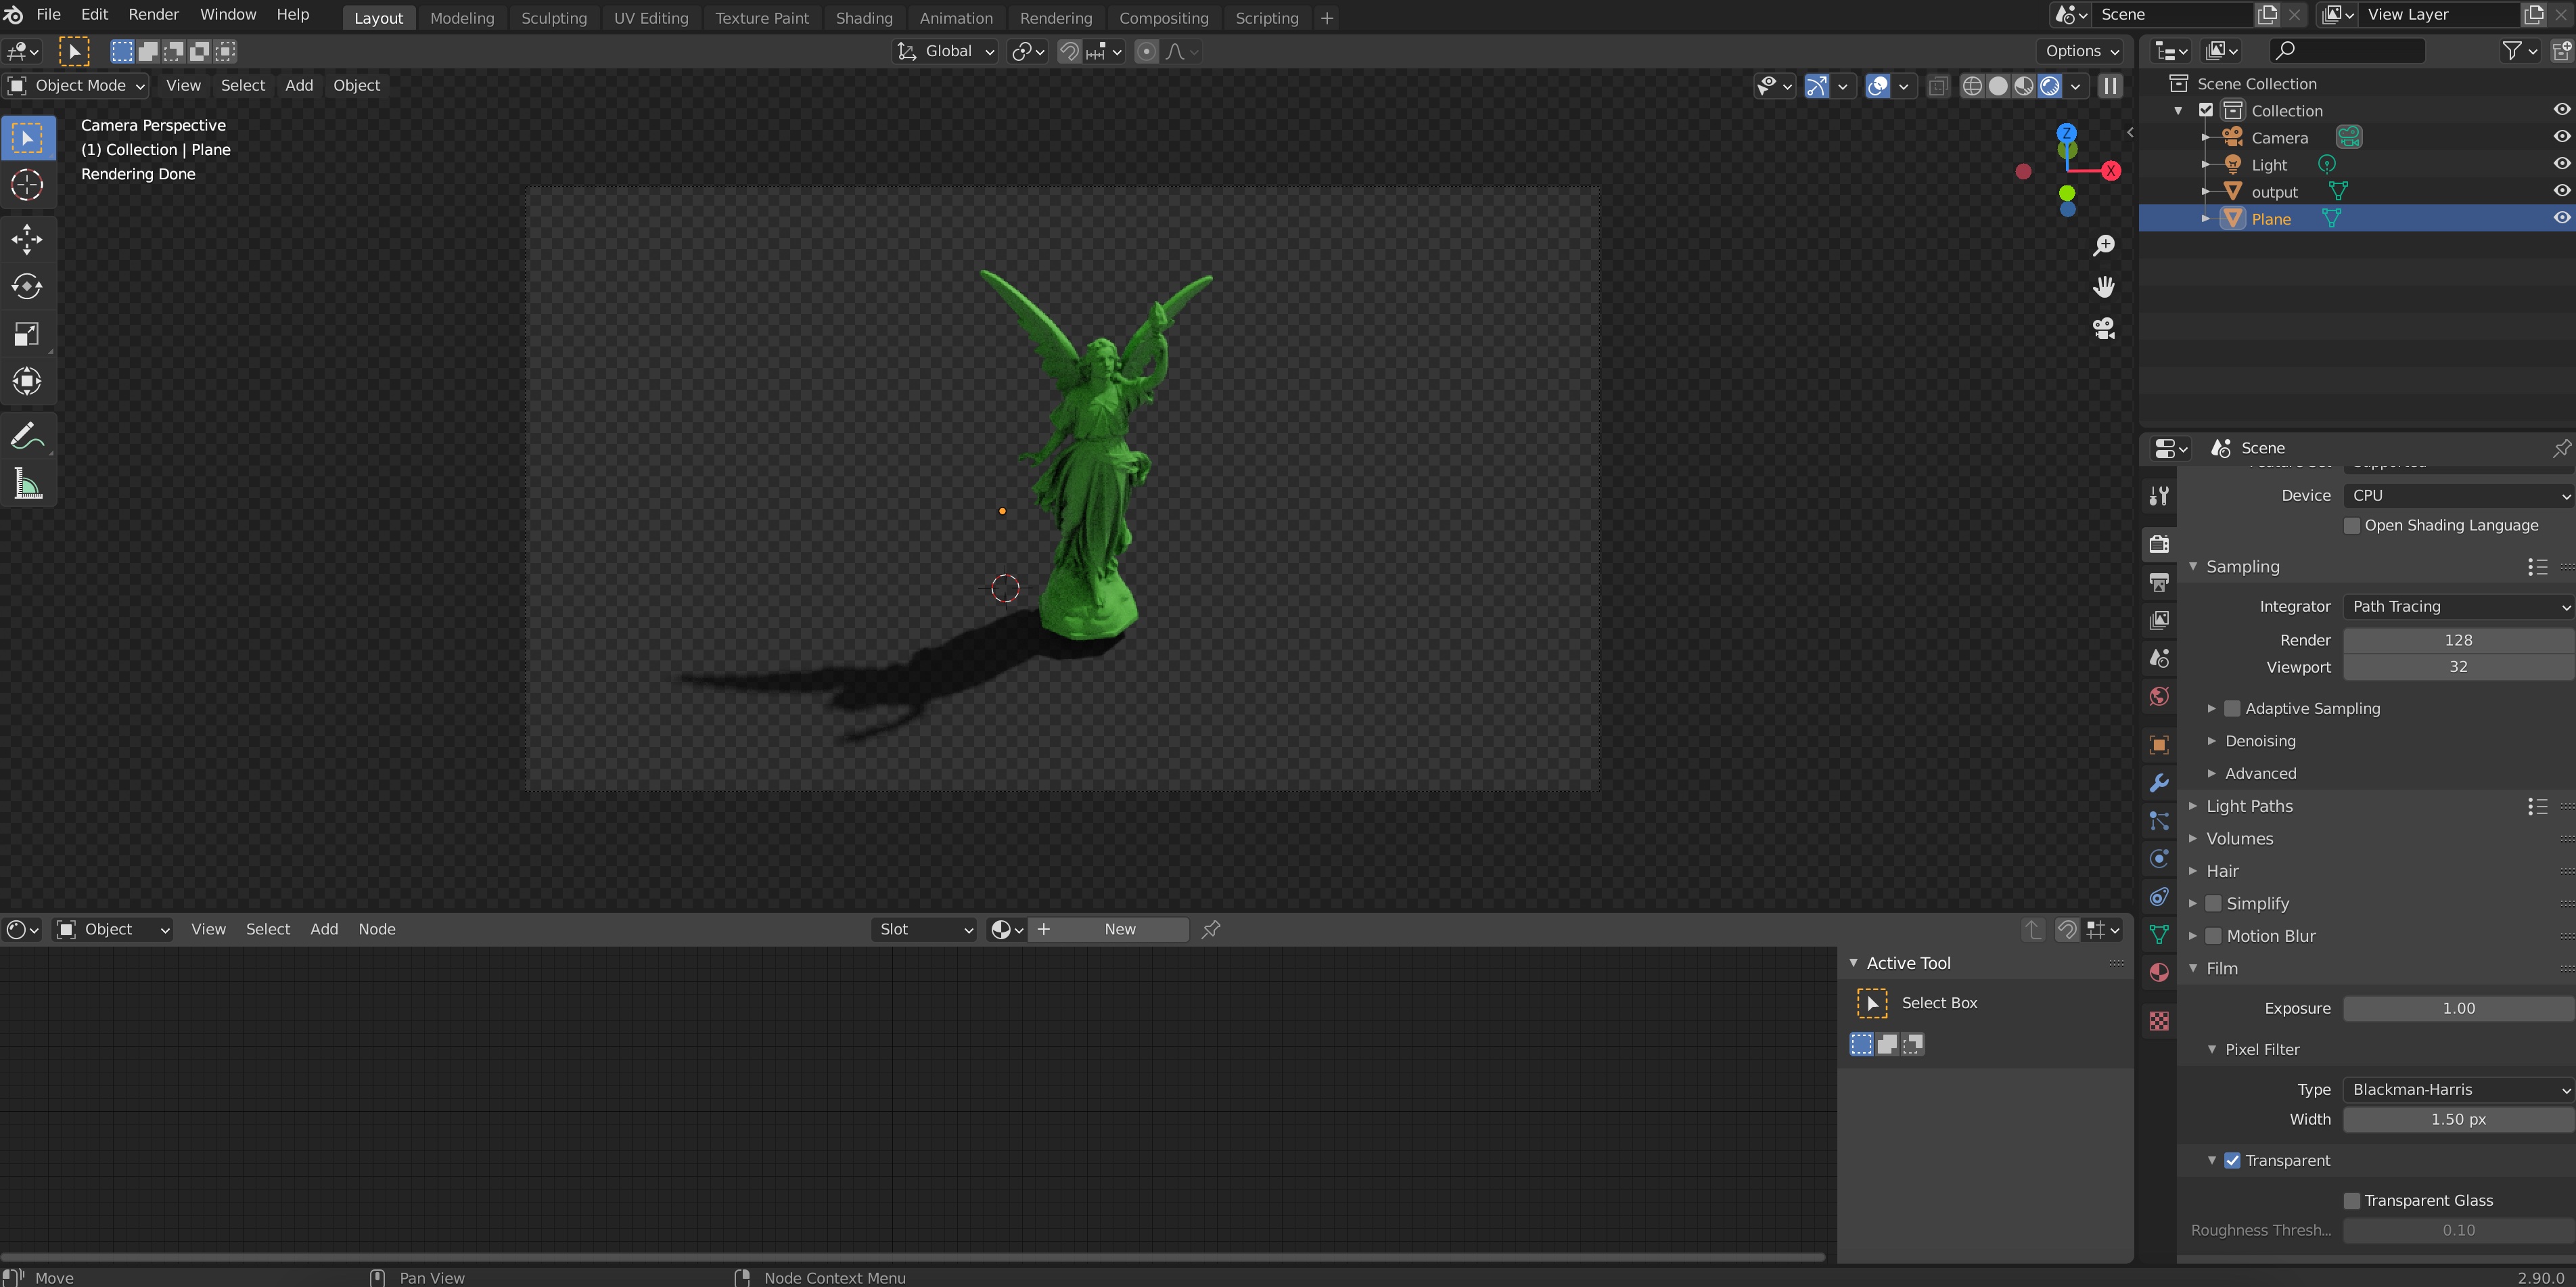
But that’s not all, we also need to go to “Render Properties” and under “Film”, activate the “Transparent” option. Only then will our render actually have no background.
We’ll see something like this, where the checkerboard pattern on the background is the clue meaning “this part will be transparent in the final rendered image”.
Okay, so now we have decided all the materials involved in our figure. The only step we need is to decide on the sources of light that will be interacting with those materials.
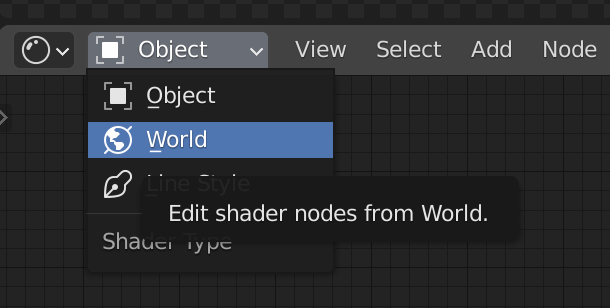
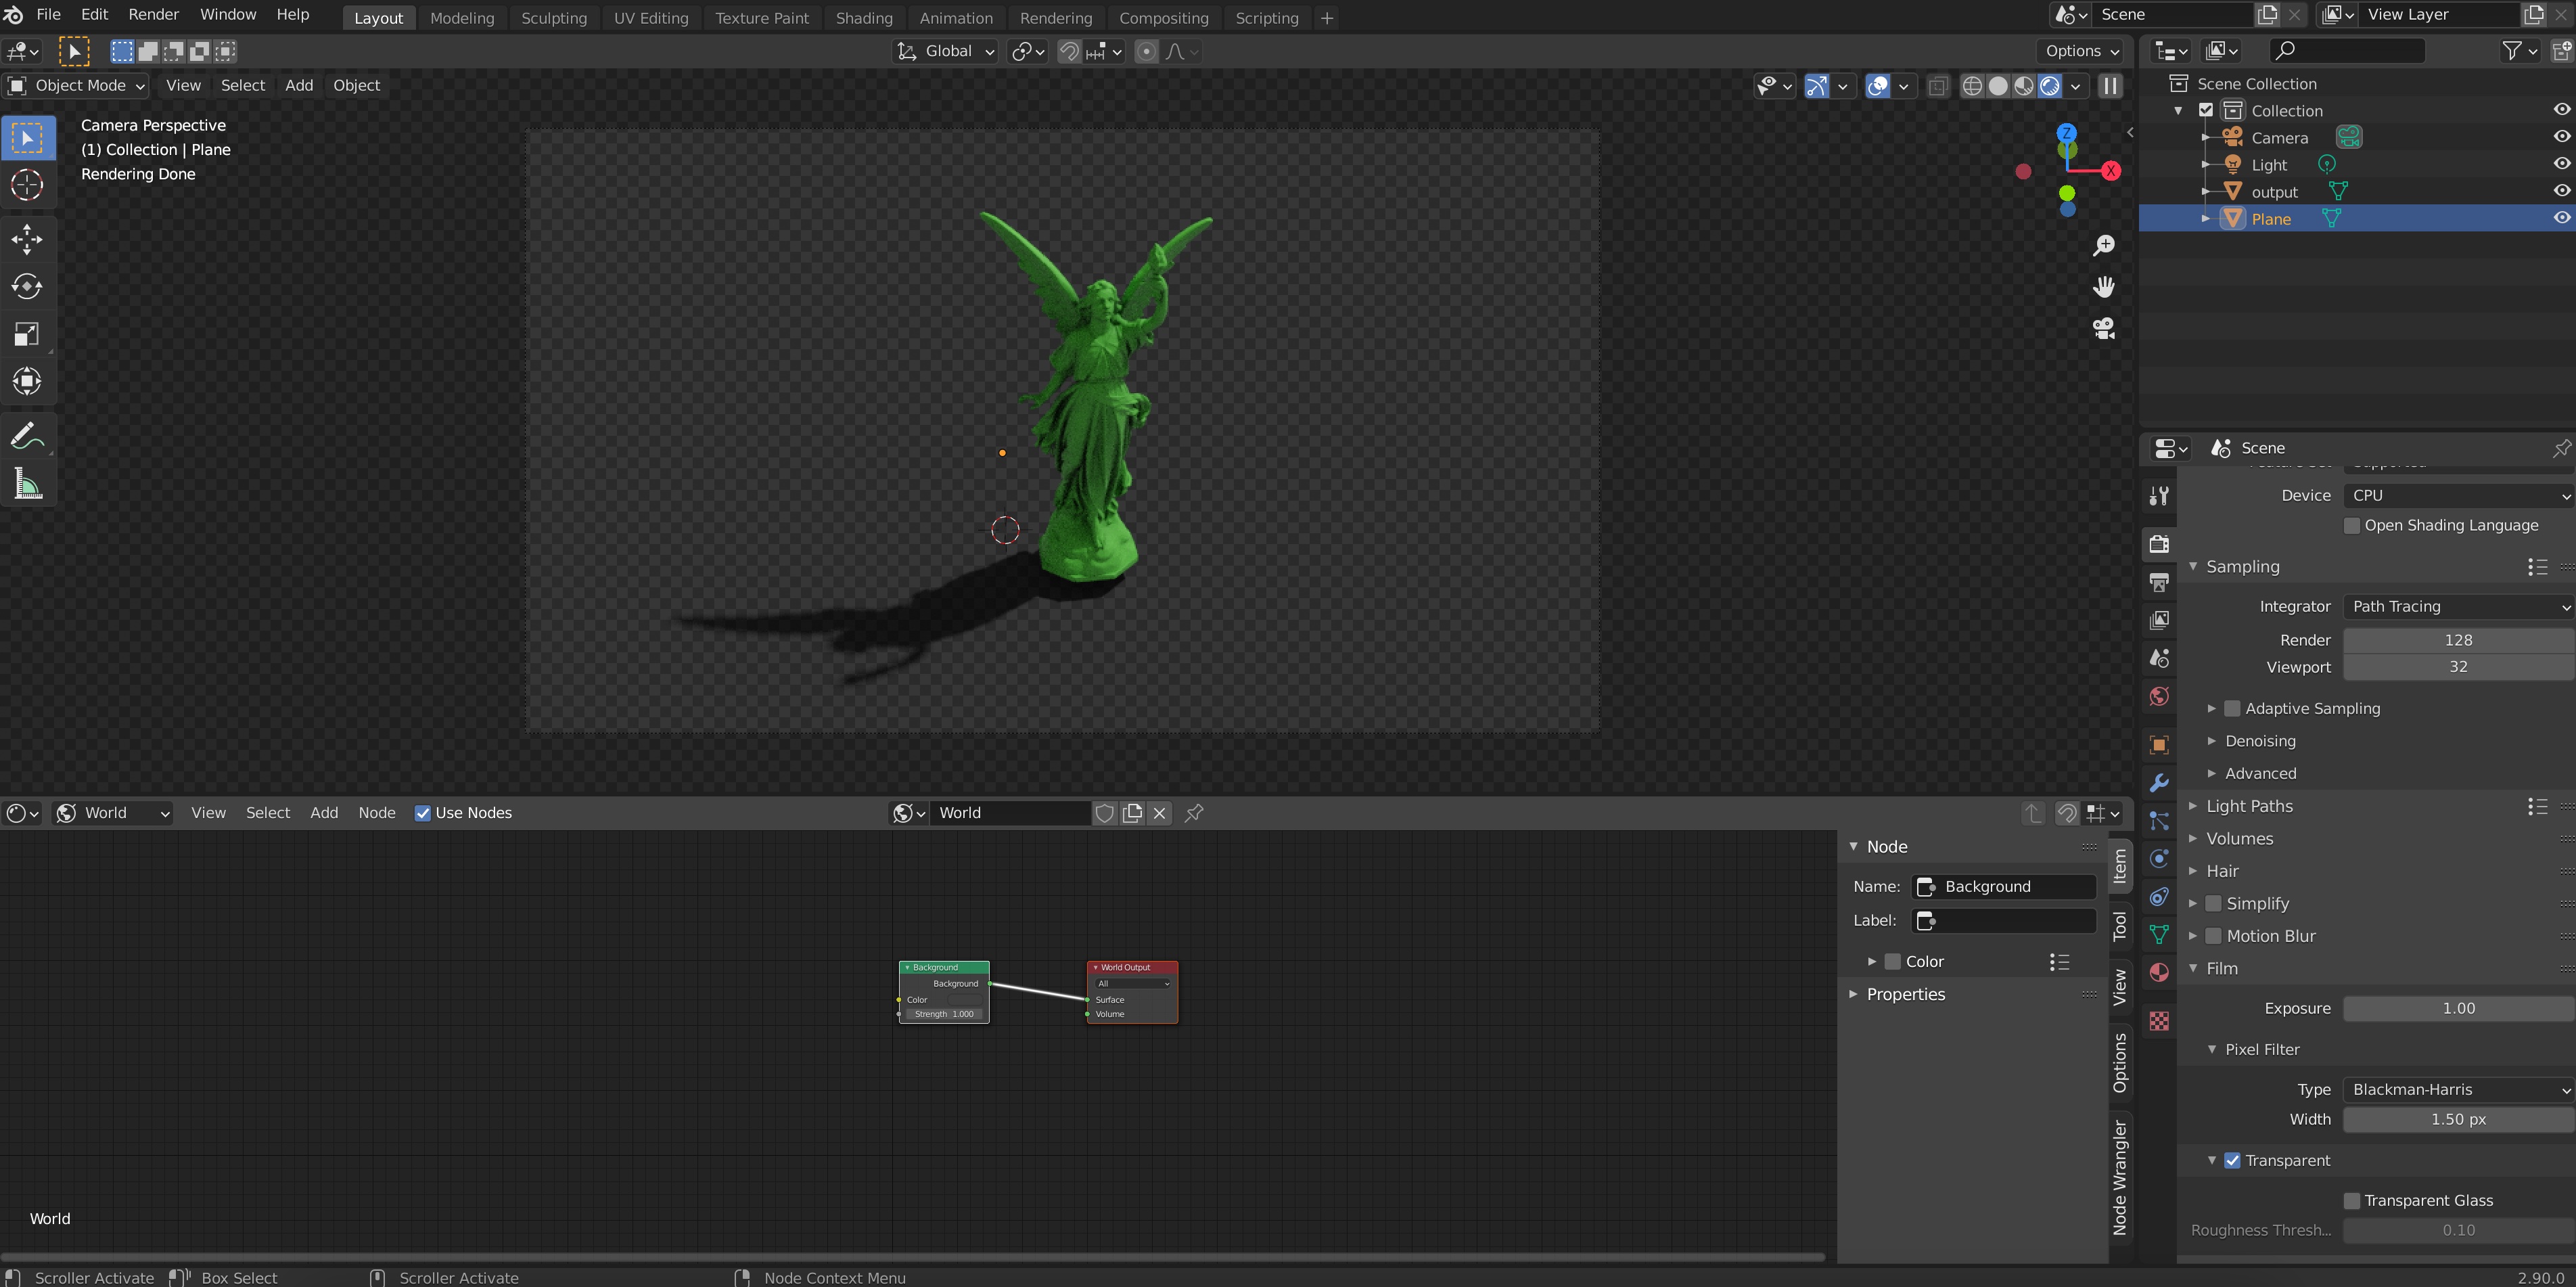
- To pick the lighting setup in our scene, you once again have the option of learning from artists who have created amazing free tutorials on how to set up a scene in Blender (e.g., this). You could also append the lighting setup from my template file in the same way we just did for the materials, which I don’t claim is particularly good, just OK. The third option, which is the one I like the most, is to use one of Blender’s existing real-world environment lighting maps or HDRis. To do this, let’s go to the shader editor again:
and next to it, instead of “Object”, pick “World”.
If you expand this window you’ll see something like this
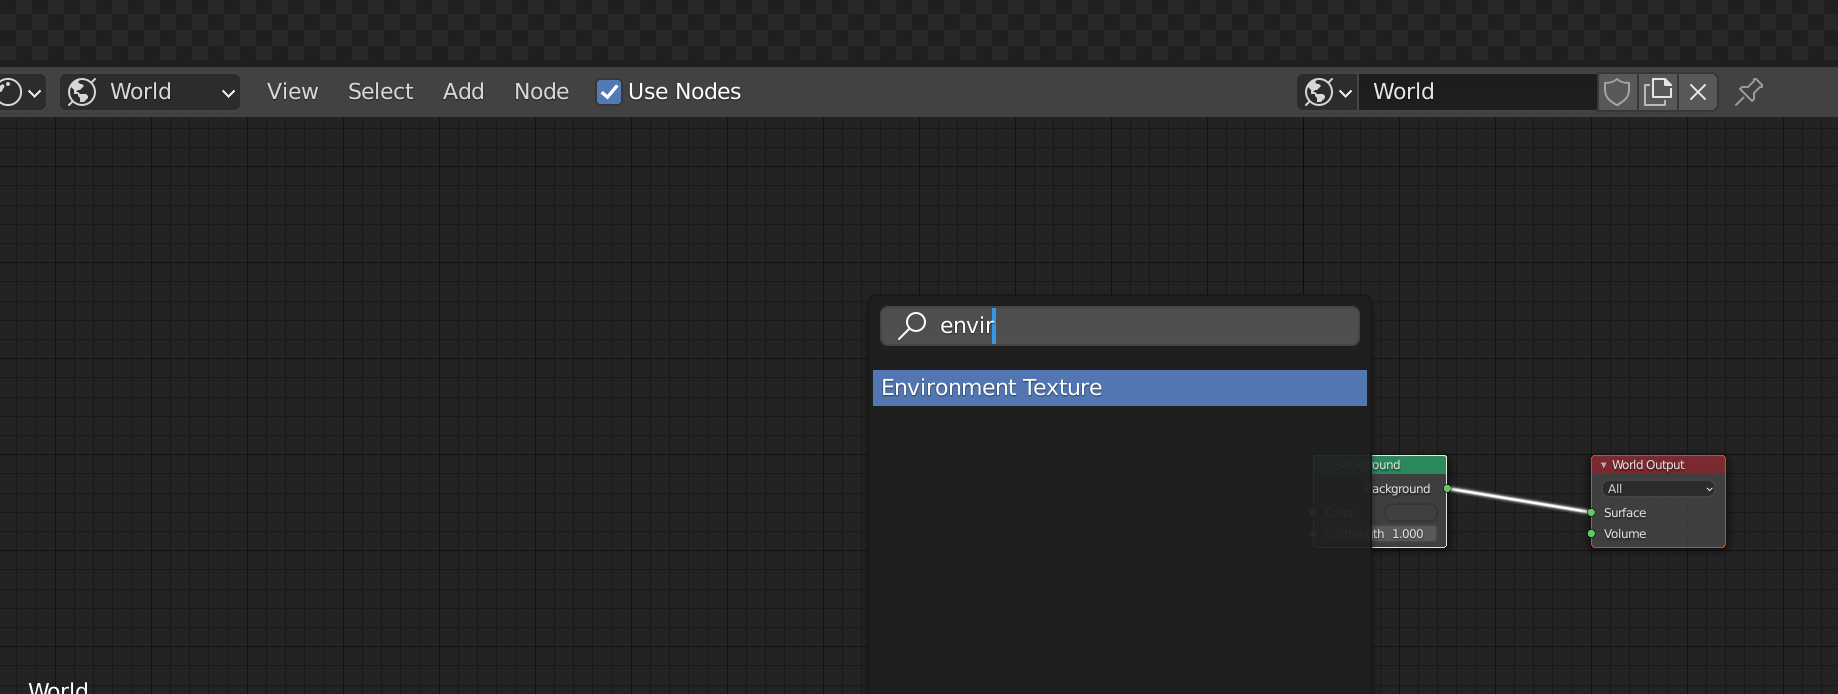
Now, we will add a node to this setup. But don’t be scared, we don’t actually need to understand much about nodes in Blender. Just use SHIFT-A (while your mouse hovers over the node window) click on “Search” and type “Environment texture”:
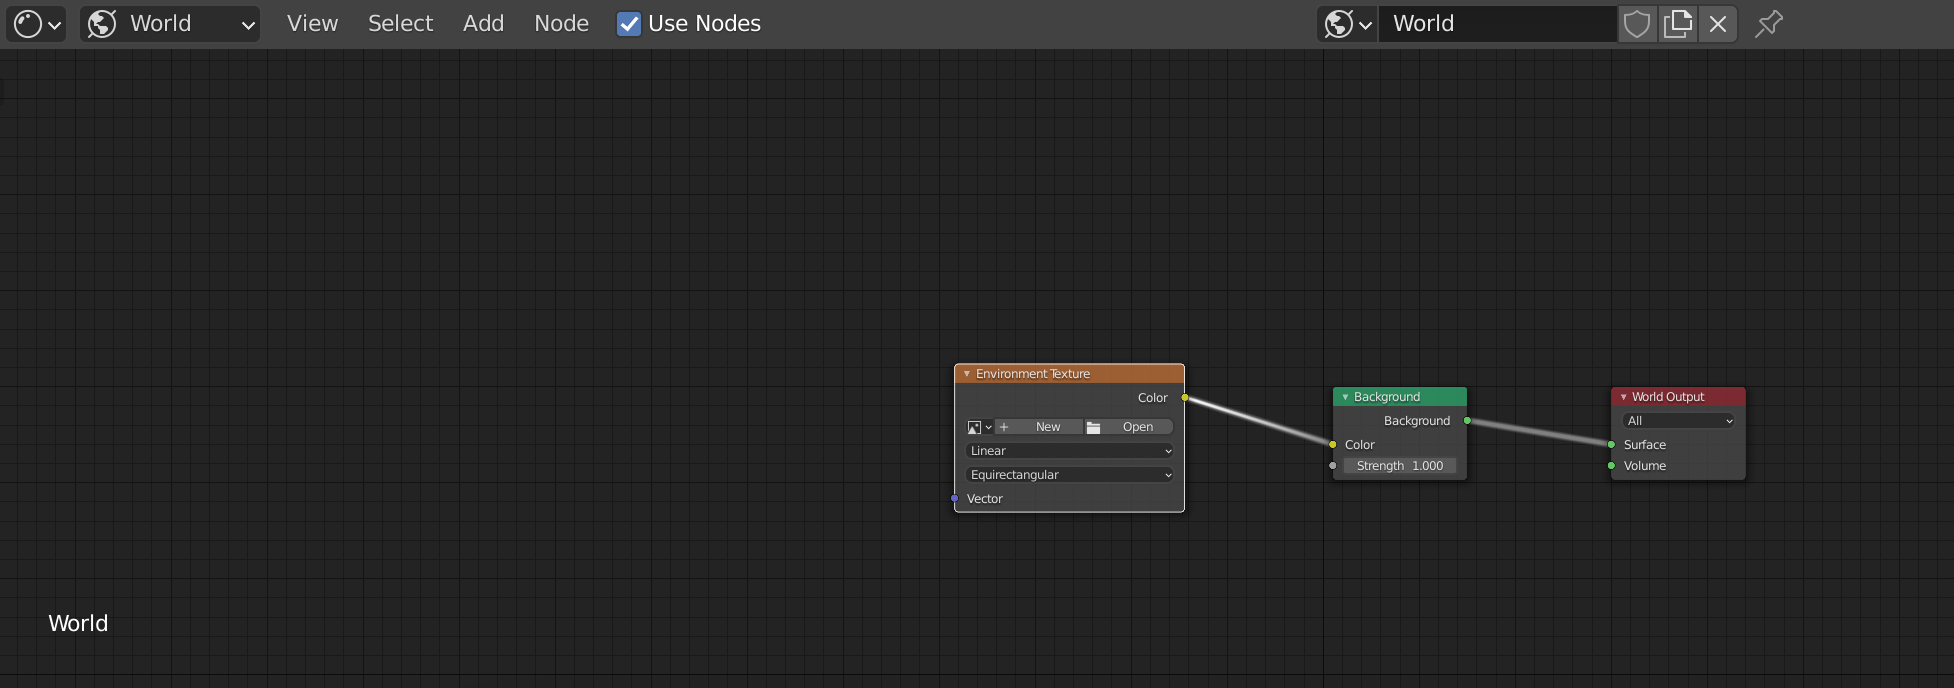
Then, click to set up an Environment texture node and connect its “Color” output to the Background node “Color” input by click-dragging your mouse, to get this:
(You may notice your render becomes pink-ish when you do this. This is fine)
Now, click on “Open” in the Environment Texture node and navigate to path/to/your/Blender.app/Contents/Resources/<version>/datafiles/studiolights/world/ (in Windows, I’ve been told the path should be <path-to-your-Blender-installation-location>\Blender Foundation\Blender<version>\<version>\datafiles\world\). You’ll find a bunch of .exr files there:
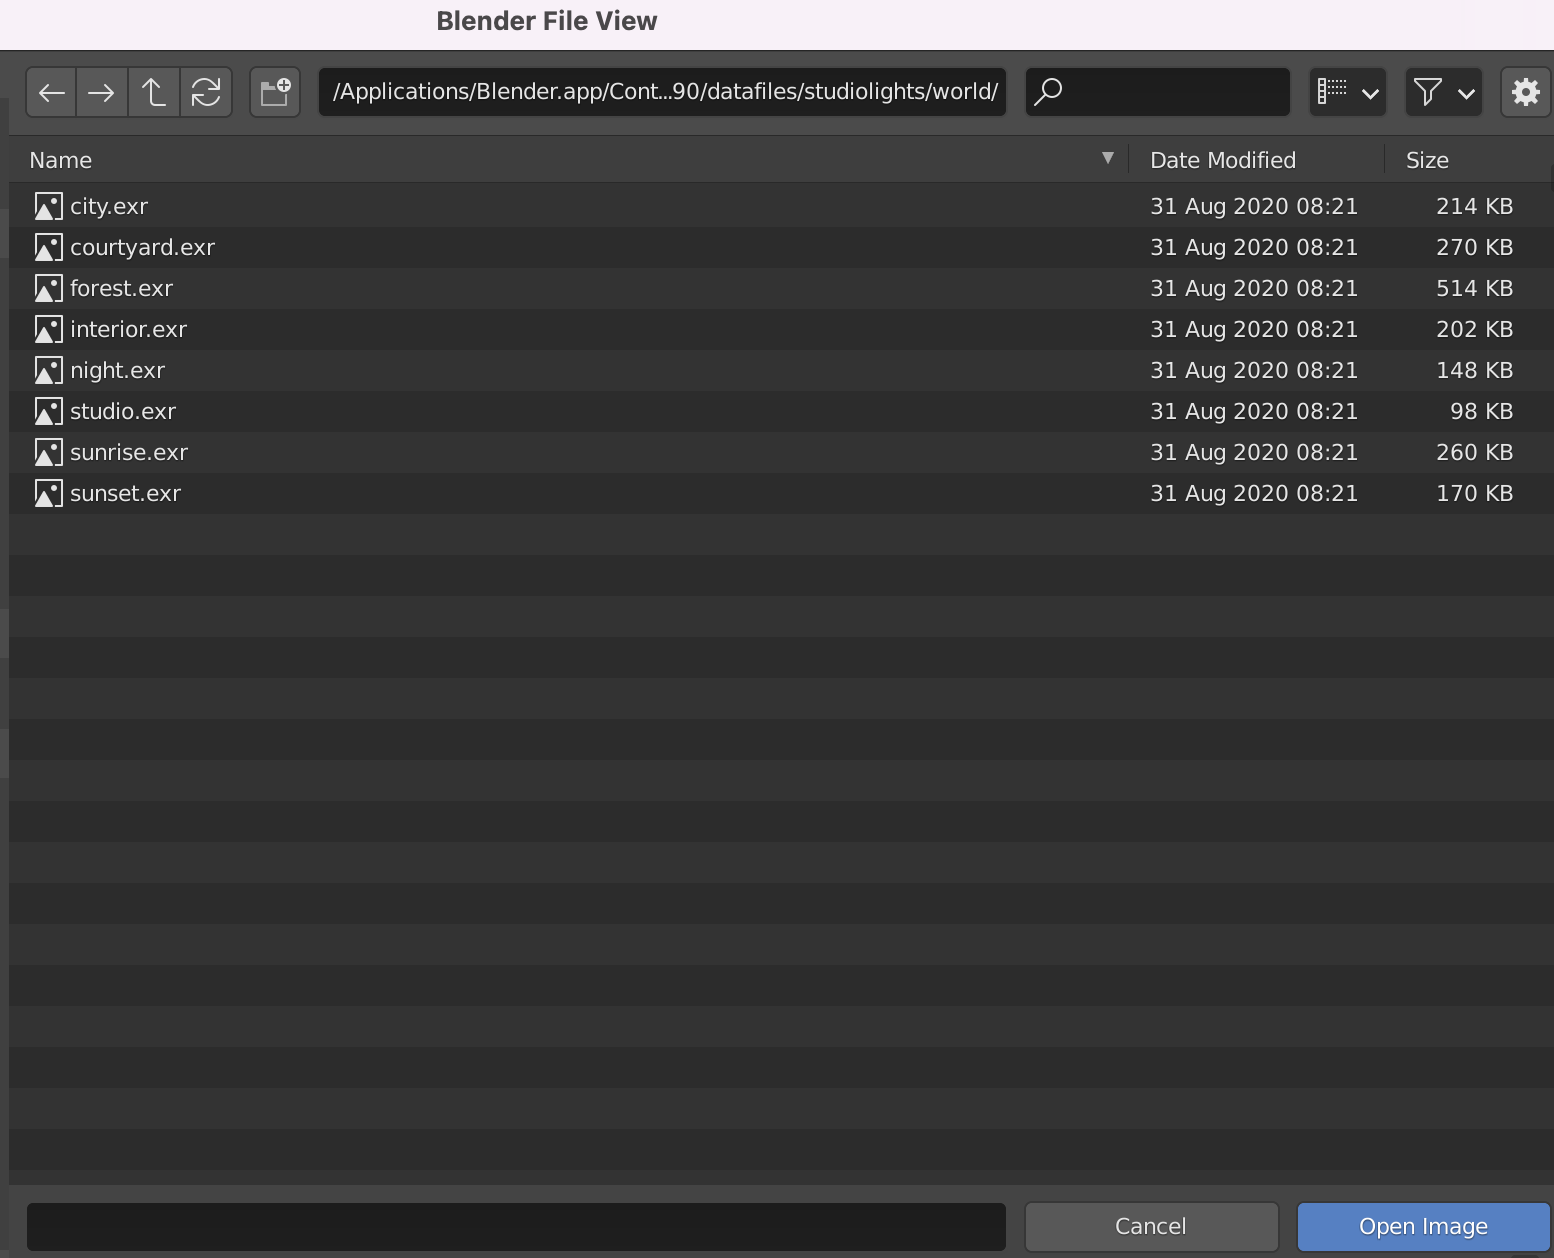
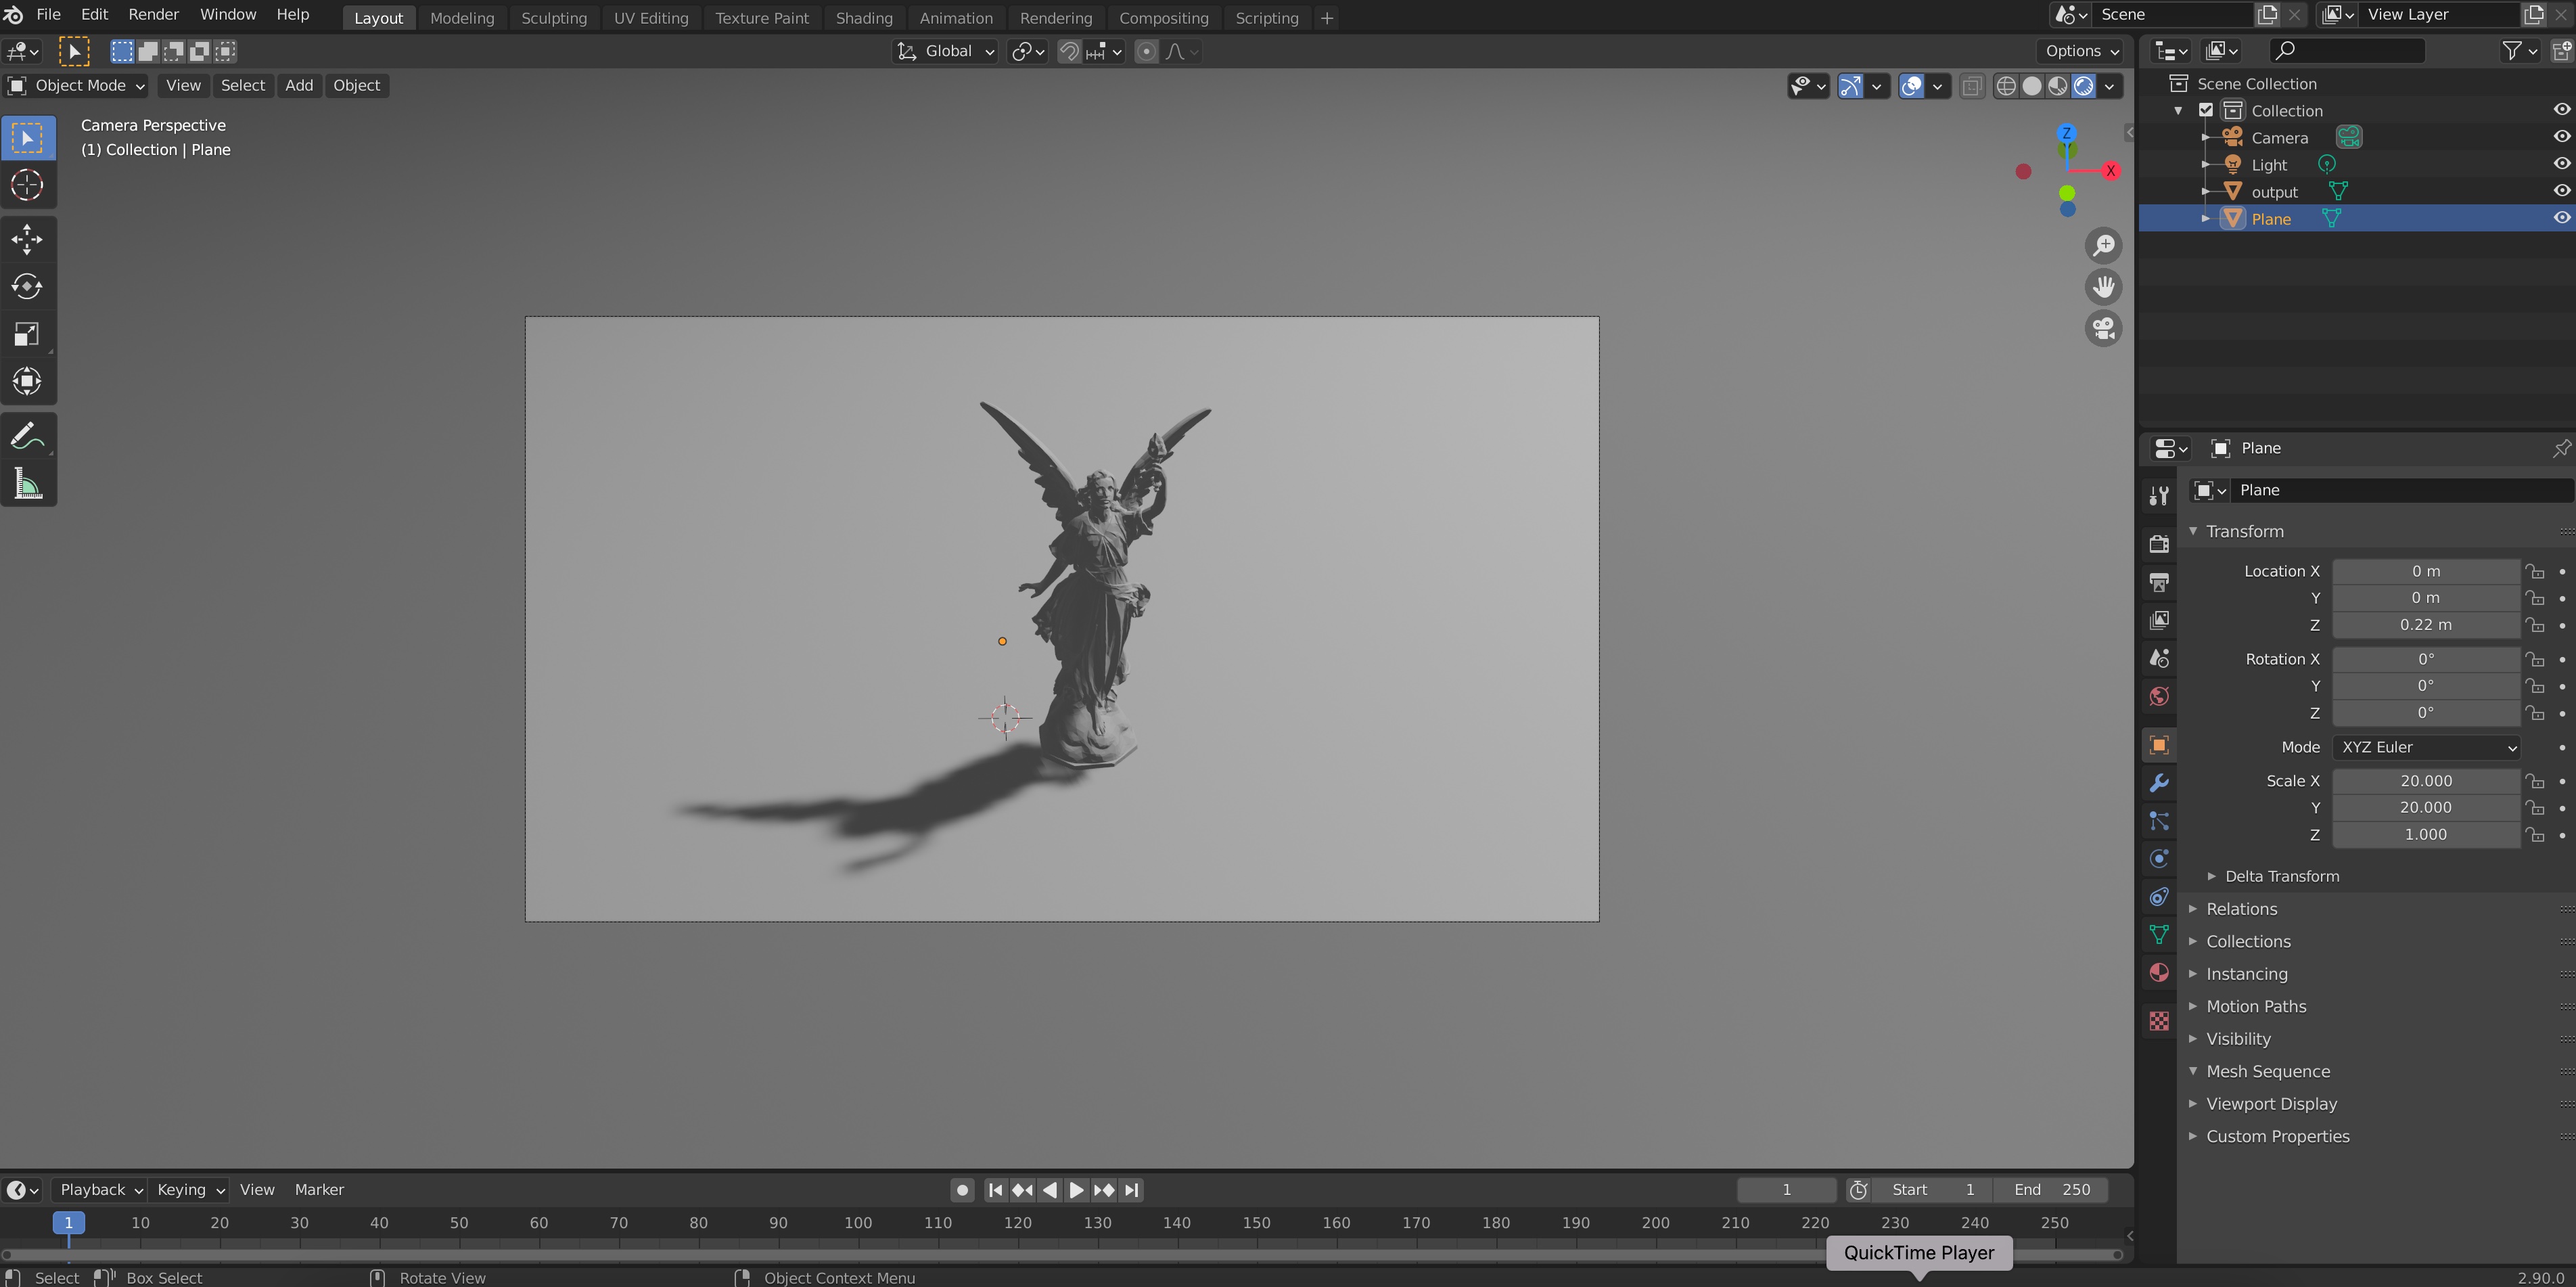
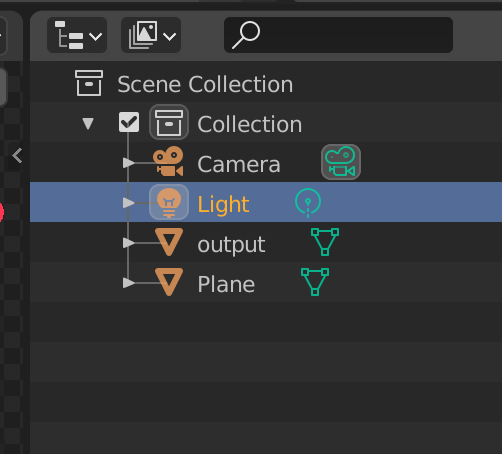
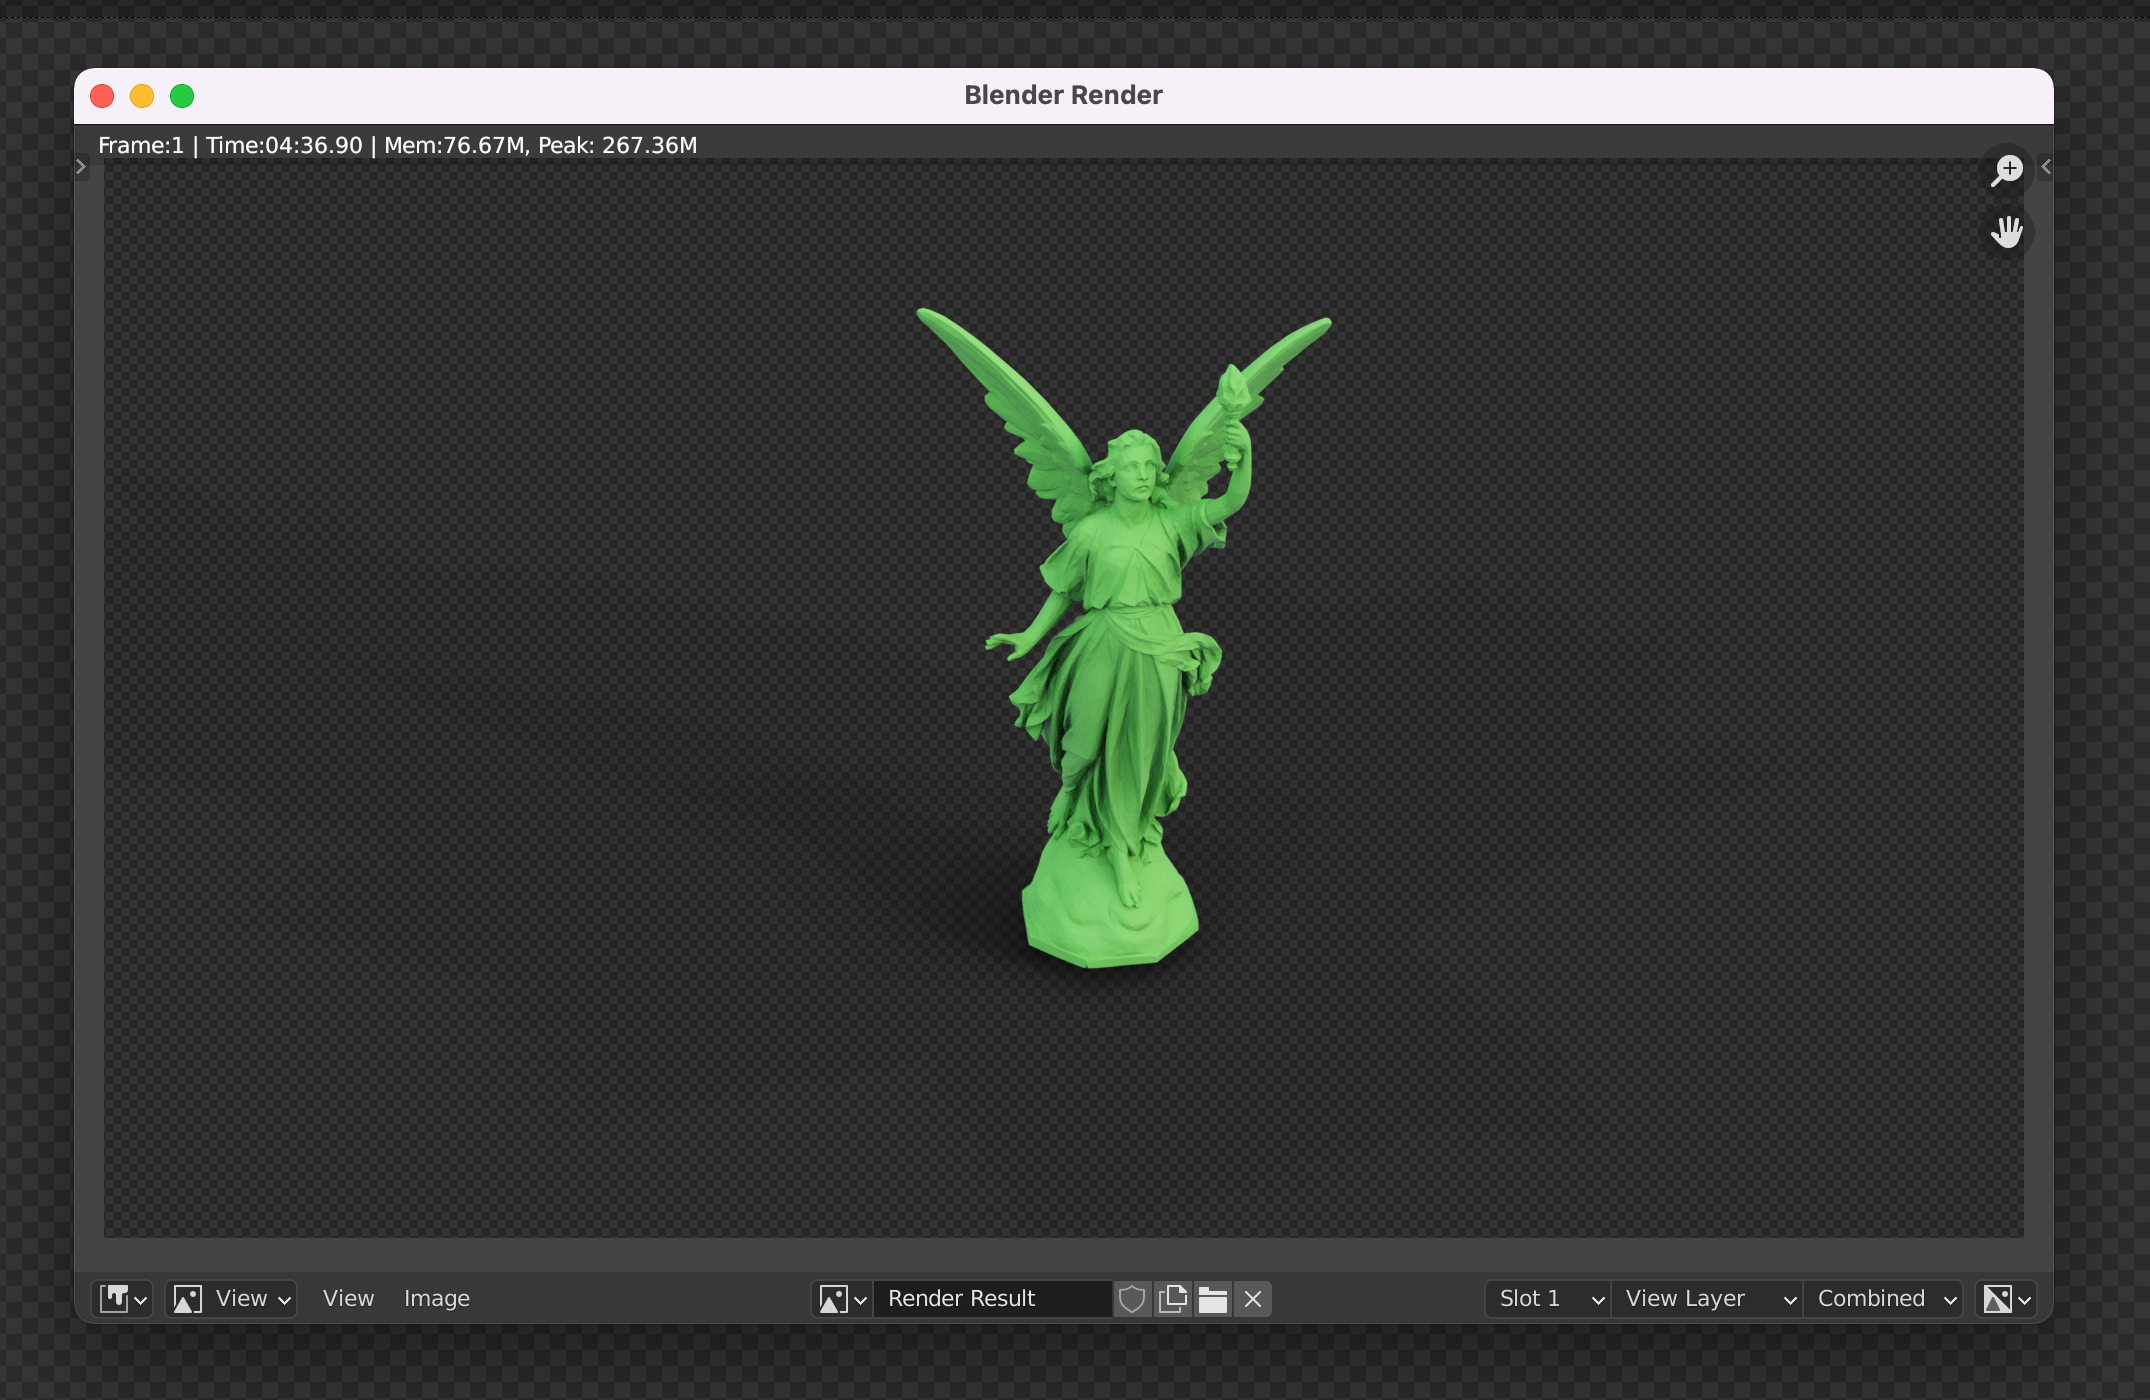
Pick any one of these (I like the “forest” one) and click on “Open Image”. You’ll see your render change, and include a more sophisticated lighting now. It is important at this point to remember to delete Blender’s default directional light. To do this we can click on “Light” on the top right of our viewport and press X to delete it
Finally, our object with a great realistic lighting setup will look like this:
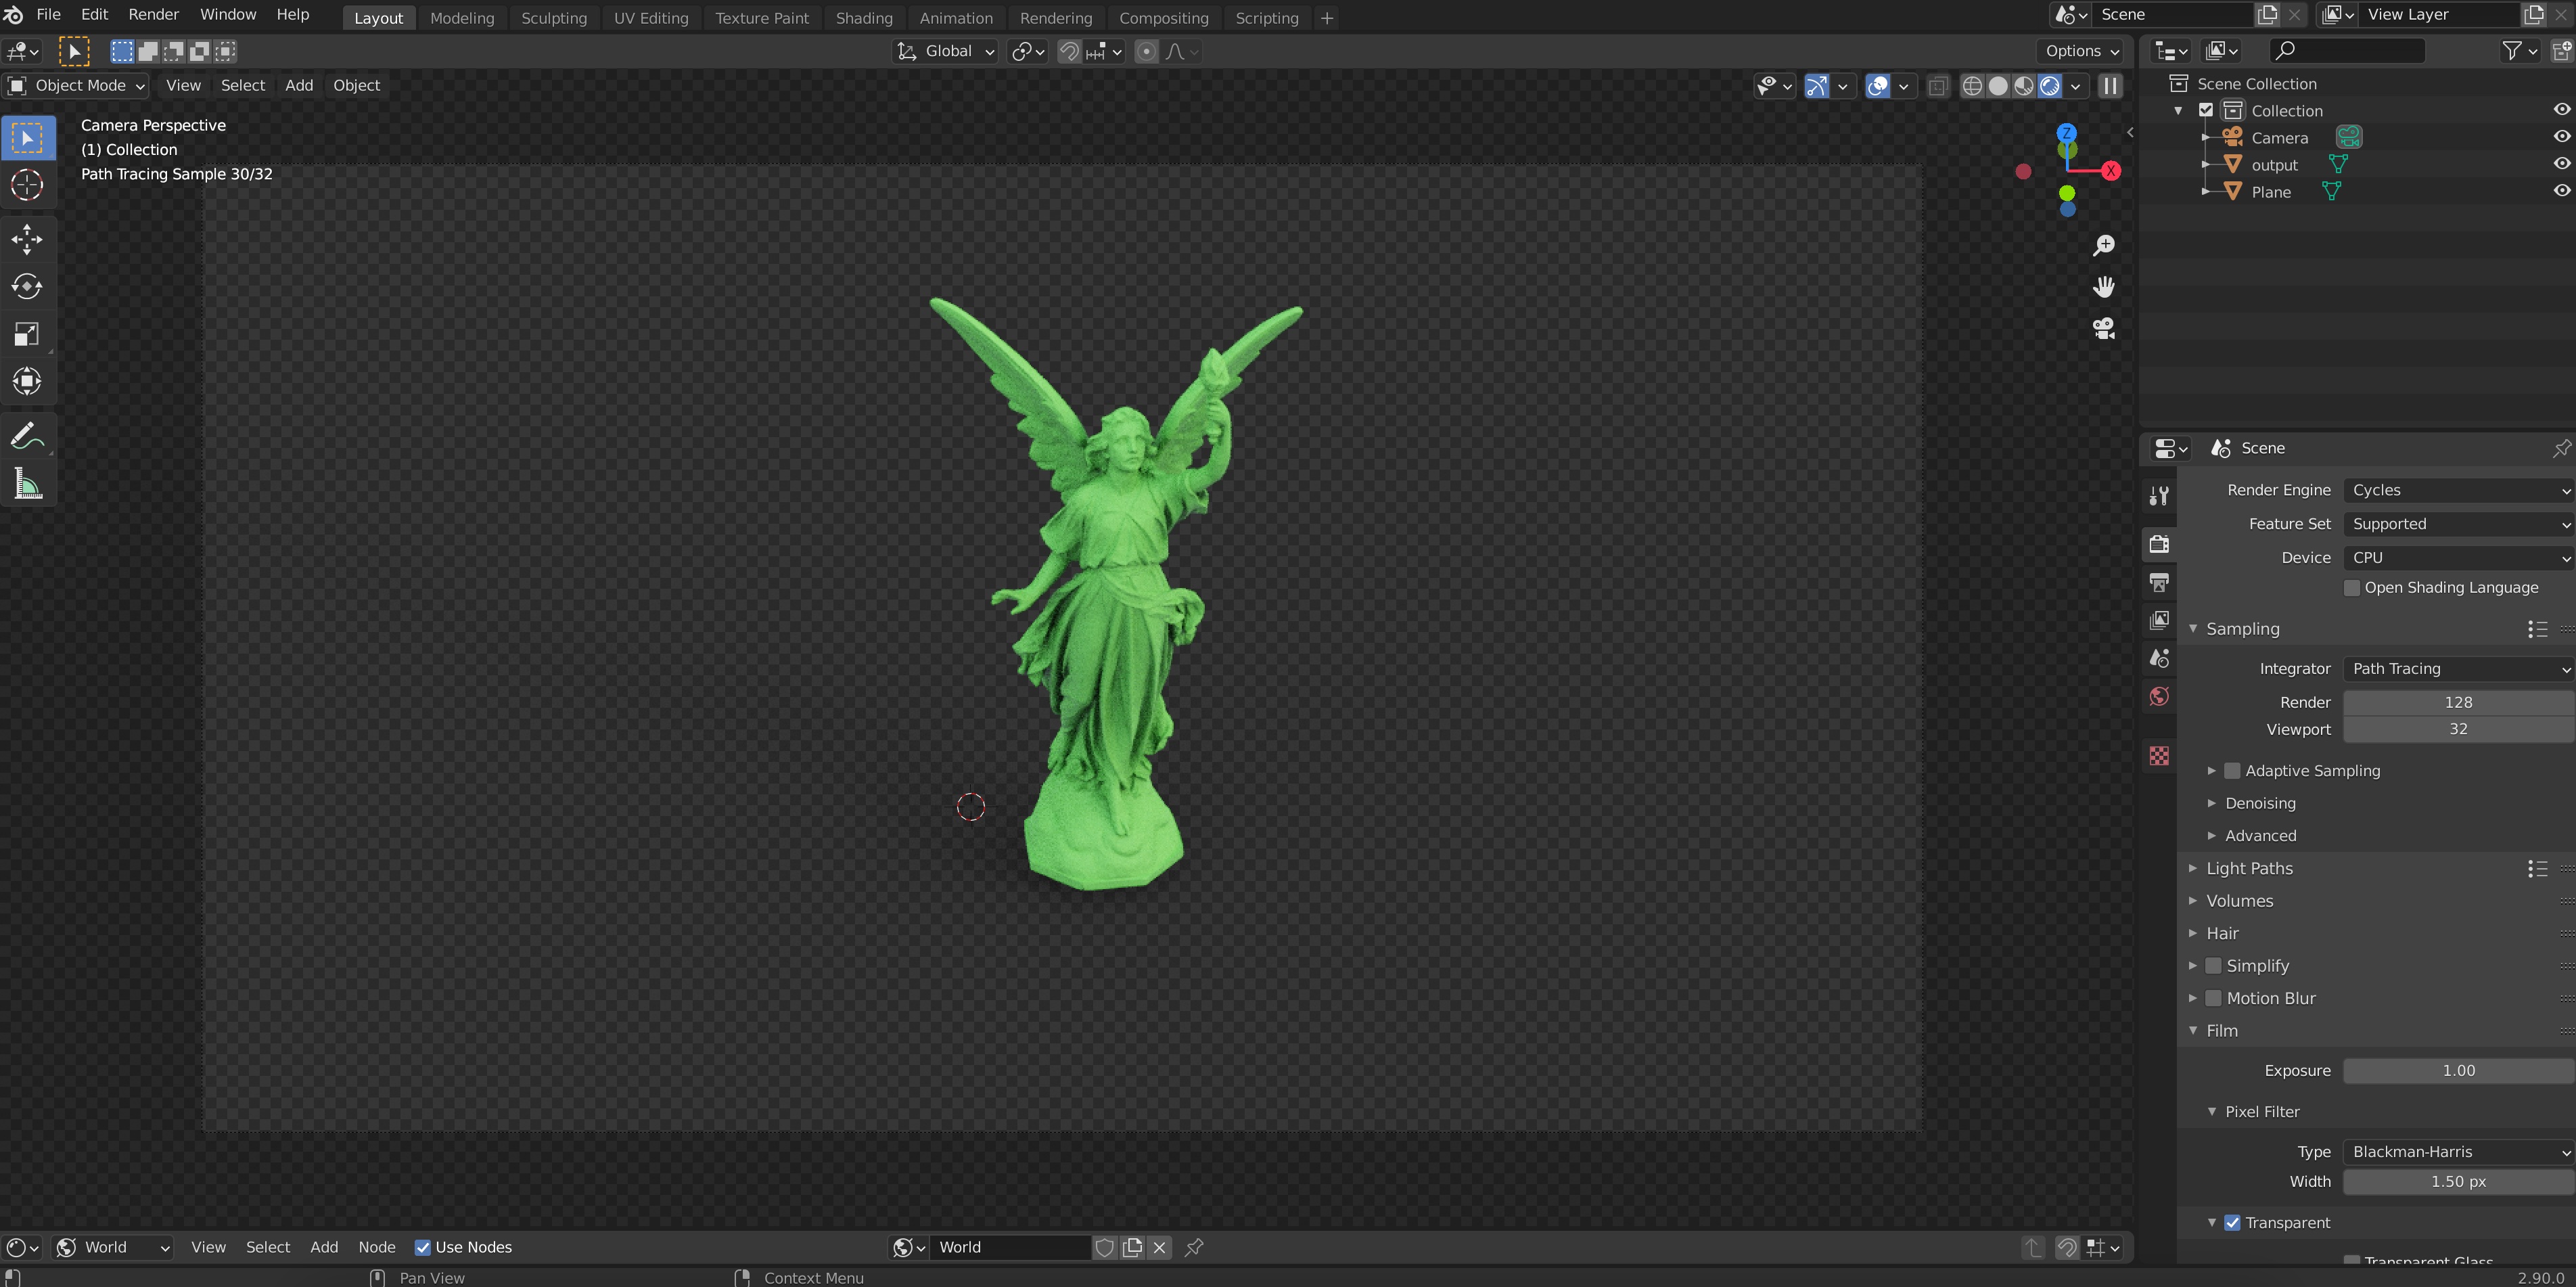
Looks pretty good if you ask me!
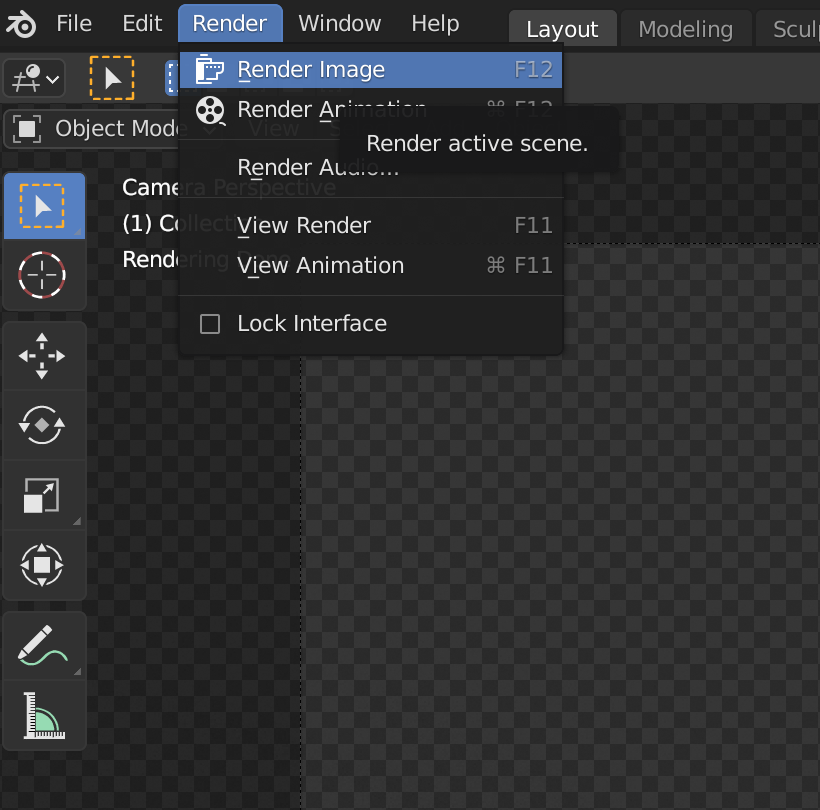
- You can now hyper-parameter-tune camera angles and positions as well as material parameters if you’re more on the perfectionist side :) If we are happy with how it looks, we can render it by going to Render->Render Image on the top left. This step can take a while, depending on your computer’s performance power.
But good things come to those who wait. Once it’s done, you’ll see something like this:
You can save the image with Image->Save As, and feel free to paste it into your paper figure :) Congrats!
Tips and Tricks
Rendering in a different computer
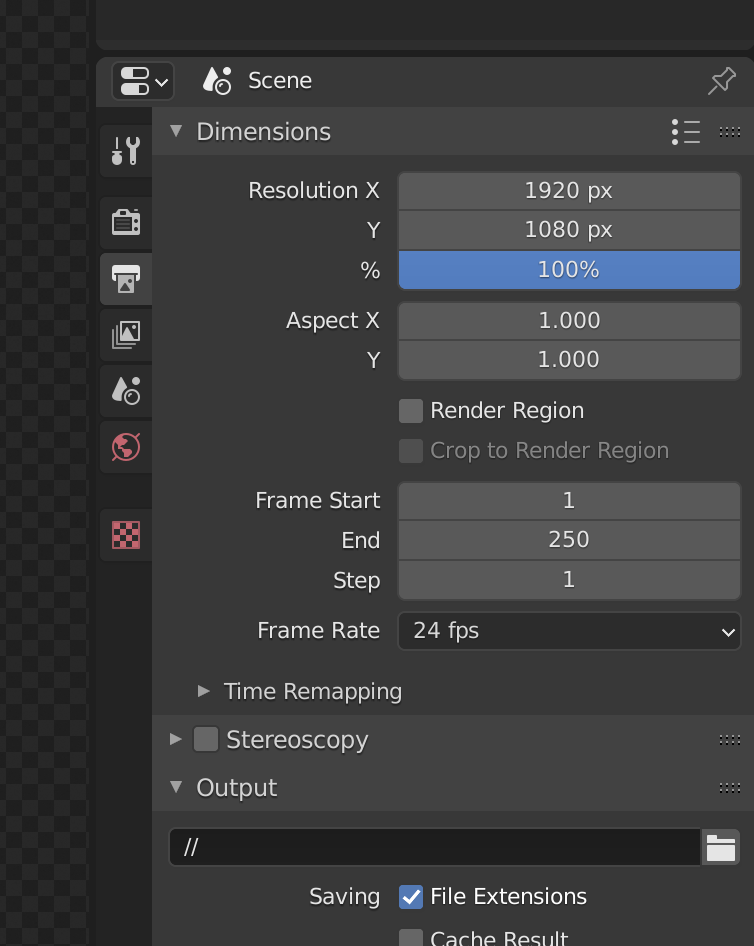
If you choose to send your .blend file to another computer (for example, a lab server) to render, then it is important you also follow two extra steps. First, make sure to select “File->External data->Automatically pack data into .blend” (otherwise your other computer won’t know where to look for the textures and objects in the scene). Also go to “Output Properties” and under “Output” make it a relative directory like // instead of the default /tmp/, or you risk losing your rendered /images forever.
“There’s too much shadow”
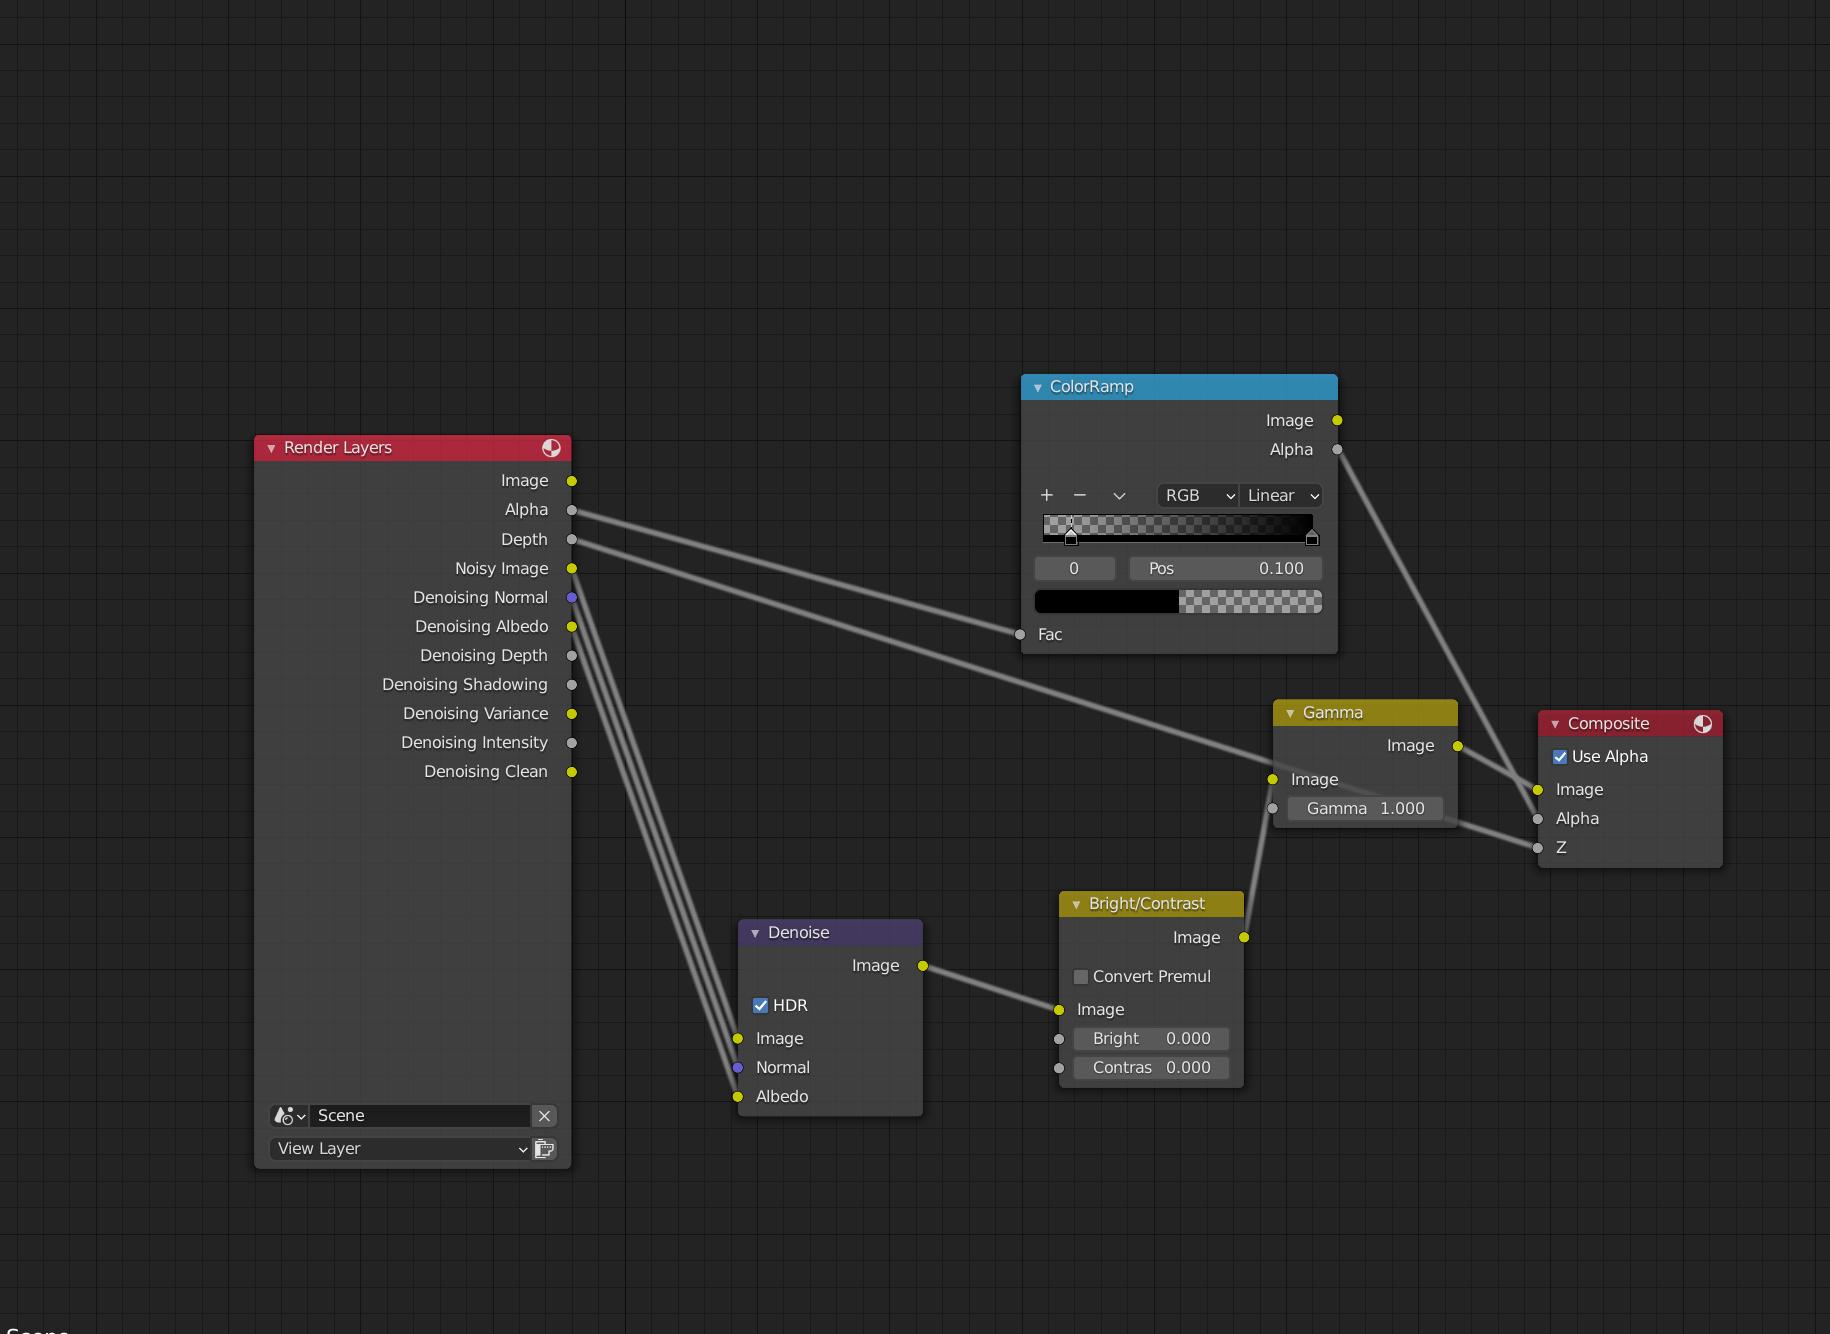
Sometimes, your rendered image will have long shadows that don’t allow you to use them well as transparent /images in papers; or they have ambient lighting which leads to an almost undetectable shadow everywhere in the image, that becomes apparent only when you put it on a white background. You can solve this (as Oded Stein showed me) by re-mapping the alpha values in the Blender Compositor (see the “Compositor” tab in the top of your blender UI). Here’s an example of the nodes in my template file’s compositor. The top part does the shadow removal (play with the thresholds to get more/less shadow), while the bottom does standard image editing to avoid having to do it in another software.
“The render preview takes so long!”
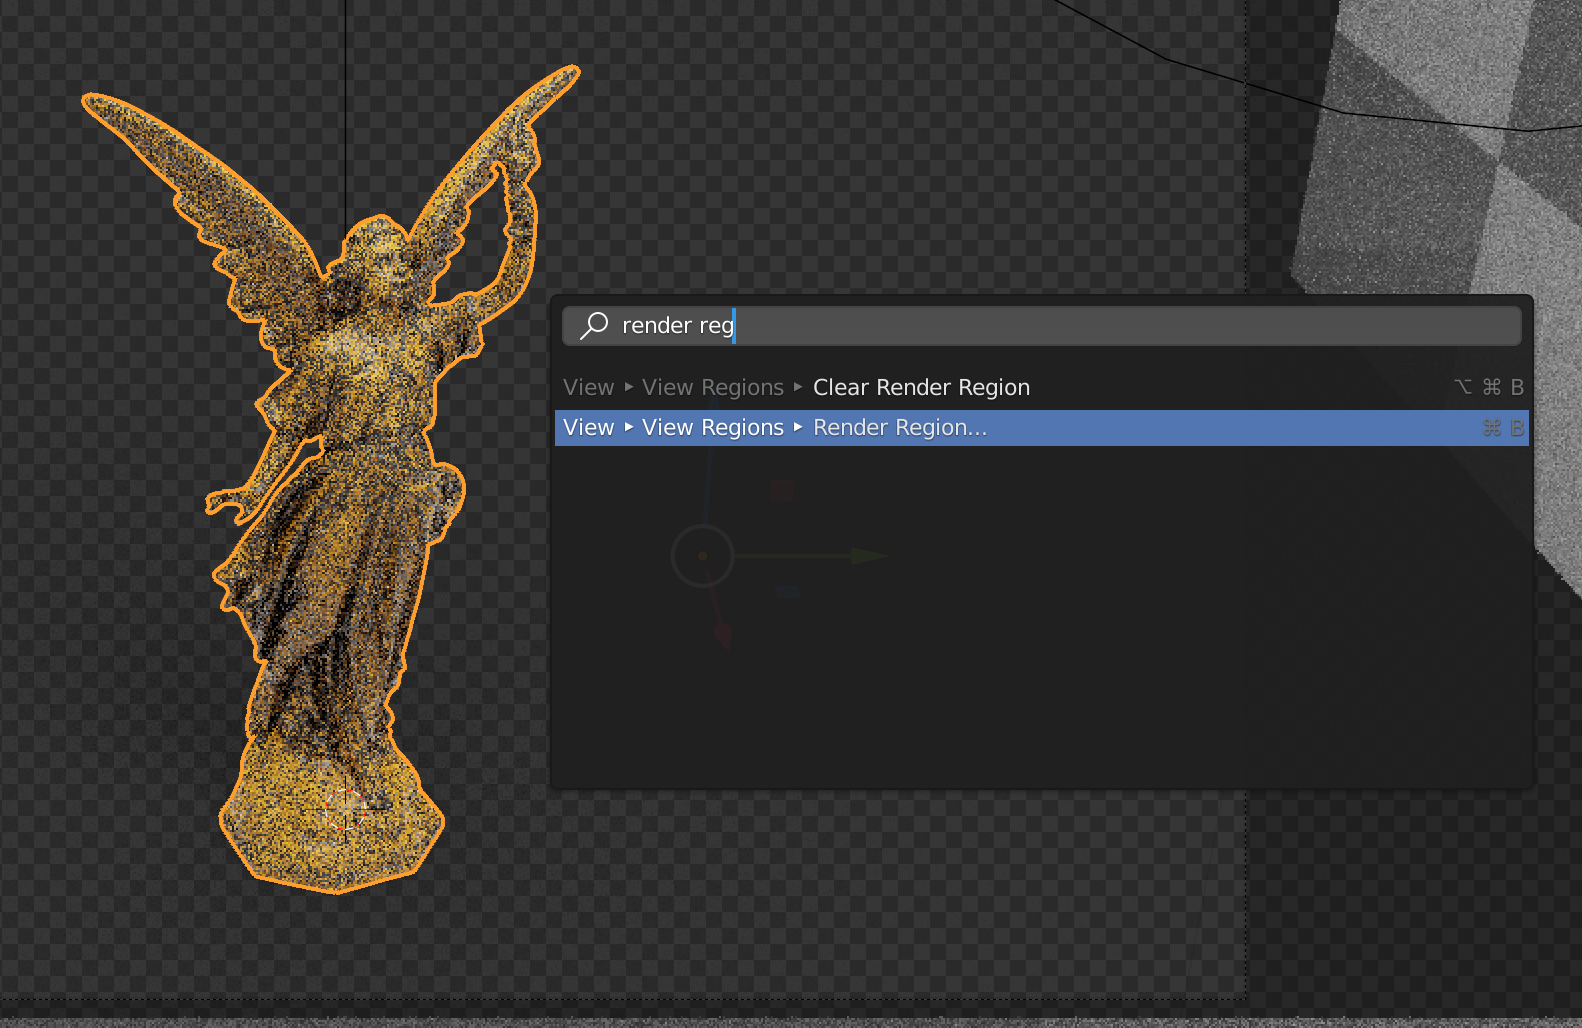
If, like me, you don’t own a supercomputer with powerful graphics cards, it may be that refreshing a render preview can take a long time, especially the more textures and files you have in your scene. It can ruin the feeling of interactivity in the software: what I like most about rendering paper figures using the Blender UI is that you can change something in your scene and see how that affects the image, and iterate like that. One way of getting this immediate feedback without spending thousands of dollars in graphics cards is to use a really nice feature called “Render Region”. Basically, this relies on the fact that when you’re iterating some aspect of your image, it is rare that you’re really looking everywhere in the figure to evaluate your changes. For example, if I am playing with the material of the main object, I could just look at one part of it to iterate instead of asking the render to simulate all the shadows and other objects in the scene. See what I mean by choosing the “Render Region” option, which I do by pressing Spacebar and searching for it:
Then, I drag my mouse to select a really tiny region of my render
I can them zoom in (CMD + Mouse Wheel in my Mac) and focus on the region I’m rendering:

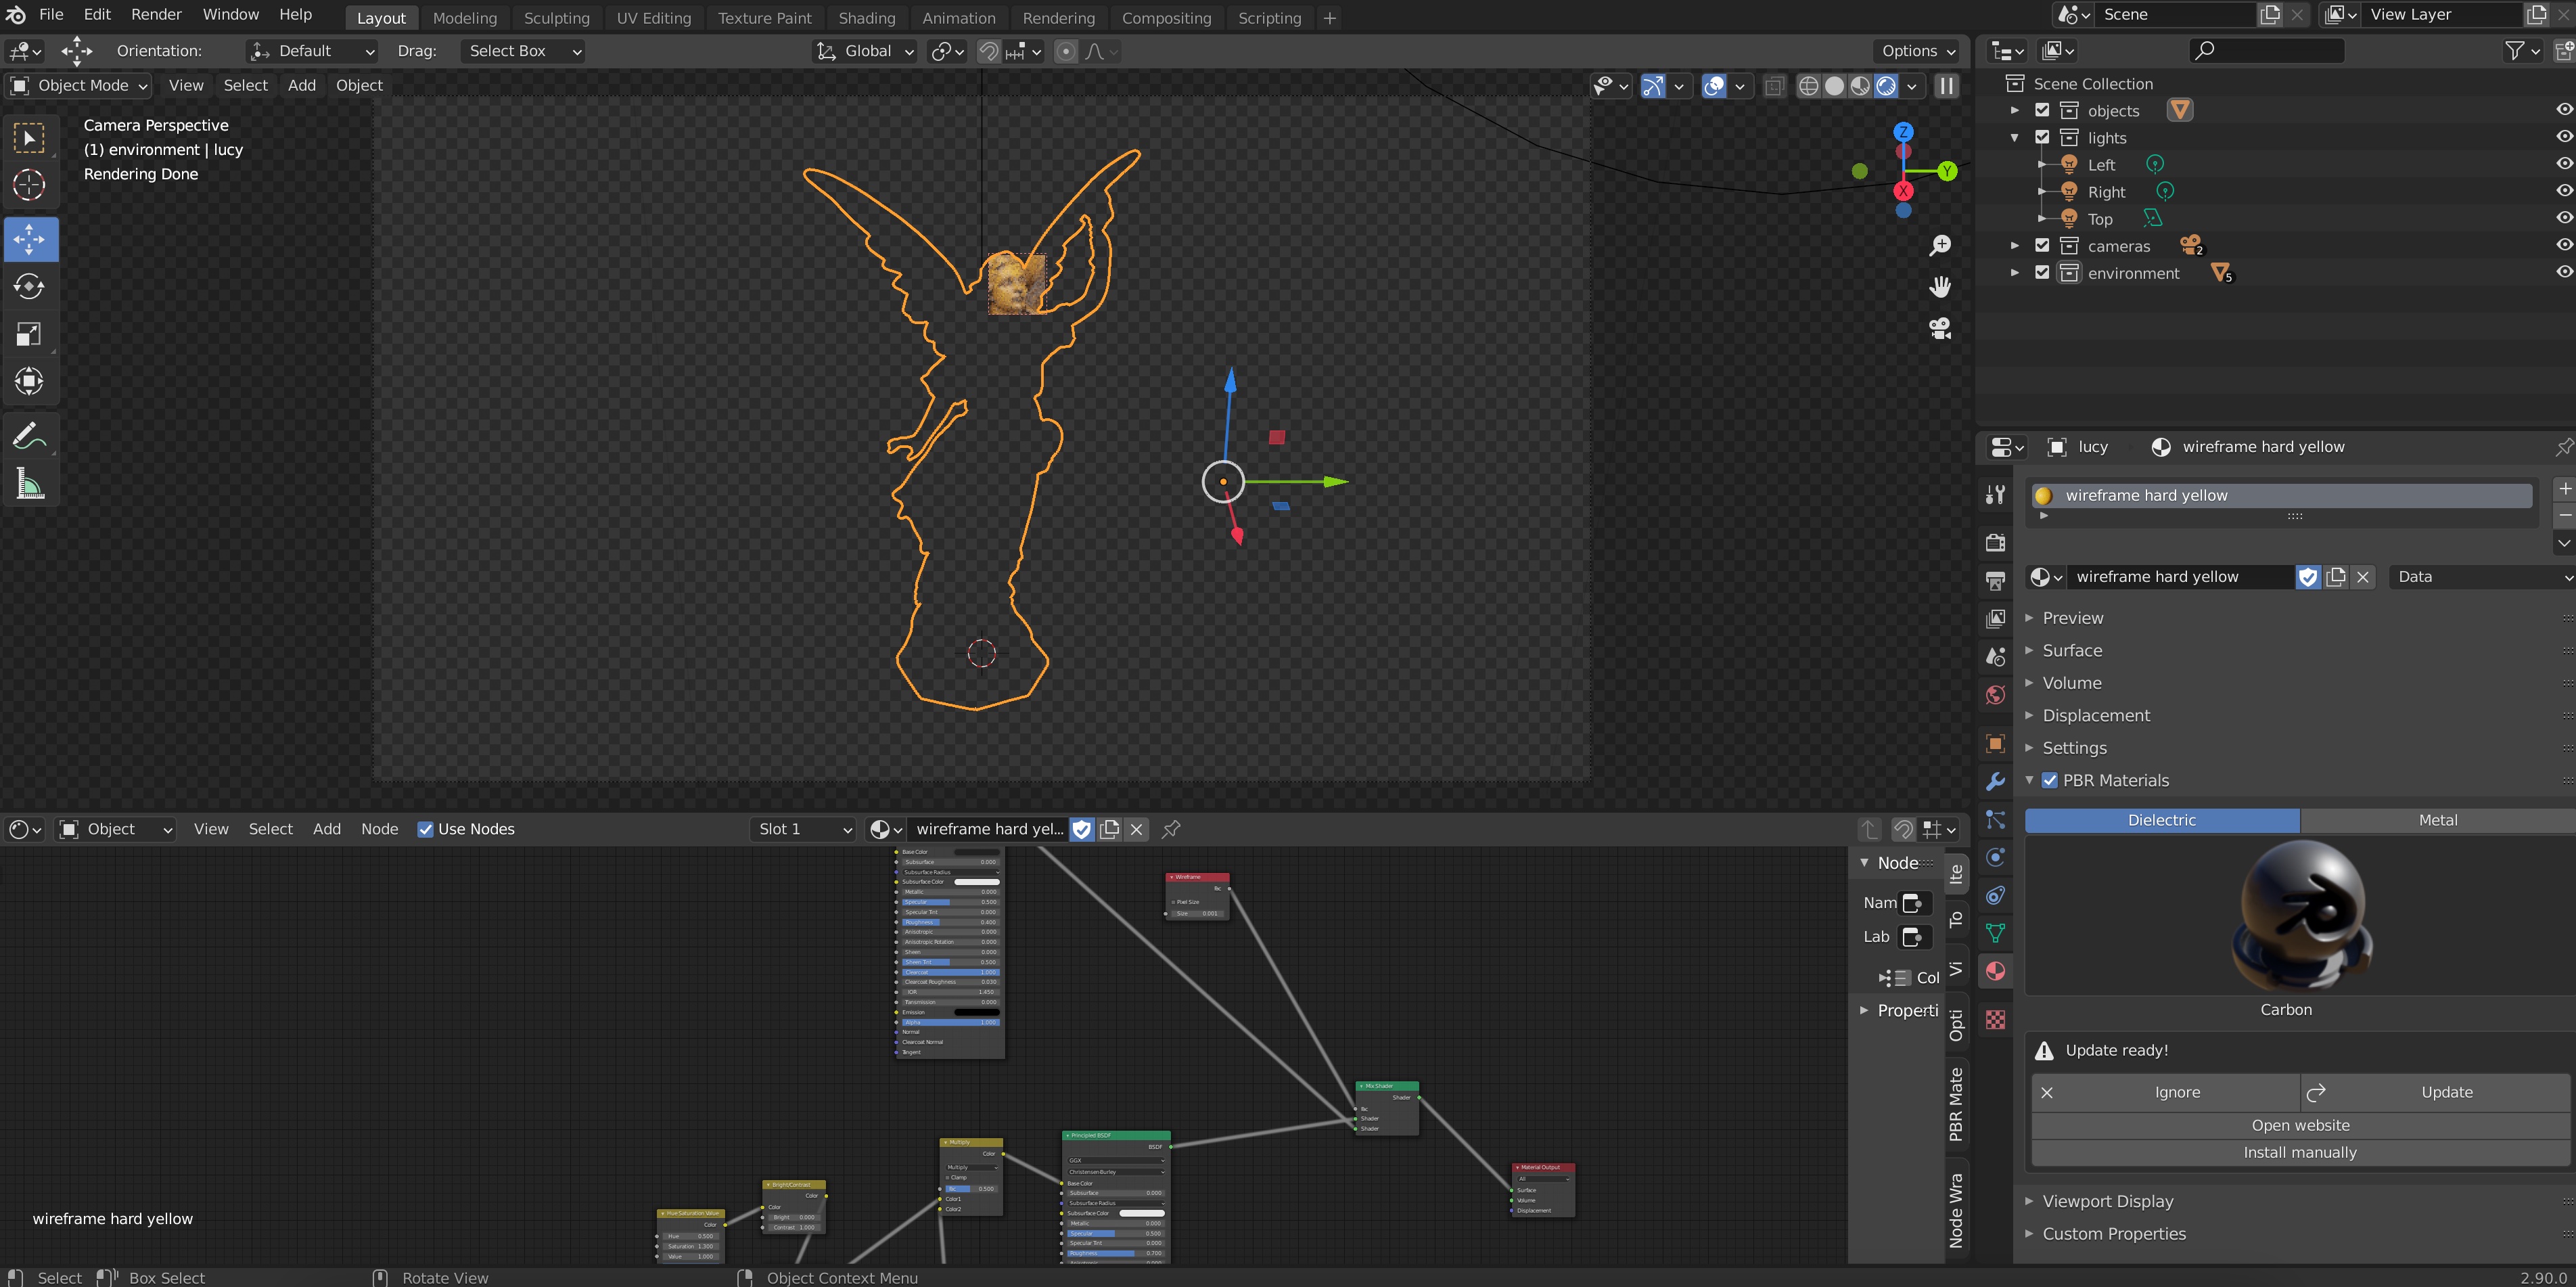
Since now the preview is only rendering this tiny part of the figure, it will update much much faster when you change aspects in your scene; for example, the width of the wireframe:

Important: Make sure to remove your render region before you run the final render of your scene for your paper. I do this by Spacebar searching “Clear Render Region”. I have forgotten this step more times than I’d like to admit :)
Contribute!
This blog post is a work in progress which I hope can be useful, especially to new students starting out in our field and writing their first publication. Feel free to contribute to this post by emailing me suggestions and I’ll be glad to properly credit you for any addition/correction.